

Insulation and sandwich panels
How to insulate a loft before installing the lining?
The answer to the question of insulating a loft before installing the lining comes down to the correct sequence of work and to checking those elements that will later disappear beneath the covering. First, assess the condition of the timber and of the surfaces under the roof covering, establish the causes of water stains, dark patches and damp, and check whether the drainage and ventilation path intended for the given system has been preserved. In a refurbishment, identify the type of existing sarking, because boarding with roofing felt and a high water-vapour-permeable membrane have different properties. Only then is the plane of the slopes and the ceiling level set out, taking into account the thickness of the insulation, the method of suspending the framework and the services zone; in a low loft, comparing several variants helps, and PIR can reduce the thickness of the thermal layer but does not remove the need for correct lining from the inside. Measurements taken at several points in each field, matched materials and a well-thought-out route for the services reduce the risk of defects, and the inspection and airtightness test should take place after the airtight layer has been completed but before it is covered by the lining.
In this article
How to check the condition of the loft before starting?
Assess the timber and the surfaces beneath the covering. Water stains, dark patches and damp require the cause to be established. The insulation should not conceal damage that is still developing. Also check whether the roof still has the drainage and ventilation path intended for the particular system.
For a refurbishment, establish the type of existing sarking. Boarding with roofing felt and a high water-vapour-permeable membrane have different properties. Do not choose the new membrane solely according to what the team has to hand. Its function and position should follow from the whole section, including the layers left in the roof.
What should be established before installing the framework?
Define the target plane of the slopes and the ceiling level. Allow for the thickness of the insulation, the method of suspending the framework and the services zone. In a low loft, comparing several variants helps. PIR can reduce the thickness of the thermal layer, but it does not remove the need for correct lining from the inside.
Check the areas around windows and above partition walls. There it is easy to reduce the thickness of the insulation accidentally. Also establish the height of back boxes and the route of cables. Changing the lighting after the airtight layer has been completed can lead to numerous penetrations that no one allowed for at handover.
How to fit the insulation between the structural elements?
Take measurements at several points in each field. Old rafters need not be parallel or straight. Rigid boards require the edges and joints to be fitted. A gap left behind will not disappear after the lining is screwed on. Nor should the board be bent in order to conceal a dimensional error.
With mineral wool, it is important to fill the space evenly without excessive compression. With PIR, the method of sealing the edges follows from the chosen system. Offcuts of different materials should not form a random mosaic. It is then difficult to assess both the continuity of the insulation and the fire conditions.
Why is care needed at the corners?
Large roof-slope fields are relatively easy to inspect. Problems more often hide at the wall plate, beams, valleys and gable walls. The insulation must be brought up to the insulation of the adjoining building element. It is not enough to cover the visible surface while leaving an empty space behind it.
If the system comprises several layers, the joints should be arranged in accordance with the design. Crossing gaps at one point can weaken the continuity of the system. A separate detail is needed around a window, because the reveal has a limited width. Do not solve this by arbitrarily trimming the required thickness.

How to create the airtight layer from the inside?
The overlaps of the membrane and the joints of boards with a suitable facing are bonded with materials matched to the surface. The substrate must be clean, dry and stable. Dust on masonry or moisture on laminate weaken adhesion. A good-looking tape does not always mean a durable joint.
For pipe and cable penetrations, use solutions matched to their shape and movement. A thick dollop of random sealant does not replace the intended seal. The connection to the wall must remain airtight even after slight deformation of the roof. A membrane that is too taut is liable to damage.
When should the inspection and airtightness test be carried out?
Carry out the inspection after the airtight layer has been completed but before it is covered by the lining. Accessible joints can then be corrected without destroying the finish. A pressure test helps to locate points of air flow. However, it does not automatically reveal all errors in the thickness of the insulation.
A visual acceptance is therefore also needed. It covers the laying of the material, the joints at walls, the product markings and conformity with the documentation. Photographs are worth taking in a consistent order of rooms. Later it is easier to establish which fragment a record concerns and where the services run.
How to avoid damaging the insulation at the final stage?
Installing the linings and fittings can disturb layers that have already been checked. Screws, fixings and cables should hit the intended positions. Heavy elements are not fixed to the insulation alone. Their load must be transferred to a suitable structure.
Give the finishing team the photographs and mark the places requiring particular care. This applies especially to lighting, curtain rails and fitted furniture under the slopes. Acceptance of the insulation does not end responsibility for its continuity. It must be maintained until all work in the room is complete.
A tip before ordering
Prepare a simple loft plan with photograph numbers. Mark on it the service penetrations and the fixing points for heavy elements. Produce the documentation before the lining. For a later refurbishment it will be considerably more useful than photographs of the finished ceiling.
What is worth remembering?
Loft insulation is best inspected when all its joints are still accessible. Accurate measurement, matched materials and a well-thought-out service route reduce the risk of defects. The final step is protecting the completed layers during the interior finishing.
7 branches. Materials closer to your project.

Free quote
Materials for your project




You may also find useful…
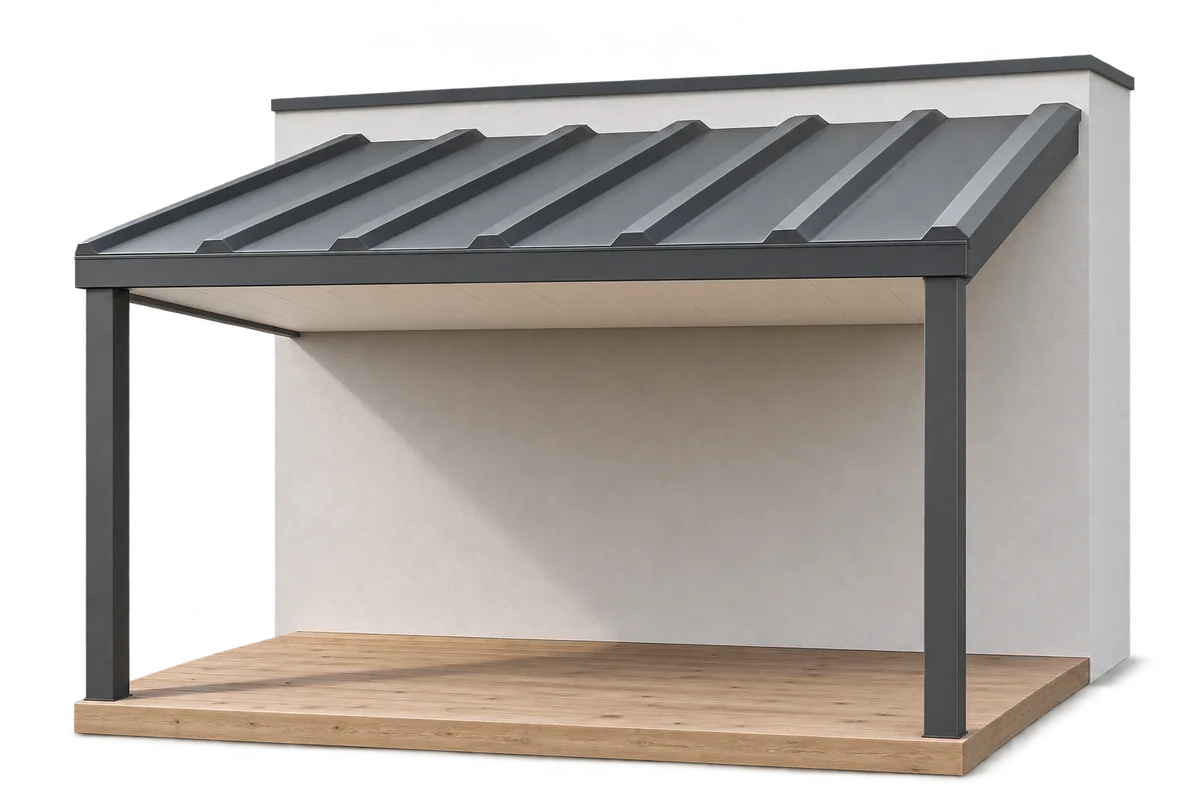
A covered terrace involves two structures: shelter above its users and the surface they walk on. If a heated room lies below,…
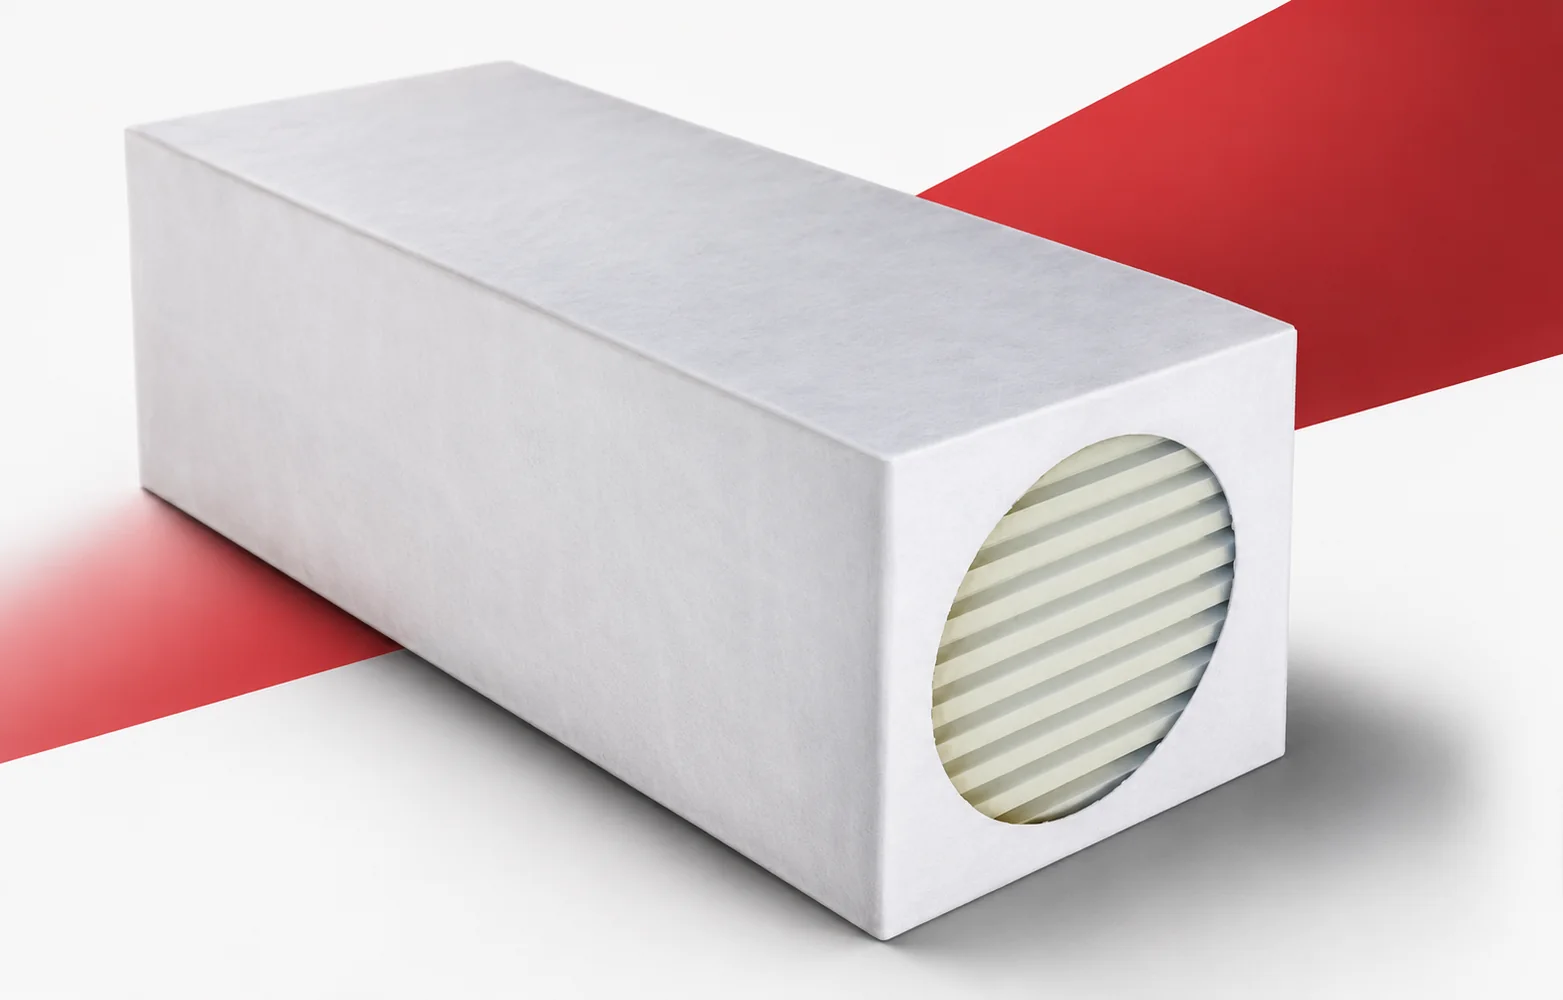
The thermal performance of insulation is often determined by small areas. Thermano Compact makes work easier where a full-size board would require…
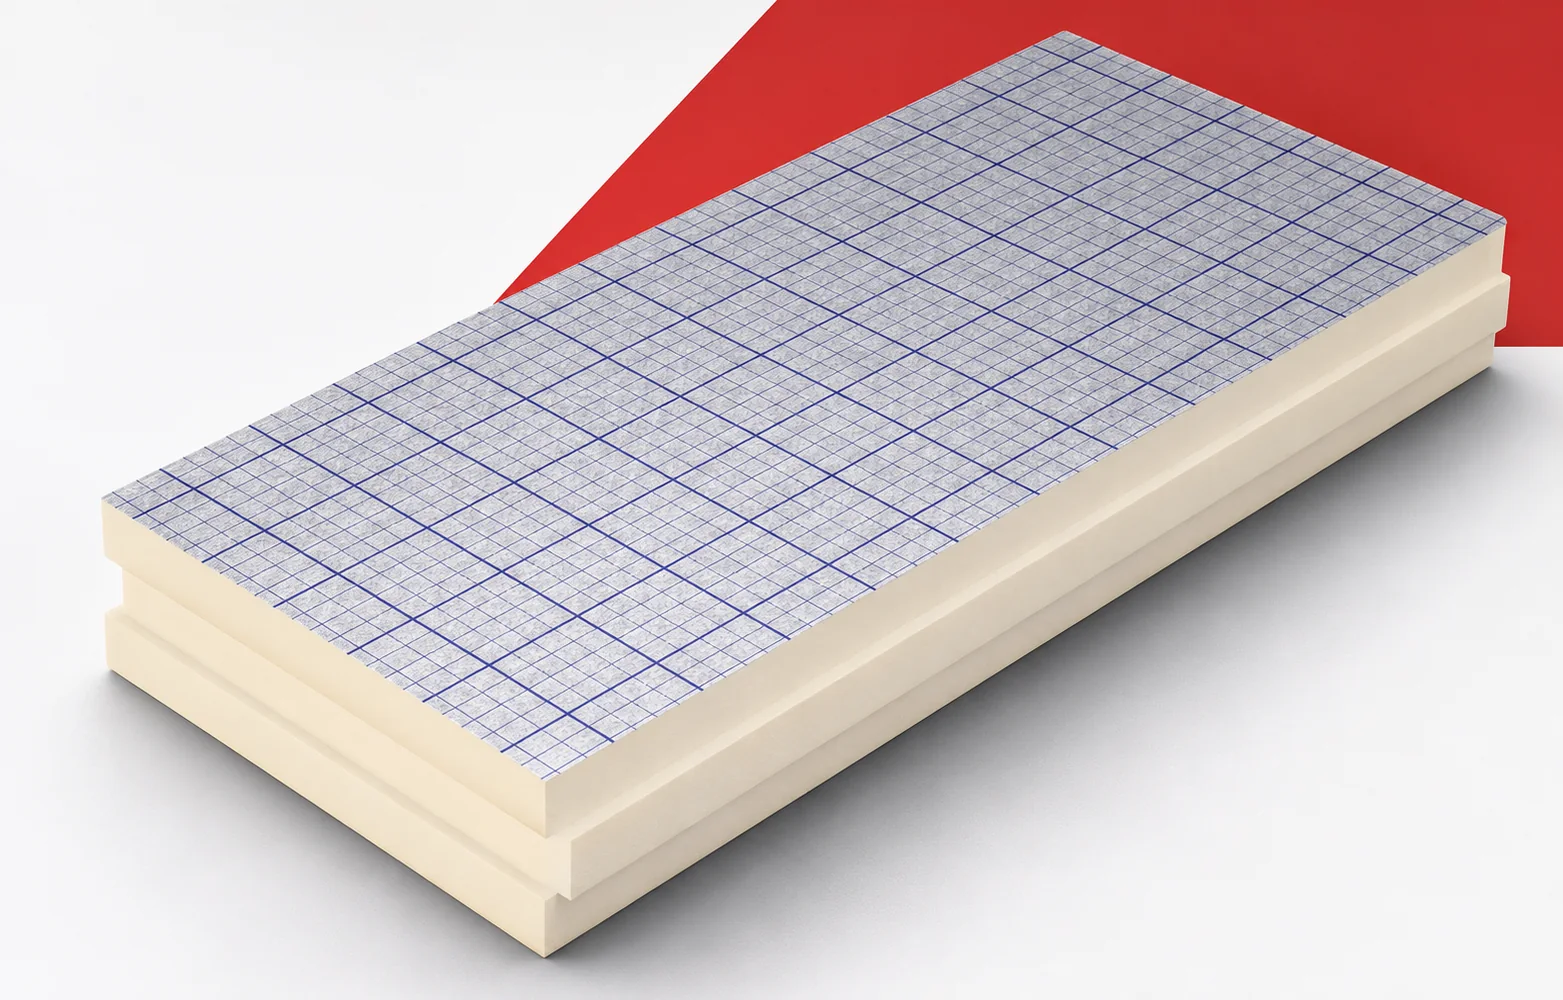
The properties of swissporPIR Alu must be preserved along the entire route from delivery to the closing of the layers. The condition…
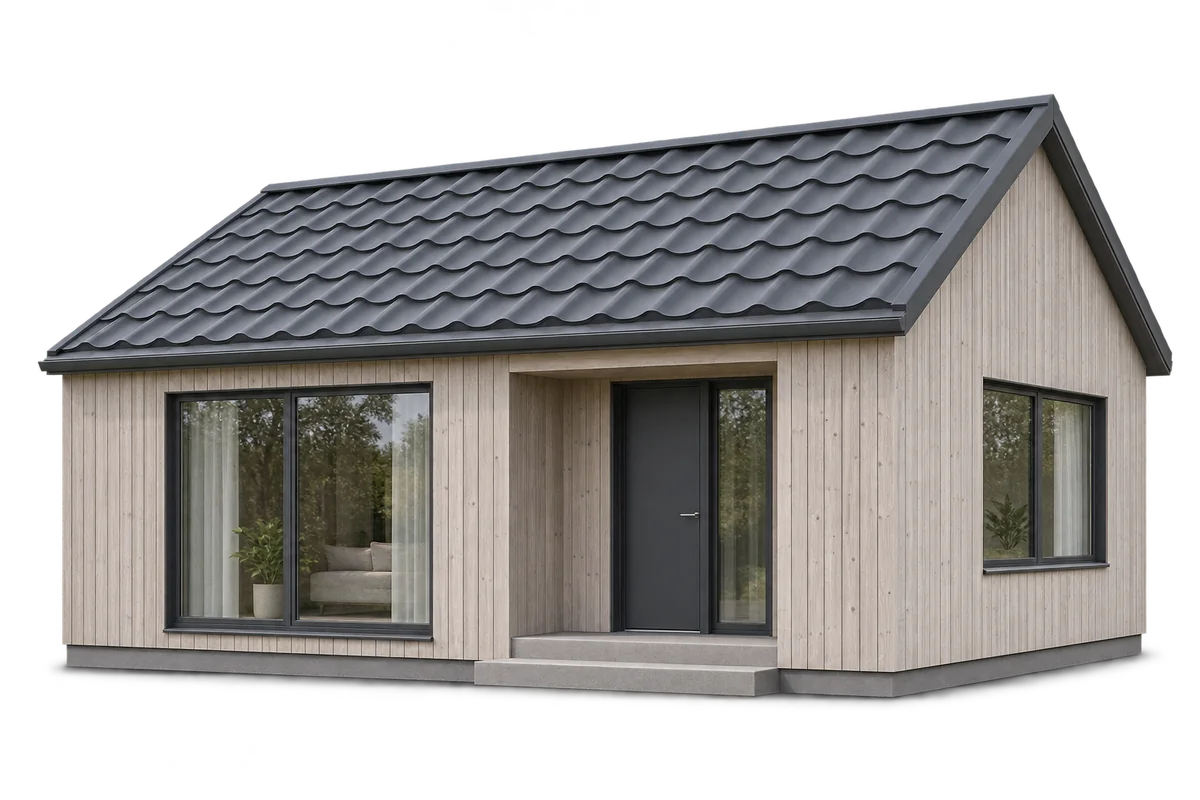
It helps to separate a year-round timber house project into three outcomes: a delivered structure, a weather-protected building and a home ready…
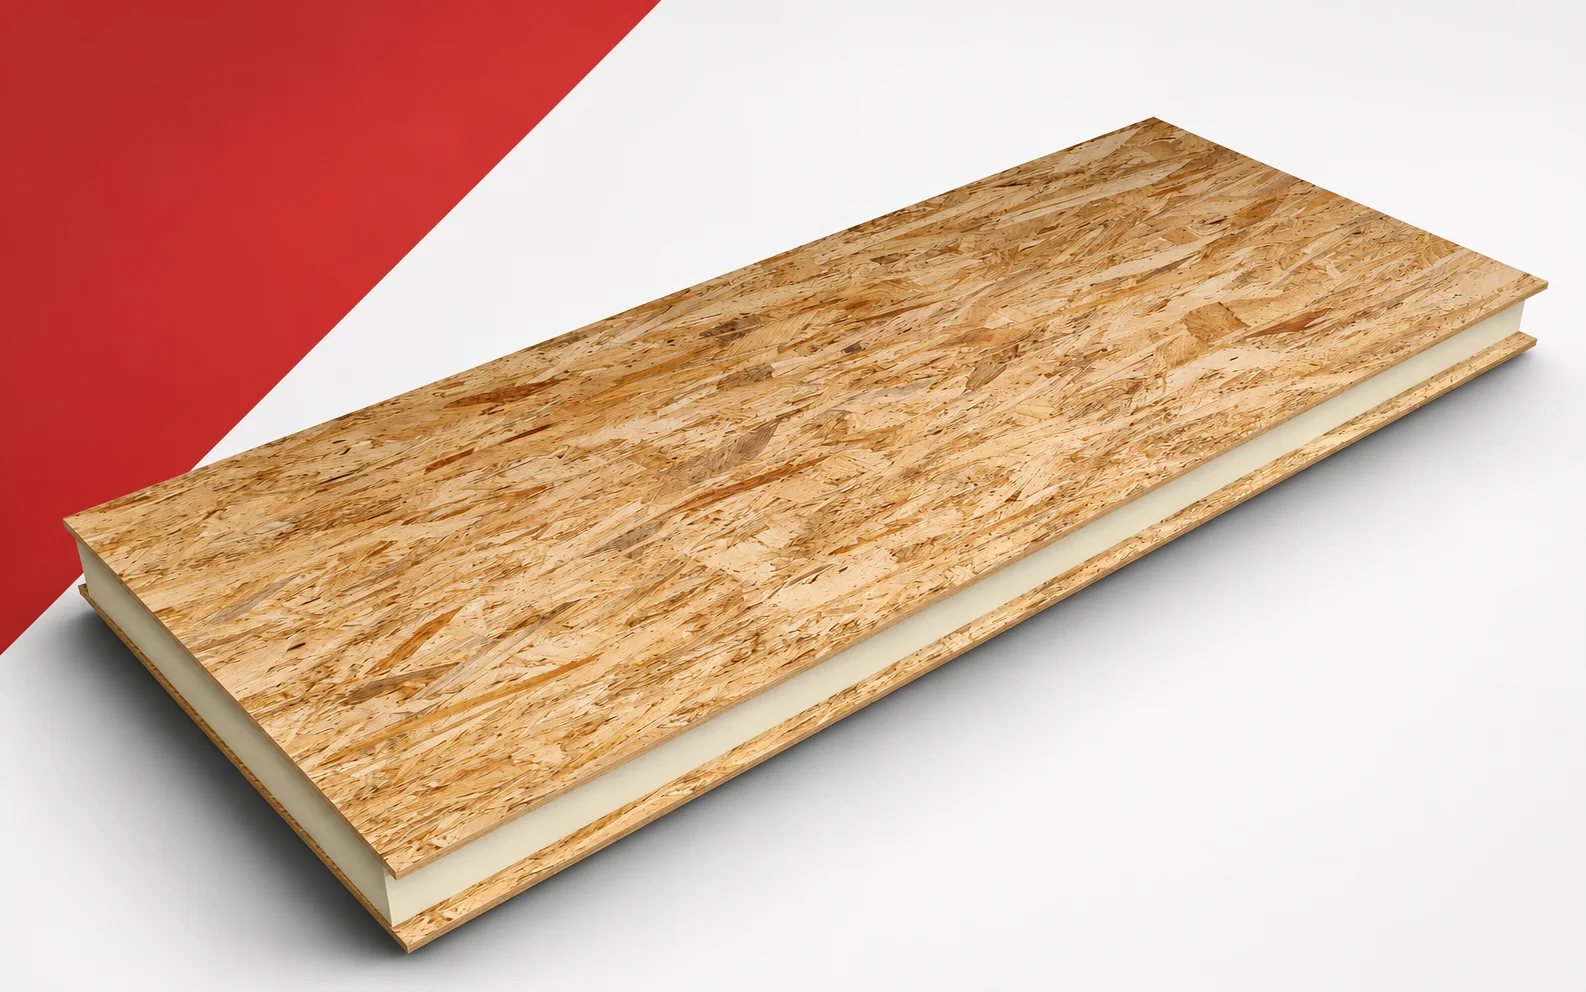
The IDELCO α-therm SIP and a plain PIR board improve thermal performance in different ways. The panel contains facings that participate in…
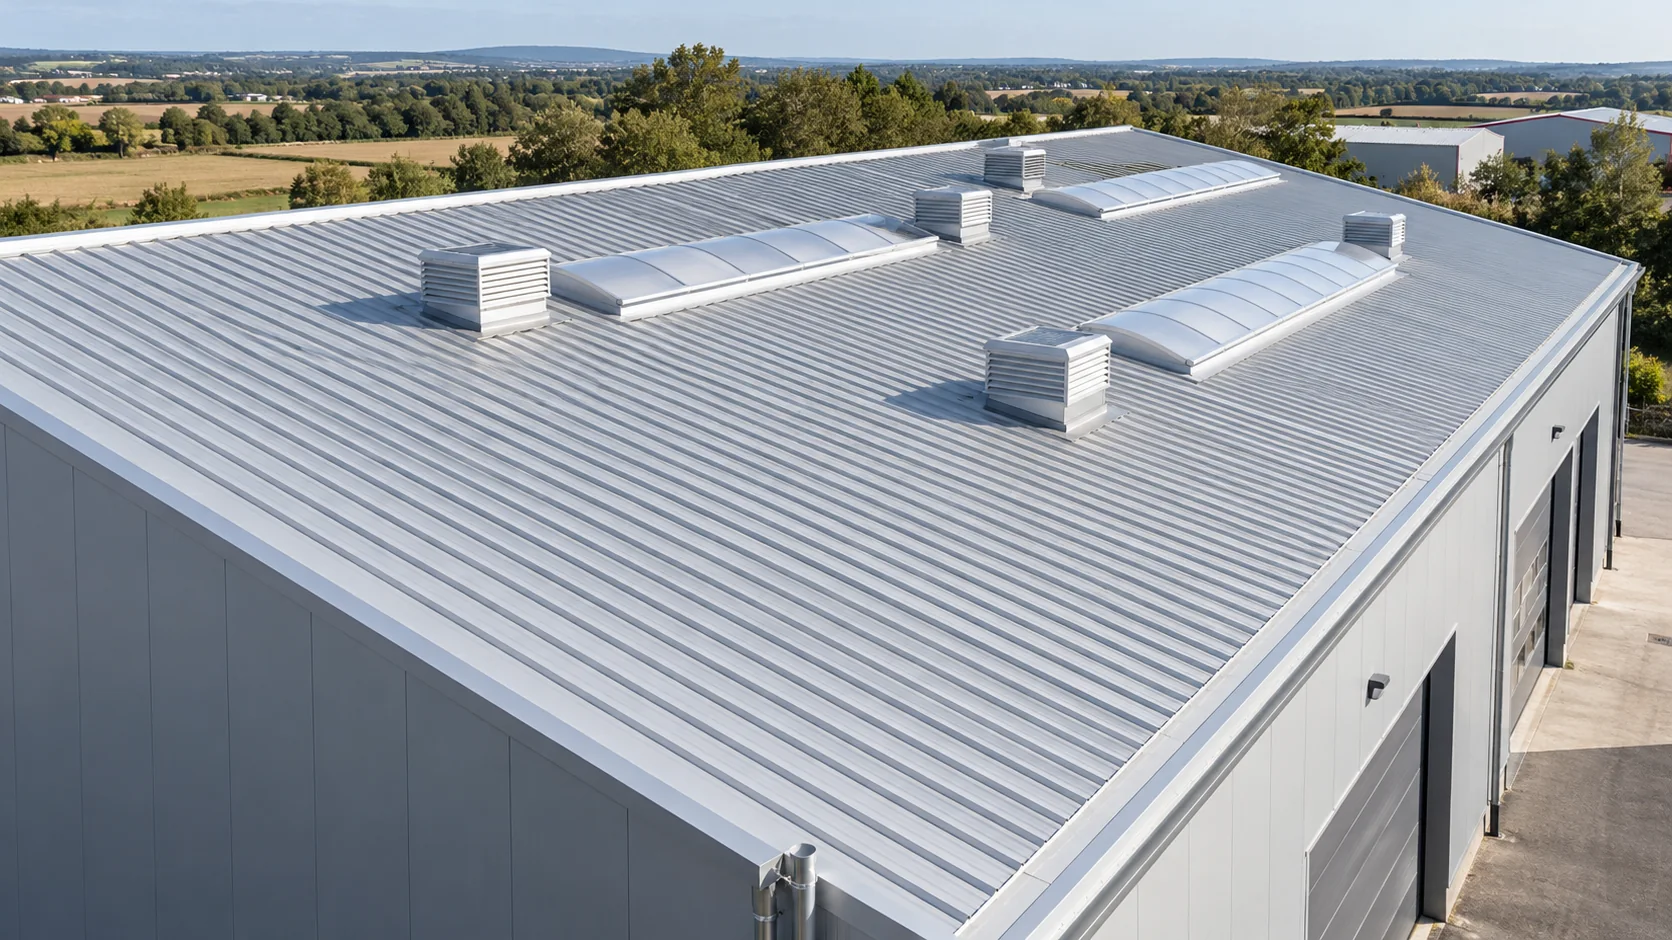
Before altering a PIR panel roof, identify the exact product and the assembly in which it was tested. Check three separate properties:…
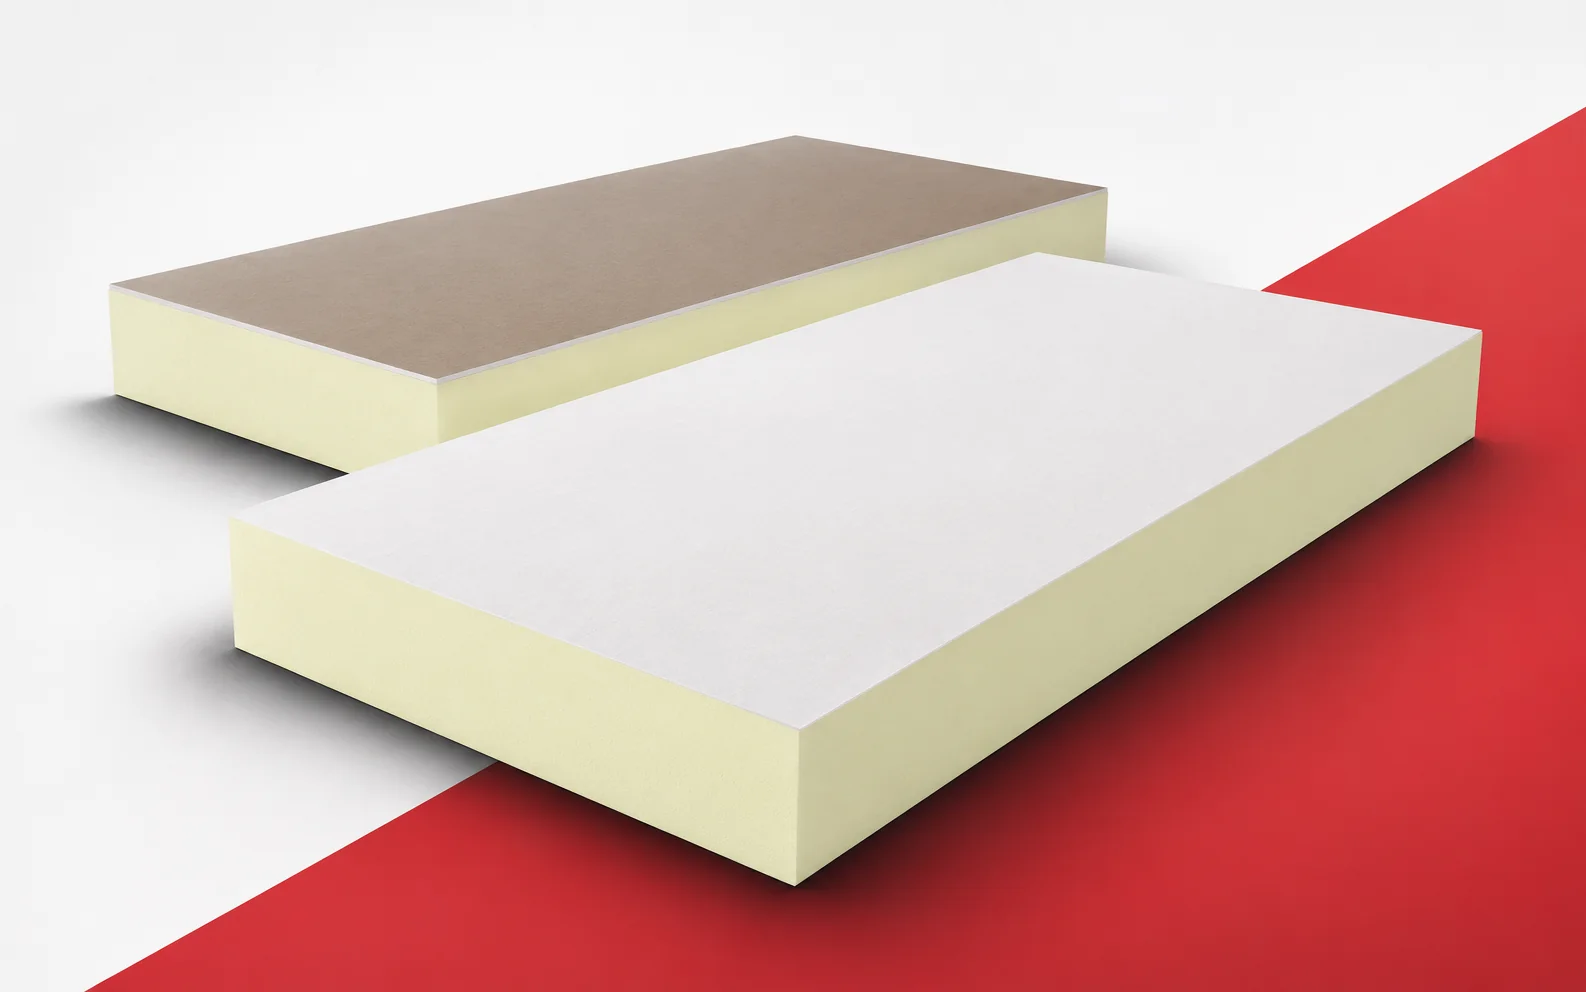
In a small room, the thickness of the insulation directly affects the usable space. termPIR AL GK combines insulation with a finishing…

After ALU TG has been laid, the regular field looks tight. At the perimeter, however, cut pieces without the full factory profile…