

PIR insulation
How do you choose insulation that will serve your home for years?
The life of insulation depends on the product, its service conditions and how the installer forms the junctions. Before adding insulation, repair leaks and check the floor, wall or roof build-up. PIR boards can provide high thermal resistance in a thin layer, but the product documentation must confirm suitability for the intended use. This guide covers ordering, storage, installation and inspection. On a roof, check temperature, fixings and compatibility with the waterproofing. Under a screed, consider the loads and deformation over time. A wall has its own moisture and fixing requirements. A low conductivity value alone cannot establish that the same board suits all three.
In this guide
Start with a board suited to its application
Check the datasheet for the full grade designation, thickness range and intended use.
A suitable PIR board can supply high thermal resistance without adding excessive depth. Different areas of the house may need different facings. An adhered roof system, for example, may need a different surface from a rendered external insulation system. EPS, XPS and mineral wool can also be durable choices when their properties match the job and the build-up protects them appropriately.
Check documentation, delivery and storage
Compare the pack labels with the drawings and your order. Keep the declaration of performance and the installation instructions for the product delivered. An invoice that simply says ‘insulation’ will tell you little later. Inspect edges and facings at delivery. Assess damage before installation, since covering it does not remove its effects.
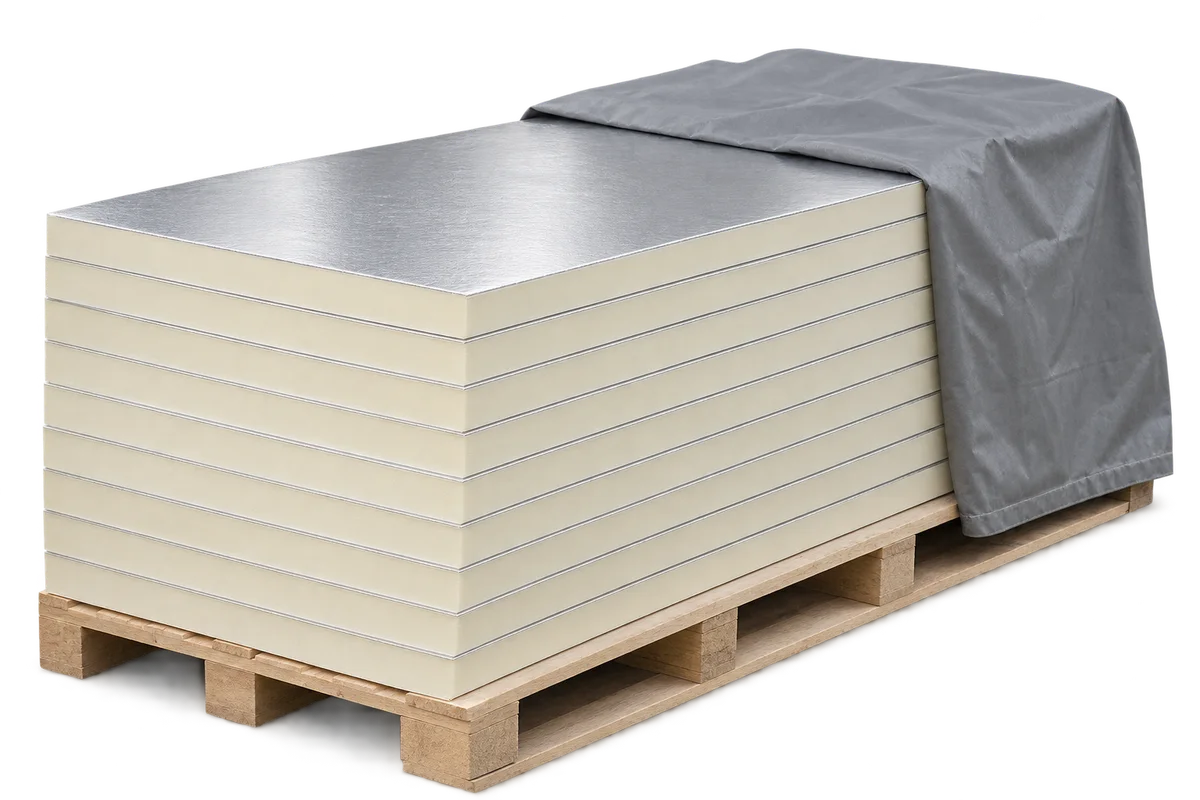
Store boards on the specified base with the weather protection the manufacturer requires. Factory wrapping is not intended as permanent outdoor storage. Secure the boards against toppling and protect them while moving them. Plan cuts to minimise waste. An organised storage and cutting area helps keep facings intact.
Low water absorption still requires a watertight roof
Water can reach insulation through a damaged covering, flashing or service penetration. Even a board that absorbs little water cannot stop a leak or protect nearby timber and joints from it. Find the source of existing damp before insulating. Covering wet layers can make continuing water entry harder to detect.
Water vapour and air movement through the element need a separate assessment. The build-up should limit harmful condensation and allow for drying. A PIR facing with high vapour resistance needs properly detailed joints. Assess the complete section before adding another vapour-tight layer, including its junctions with windows and walls.
Allow for pressure and structural movement
Roofs may carry snow, maintenance workers and equipment. Floors carry their layers, furnishings and occupants. A board’s compressive stress at a specified deformation does not directly give a permissible load for years of service. Use long-term data and design the load distribution. An equipment foot should not bear directly on exposed insulation by chance.
Follow the design or the applicable system guidance for fixings. Wind forces vary across a roof with its geometry and the position on the slope. On façades, assess the substrate and the load path. Keep the specified number of fixings even on lightweight boards. Every layer needs a secure connection to the structure.
Detail the joints, edges and protective layers
Pay particular attention at the base of a wall, eaves, parapets, reveals and terrace thresholds. Design each junction for continuous insulation and drainage. Filling gaps with an arbitrary foam cannot achieve both functions. Select compatible accessories, adhesives and sealants and prepare their bonding surfaces as specified.
Check how the documentation accounts for changes in thermal properties over time. Declared conductivity may already take foam ageing into account. Look past general descriptions such as ‘resistant’ and check what the product can withstand. Sunlight, chemicals and water affect different products in different ways. Choose protection for the actual exposure.
Provide access for inspection and repair after installation
Photograph important joints and penetrations before concealing them. Record the materials and the locations of items needing service access. Allow inspection of roof and façade flashings, outlets and seals. Finding a small fault early can spare a large area of insulation from replacement. Access matters as much for future maintenance as a good seal does on completion.
Service life varies by material, construction and conditions of use. A suitable insulation layer can retain its designed function for a long time if it is protected and maintained. Base the choice on the board properties, junction design and expected use of the space. This allows you to take advantage of PIR’s slim build-up while meeting the other requirements of the house.