

PIR insulation
Insulating and lining a wall in one step: when to choose PIR insulated plasterboard
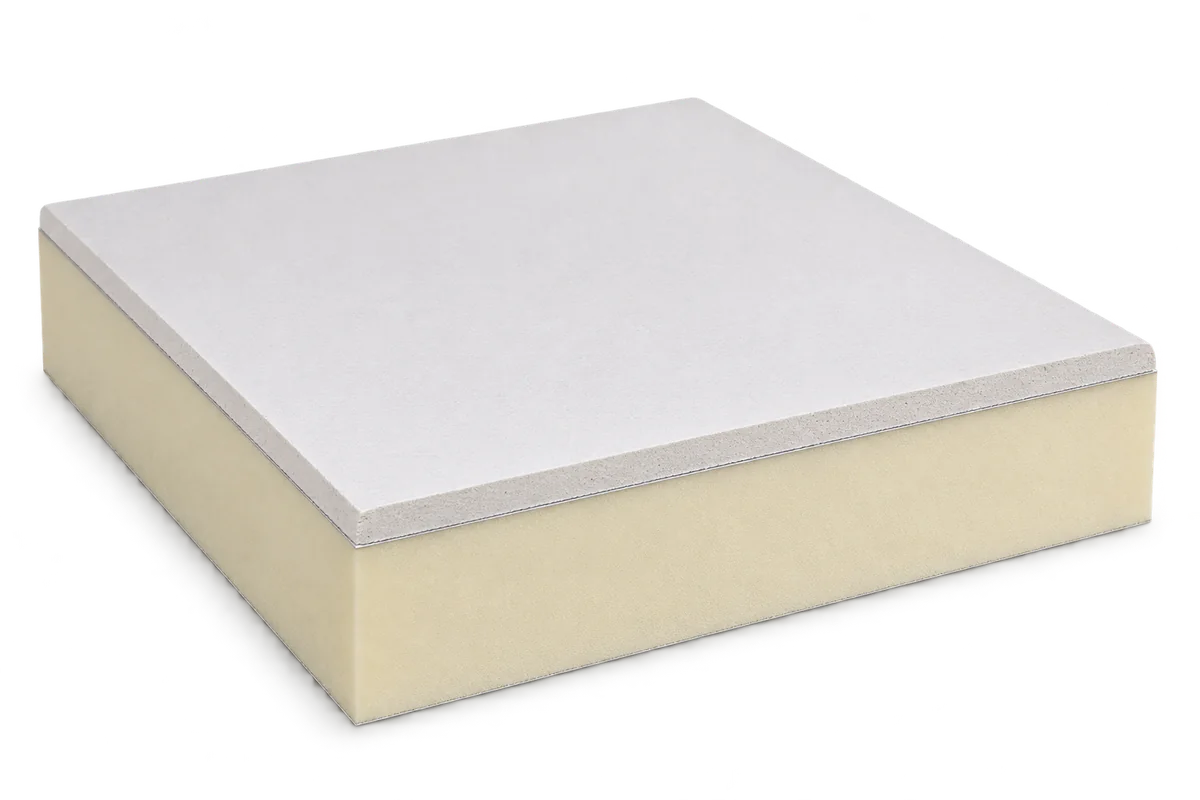
PIR insulated plasterboard combines thermal insulation with a surface ready for interior finishing. It can simplify refurbishment where space is tight and installation time matters. Before fitting it, assess the wall’s condition, specify suitable fixings and design airtight junctions. An external wall insulated from the inside needs particular attention. The PIR core provides insulation and the factory-bonded plasterboard faces the room. Facings and an adhesive layer may lie between the two. A damp or cold wall needs a diagnosis before it is lined. This product also differs from the sandwich panels with two steel faces used to enclose industrial buildings.
In this guide
How is insulated plasterboard made?
Keep the product names distinct when ordering: the two types of panel serve different purposes.
Check the overall board thickness, the plasterboard type and the properties of the composite product before ordering. The PIR core thickness accounts for only part of the finished lining. Allow for adhesive or framing and any finish. Measure window reveals, sills and socket positions with the complete build-up in mind.
Where does thinner insulation help?
PIR with low thermal conductivity can achieve a given thermal resistance in a thinner layer than many common EPS or mineral wool products. The space saving can matter in a narrow room, passage or recess. Its size depends on the actual materials and their installation. Compare complete assemblies before deciding how much room you will gain.
Bonding the plasterboard to the insulation reduces the number of separate components to install. The joints still need to be formed accurately, filled and prepared for painting. Between rooms at similar temperatures, acoustic performance or impact resistance may matter more than thermal insulation. Assess these properties for the complete wall.
What should you check before insulating from the inside?
Determine what is causing damp patches, water staining or mould. Lining the wall will not stop a roof leak, rising damp or defective drainage. The substrate must be sufficiently dry and able to carry the lining. In an old building, inspect the plaster and the areas where adhesive or fixings will carry the boards.
Internal insulation changes the temperature distribution through the existing wall. The masonry behind the boards becomes colder and its drying behaviour can change. Assess heat and moisture movement through the wall layers under the expected room conditions. Even a vapour-resistant facing needs to be considered as part of the whole assembly.
Adhesive or mechanical fixings?
Follow the product instructions for the substrate in question. Some systems are bonded, others use framing and mechanical fixings, and some combine the methods. An adhesive intended for ordinary plasterboard may be unsuitable for a composite board. Check adhesion, stability and the conditions the finished lining will face.
Maintain continuous insulation and the specified airtight layers across the joints. Use the system’s materials at gaps and around the perimeter. Unwanted airflow behind the boards can reduce performance. Include any framework in the overall depth. Heavy cupboards and appliances require suitable support beyond the boards themselves.
Planning window reveals and services
Cold spots may remain at floors, internal walls and windows after the main wall area has been insulated. Assess these junctions individually. Thin insulation can help at a reveal if it fits the frame and allows a continuous airtight connection. Include these junctions in the drawings along with the main wall area.
Mark sockets, cables and fixing points before installing the lining. Drilling at random can puncture layers that control air and water vapour movement. Provide adequate ventilation in the room. Moisture from cooking, bathing and drying laundry still has to be removed after heat loss has been reduced.
How do you finish the surface for use?
Finish the joints to the system specification and prepare the face for the intended wall finish. Select a plasterboard type suitable for the room conditions. Moisture-resistant plasterboard still needs the specified waterproofing in a wet area. Determine the fire performance of the complete wall from the relevant classification. Check the permitted uses of the composite board itself as well as the properties of its plasterboard face.
At handover, check flatness, joints and the details around openings. Keep a record of service routes and the fixing points prepared for fittings. PIR insulated plasterboard can save space and shorten a refurbishment when the system suits the existing wall and the junctions have been properly detailed.