

XPS insulation
Renovating a basement in stages: planning XPS insulation
Not every basement can be renovated in one go. Budget, access to walls or the way the house is used may impose limits. XPS can be included in a phased programme if the final build-up is established first. Extruded polystyrene suits many damp and loaded areas, but the material itself cannot organise the work. The priority is to prevent a later stage from undoing earlier improvements. A store for preserves, a laundry and a heated study need different approaches. Establish the future temperature, humidity and ventilation. These determine the boundary of the heated part of the building. The case for using XPS at the walls may differ in each situation.
In this article
Decide how the basement will be used
Do not start with an arbitrary board thickness simply because it is on offer.
If the basement will remain unheated, the design may also focus on the floor above it. If heating is planned, the complete enclosure becomes more important. Consider extruded polystyrene together with the floor, stairs and doors. This plan identifies which work is needed immediately and which can wait.
Start by assessing the structure and water
Before finishing the interior, check wall moisture, the watertightness of penetrations and the condition of existing protective layers. An inspection after rain may reveal problems that dry weather conceals. If leaks occur, their source needs repair. Installing XPS does not replace this work.
Also assess access from outside. Excavations beside an old foundation require a safe sequence. The designer must account for the building structure and the ground. Extruded polystyrene is only one material in the plan. Before it arrives, drainage, services or substrate repairs may be needed to secure the durability of the renovation.
Plan the next section before finishing the first
Phased insulation requires planned stopping points. The edge of the XPS must remain suitable for joining the next section later. Protect it during the break and allow access for further work. Keep measurements and photographs so that months later the build-up does not have to be reconstructed from memory.
Connecting waterproofing between stages is as important as thermal continuity. Overlaps and preparation of the next section depend on the chosen method. Extruded polystyrene must not cover a location where a later waterproofing connection is required. The schedule should specify the application and inspection sequence for the layers, not merely the order of material purchases.
Allow enough height for the floor
Floor renovation is often a separate stage, but its level must be decided earlier. XPS, the floor base and finish reduce the basement’s clear height. Raising the floor also affects the step at the stairs, thresholds and door opening. Do not wait until the end to check whether the designed floor fits the room.
Select extruded polystyrene beneath the floor for the loads and long-term deformation. Even support is also important. Account for the positions of heavy equipment or shelving. The widespread use of XPS in floors does not mean that every grade suits every item of basement equipment.
Do not cover a damp wall with new lining
Finishing work is tempting because it quickly improves appearances. If masonry remains damp, first address the cause and assess drying conditions. Internal XPS insulation changes temperatures and water-vapour transport through the building element. It requires a separate assessment, particularly with old masonry.
Do not replace that assessment with the informal claim that Styrodur is unaffected by water. The board’s resistance says nothing about the structure behind it. Extruded polystyrene can be part of a sound solution, but its location must follow an assessment of the whole wall. Connections to the ceiling, floor and adjoining internal walls matter.
Separate orders by application
XPS for walls, floors and a rendered plinth may need different properties. Specify these groups separately, even if one vehicle delivers them all. Manufacturers include Austrotherm, swisspor and URSA. Select the appropriate product variant, rather than relying on the manufacturer’s name alone.
Keep the documents from the first delivery during a phased renovation. They let you compare specifications at the next stage. A similar-looking product need not be identical. Protect unused XPS from sunlight, damage and incompatible chemicals. A longer break between stages does not remove the need to follow the manufacturer’s storage requirements.
Inspect and sign off each stage
Before backfilling a wall or installing the floor, check the XPS condition, thickness and joints. The inspection should also cover waterproofing and service penetrations. A record of completed work with photographs helps with payment checks and planning the next stage. Pay particular attention to places that will become inaccessible.
Phased basement renovation can be a sensible way to spread costs, but it requires a single plan for the finished result. Install XPS in a defined sequence with prepared connections. Each section then contributes to the final outcome, instead of becoming a temporary fix that the next team must remove to repair missing waterproofing or an incorrect floor level.
7 branches. Materials closer to your project.

Free quote
Materials for your project

You may also find useful…
A schedule of the layers of a building envelope with PIR boards and a second insulating material makes sense only if each…
Select roof insulation for the layer arrangement, available height and loads. PIR often achieves the required thermal resistance at a smaller thickness.…
A home with a low heating demand needs insulation layers that connect properly. Board thickness alone does not determine the result. XPS…
Exposing a foundation is an opportunity to improve an old house's thermal protection, but the work does not start by sticking boards…
Every centimetre can matter when renovating a house. Door levels, room height or the width of a passage may limit the space…
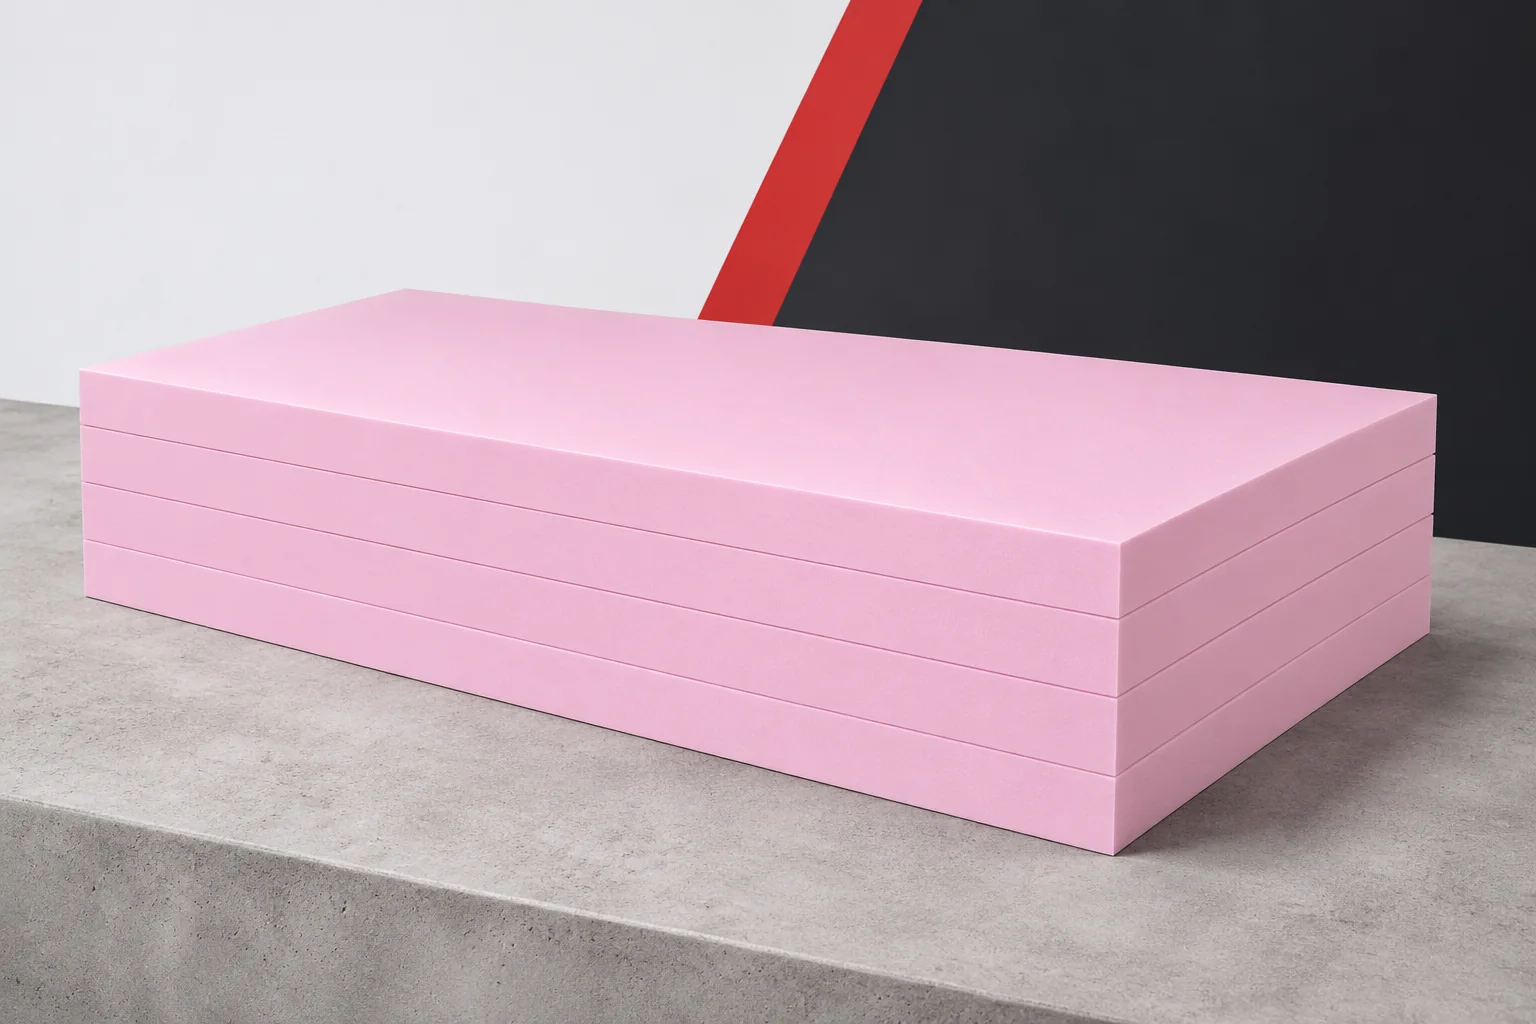
Two XPS offers may look alike while covering different thicknesses and specifications. A cheaper pack does not show which layer will reduce…
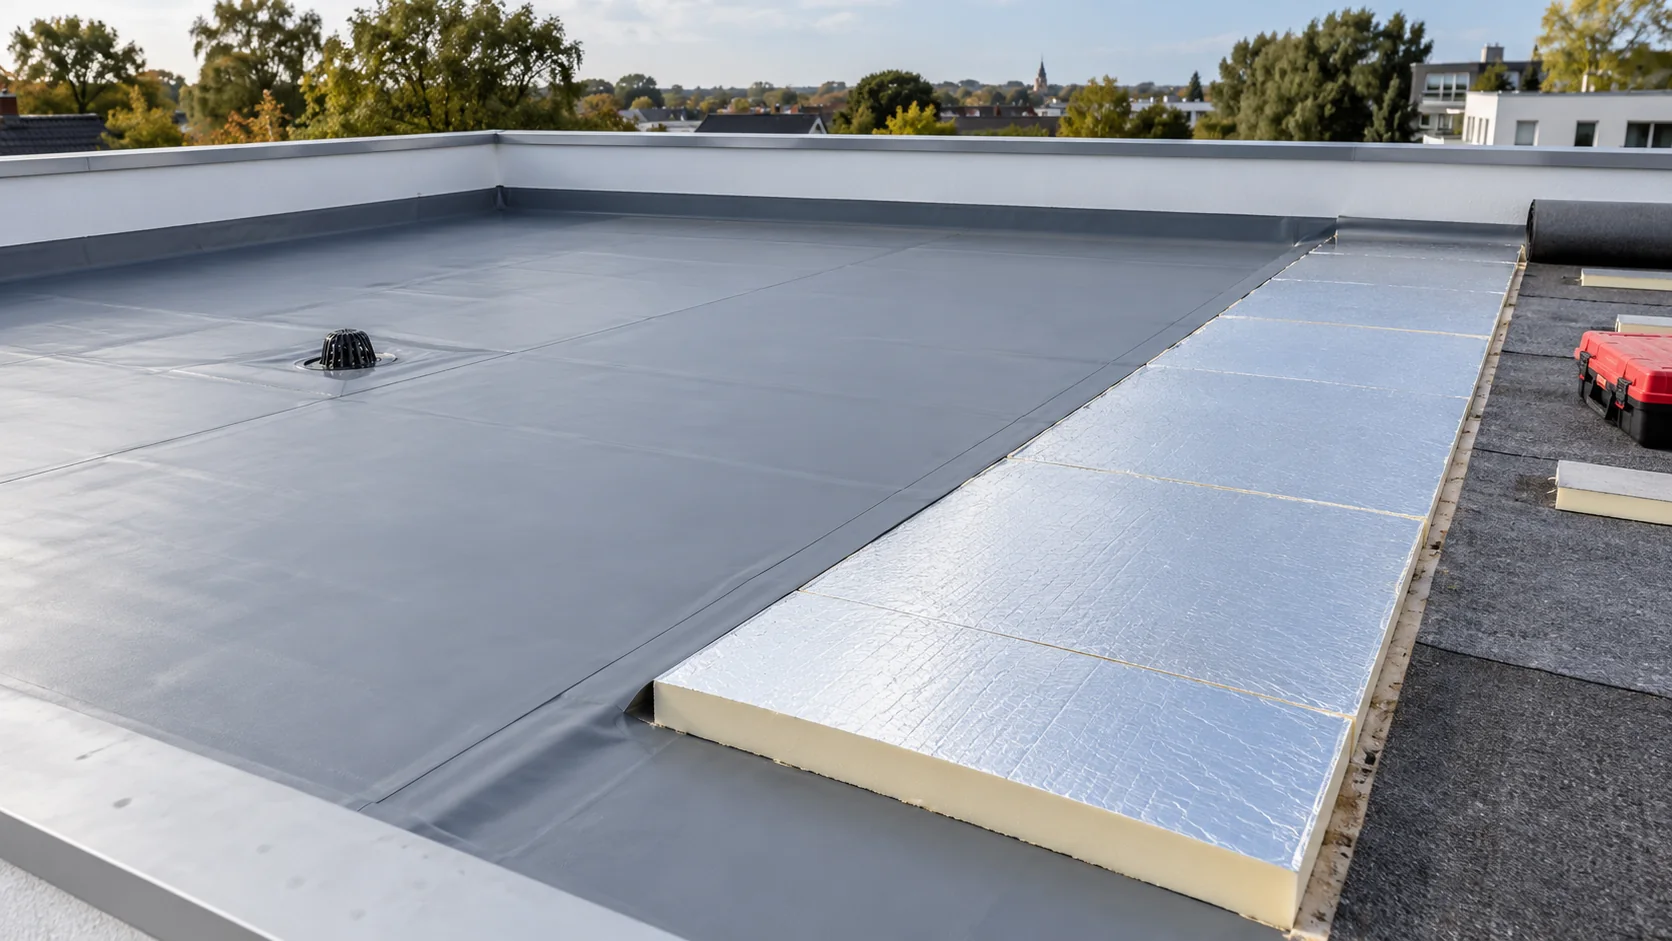
Flat-roof insulation selection starts with the position of the waterproofing. In a conventional warm roof it protects the insulation from above; in…
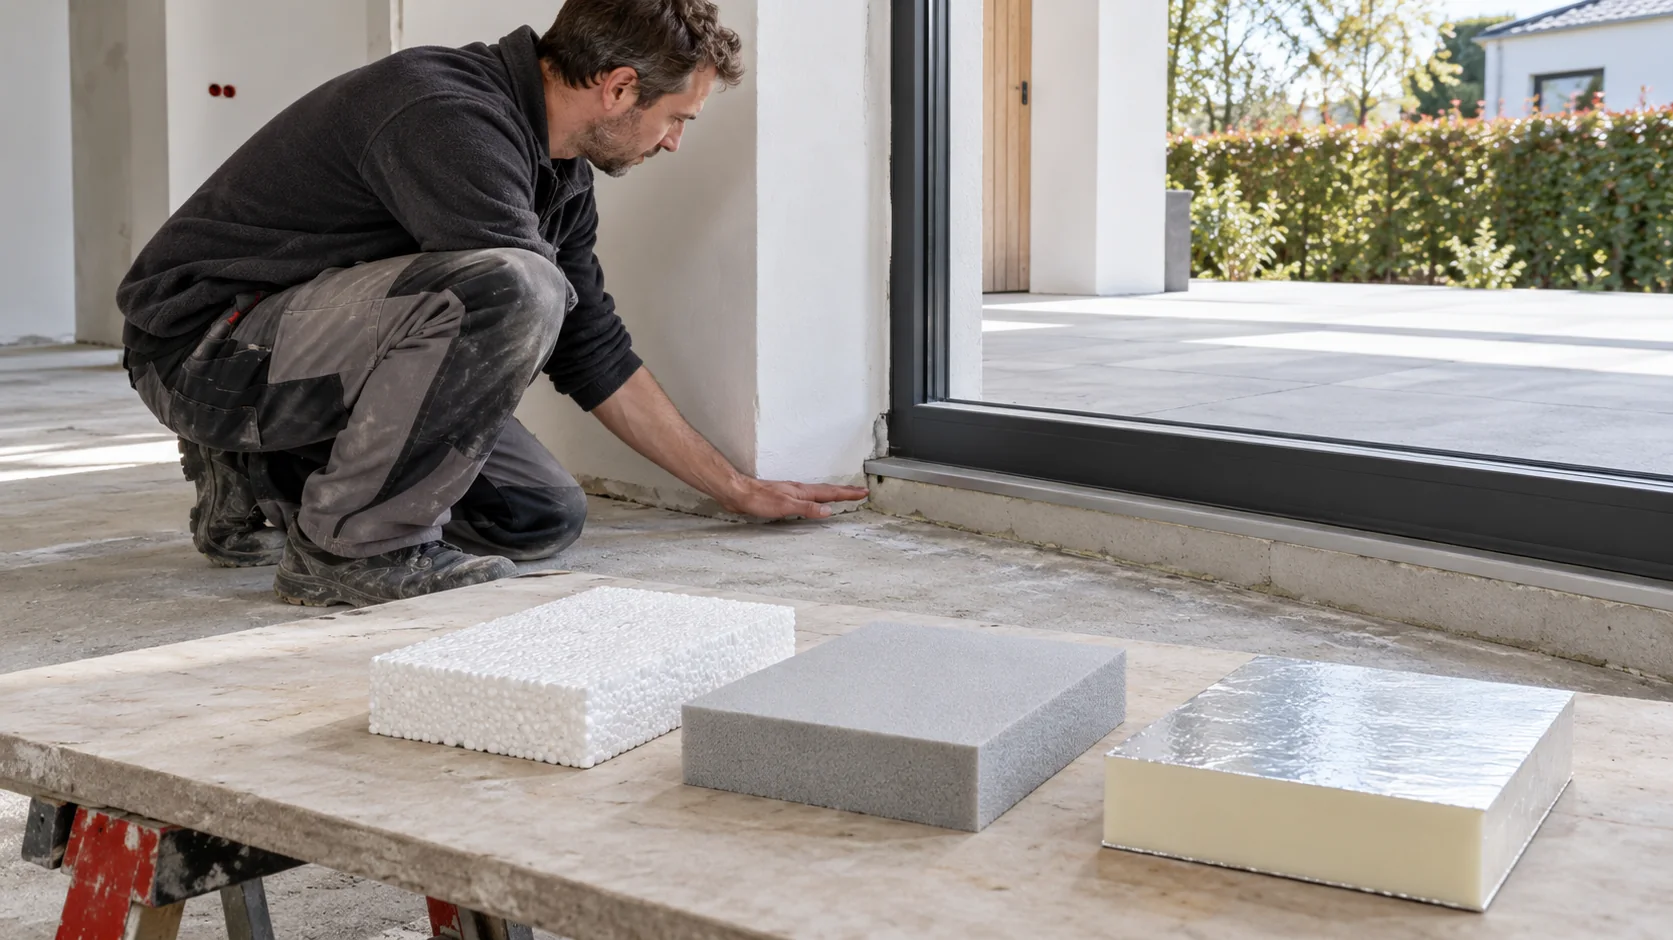
No single insulation material is best throughout a house. On a façade the render system matters, in a floor the loading, and…