

Building refurbishment
How to install sandwich panels over an existing masonry wall
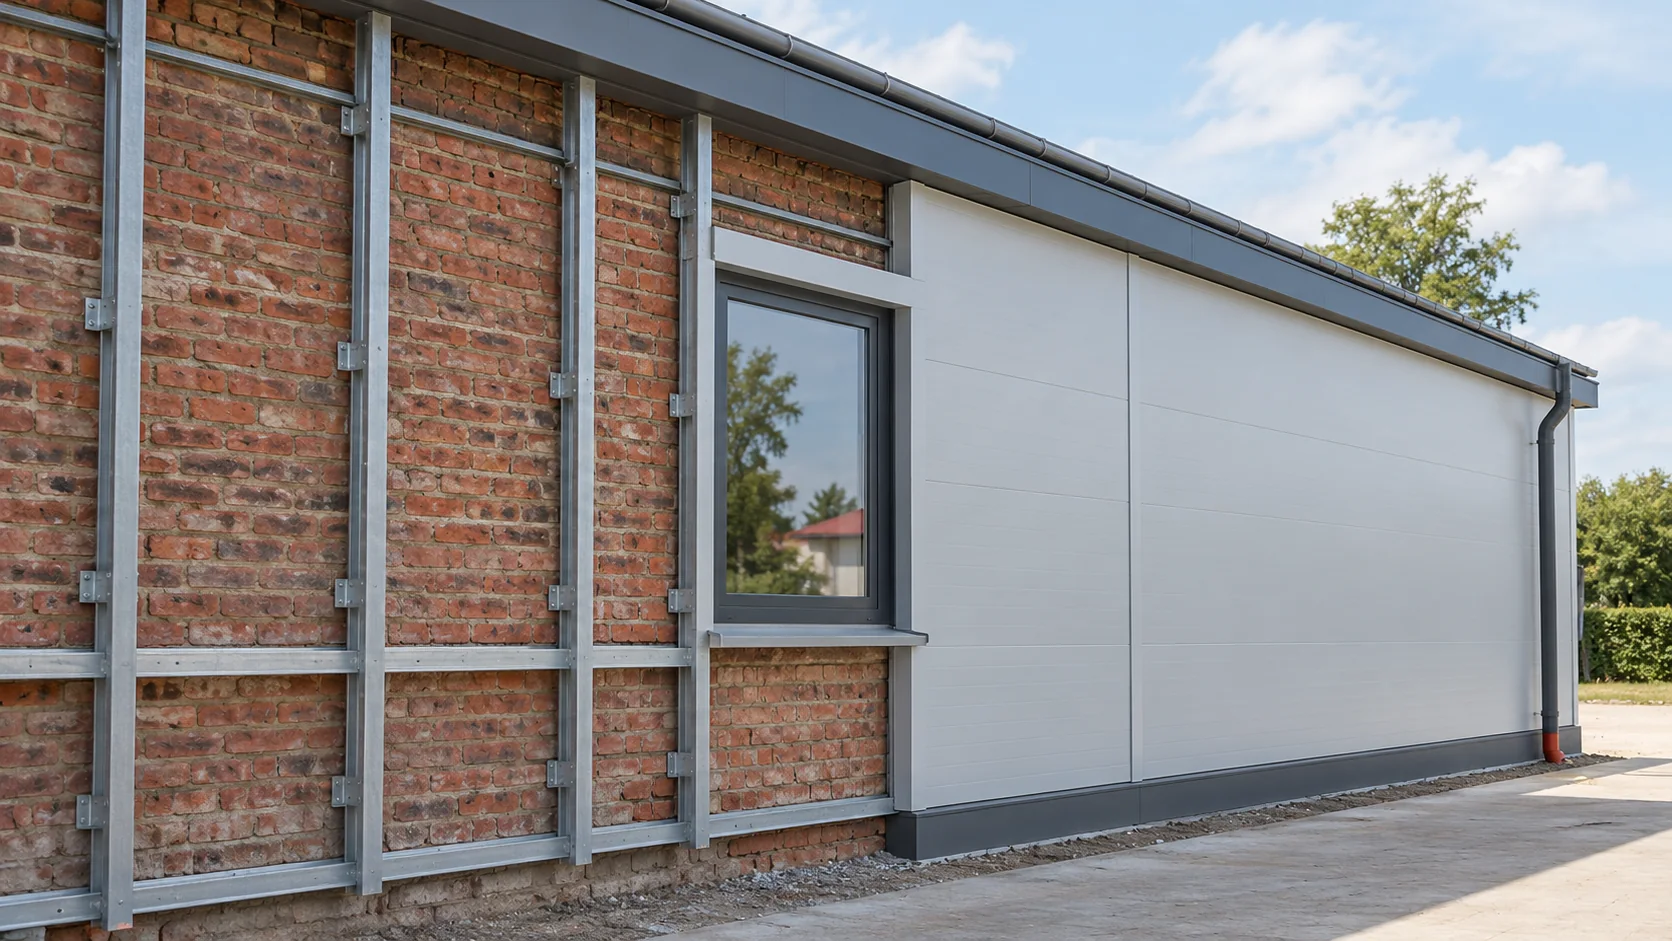
Before cladding an existing masonry wall with sandwich panels, establish what the wall is made of and how the panel loads will reach the supporting structure. A subframe is a common option. Its design depends on the substrate, the condition of the wall and the distance between the masonry and the new façade. Inspect cracks, loose render, damp patches and the proposed anchor locations. Older walls can contain several materials and local repairs beneath the same finish. Arrange the tests called for by the fixing design. Check how the wall will dry and how the added thickness will affect windows, doors and everyday access.
In this guide
Inspect the masonry while it is still exposed
Establish the extent of masonry repairs and address the causes of leaks or rising damp before cladding begins. Covering a wet wall can slow drying and make further deterioration difficult to spot. Structural defects also need to be assessed while the wall is accessible.
Design the supports and anchors
The subframe provides an even bearing surface for the panels and transfers their weight and the wind loads to the supporting structure. Choose anchors for the actual substrate, whether solid brick, hollow masonry, concrete or another material. Determine anchor type and spacing for those particular conditions.
The design should specify the subframe members, their connections, the anchors and the panel fasteners. It must account for the offset from the wall and the forces that arise from it. A long screw driven through old render provides no evidence of adequate bearing or a durable connection.
Assess heat and moisture through the wall build-up
Assess the existing masonry and the new panels as one wall assembly. Check temperatures through the layers, water vapour and the potential for drying. If the design includes a cavity, define its purpose. Ventilation depends on the planned air inlets, outlets and closures.
The extra layers also affect how the complete wall performs in a fire. Check whether the assessment for the panel covers its use over masonry. Include junctions at floor levels and at the roof when assessing the new façade as part of the building.
Detail the base and openings before ordering panels
A thicker façade changes reveal depths, sill projections and access to doors. Check that windows and doors will open fully and that flashings discharge water clear of the new wall face. Detail the plinth to protect the lower panel edges and keep this dirt-prone area accessible for inspection.
Locate pipes, vents and cables before the panels go into production. Detail each penetration to suit its function. Attach fixtures to masonry or structural members designed for their loads. A thin panel facing alone provides insufficient support for arbitrary brackets.

Plan the sequence of work
After repairing the substrate, install the anchors and subframe. Check the frame alignment and corrosion protection, then prepare the specified sealing tapes, bearings and starter details. Inspect and accept the subframe before the panels conceal it.
During installation, check that the correct face points outwards, the joints close properly and the fasteners apply the specified pressure. Protect the coatings and remove metal swarf as work proceeds. Resolve deviations in the subframe before fitting flashings. Photographs of the exposed anchors and connections will help at handover and during later repairs.
Budget for the complete refurbishment
Allow for masonry preparation, the subframe and anchors, panels, flashings, access equipment and labour. For a 100 m² wall, an illustrative budget might allow €3,703 for panels, €1,967 for the subframe and anchors, and €2,199 for the remaining work. The total is about €7,869 excluding VAT. These rounded amounts illustrate how to build up an estimate.
The actual budget depends on the condition of the wall, its height and the number of openings. Compare quotes covering the same work. Include masonry and sill repairs wherever they are needed, and allow for investigation of areas whose condition will only become clear when opened up.
Inspect the junctions at handover and during the first season
At handover, inspect flashings, seals, drainage paths and the junctions with existing building elements. After the first spell of heavy rain, examine the interior and the foot of the façade. If you find damp, trace its source before applying additional sealant.
Keep the subframe drawings and anchor specifications. They show future installers where a replacement panel can be supported and how loads pass through the assembly. Retain access to any areas of the original masonry that need continued observation.
Frequently asked questions
Can sandwich panels be bonded directly to masonry?
Adhesive fixing requires a design and evidence of suitability for the specific self-supporting panel, wall substrate and loads. Check that the proposed system covers this form of attachment before specifying it.
Is a ventilated cavity always required?
The structural and moisture design determines the purpose of the space behind the panels. Its configuration must also account for heat flow, fire protection and the details at junctions.
7 branches. Materials closer to your project.

Free quote
Materials for your project

You may also find useful…
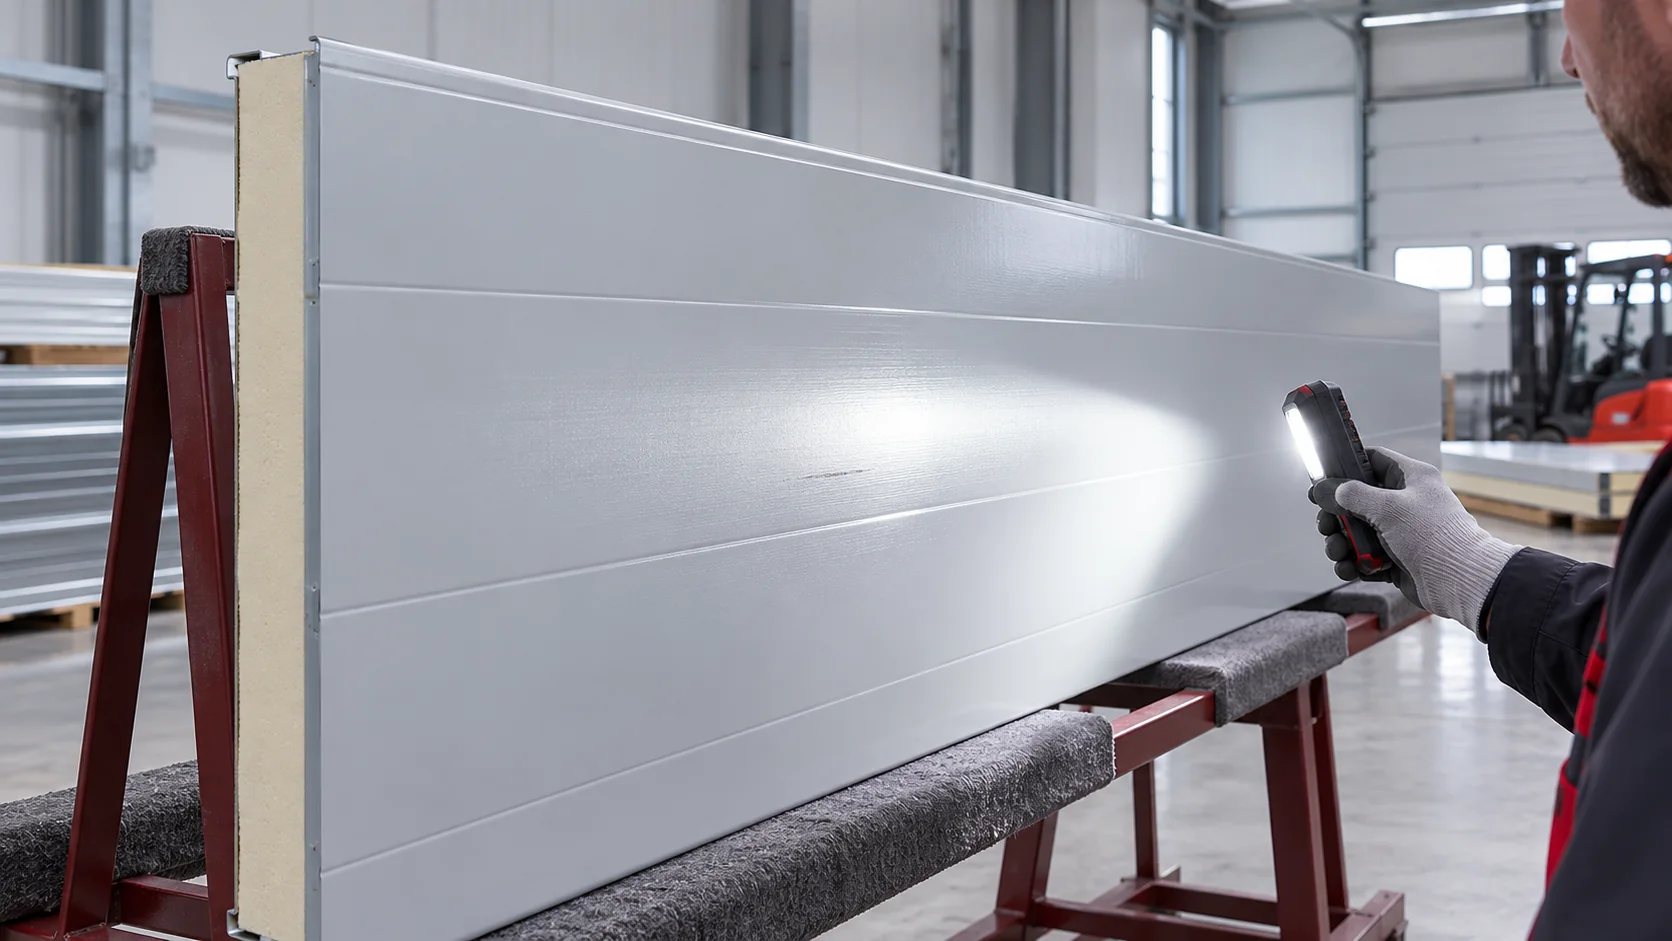
Start with the building specification when comparing first-grade sandwich panels with clearance stock. On a prominent façade, a consistent finish may be…
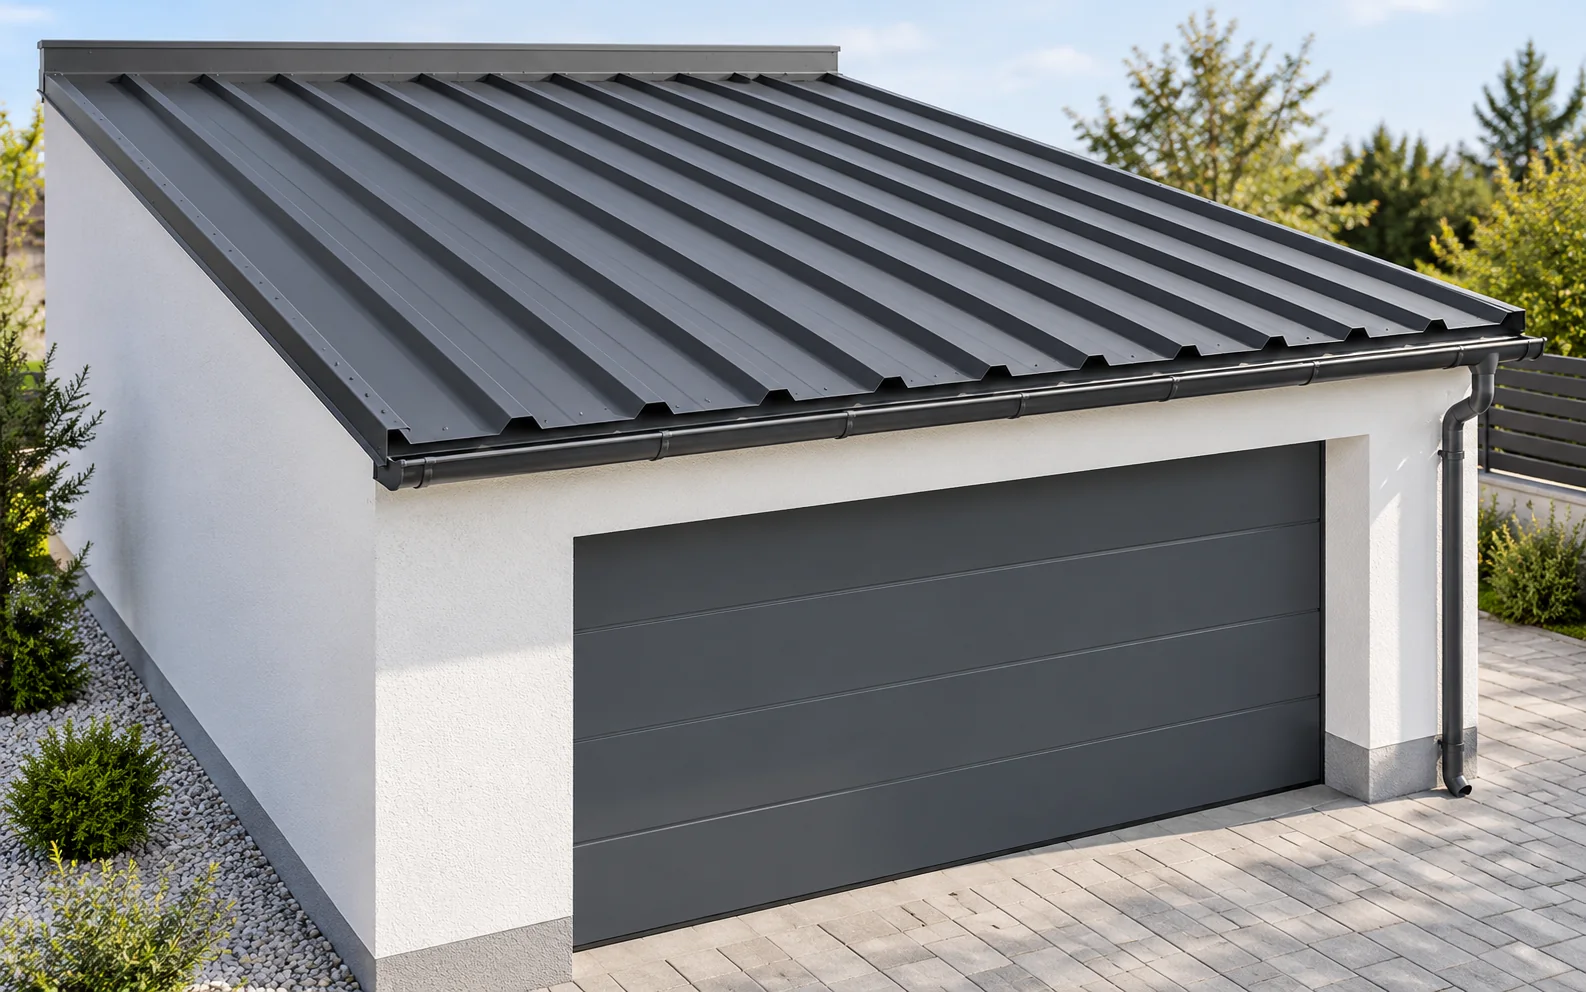
Single-skin trapezoidal steel sheet can suit an unheated garage if its load capacity matches the support spacing and the roof design allows…
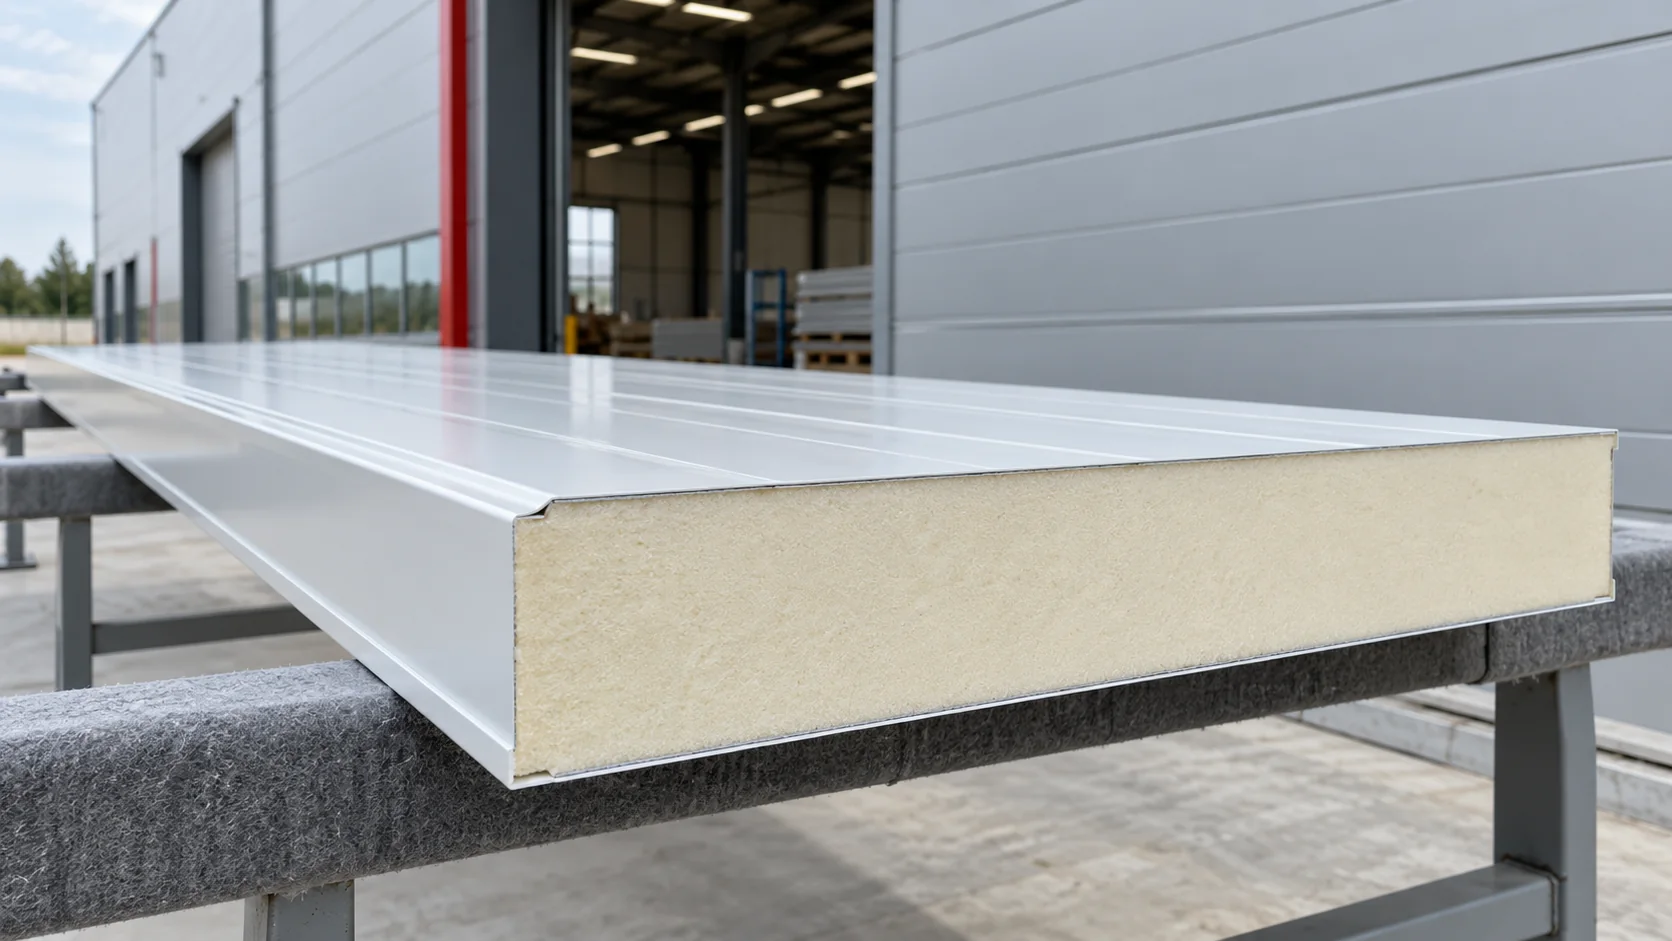
A sandwich panel combines two facings and an insulating core in one cladding element. In a typical steel-faced panel, the core limits…
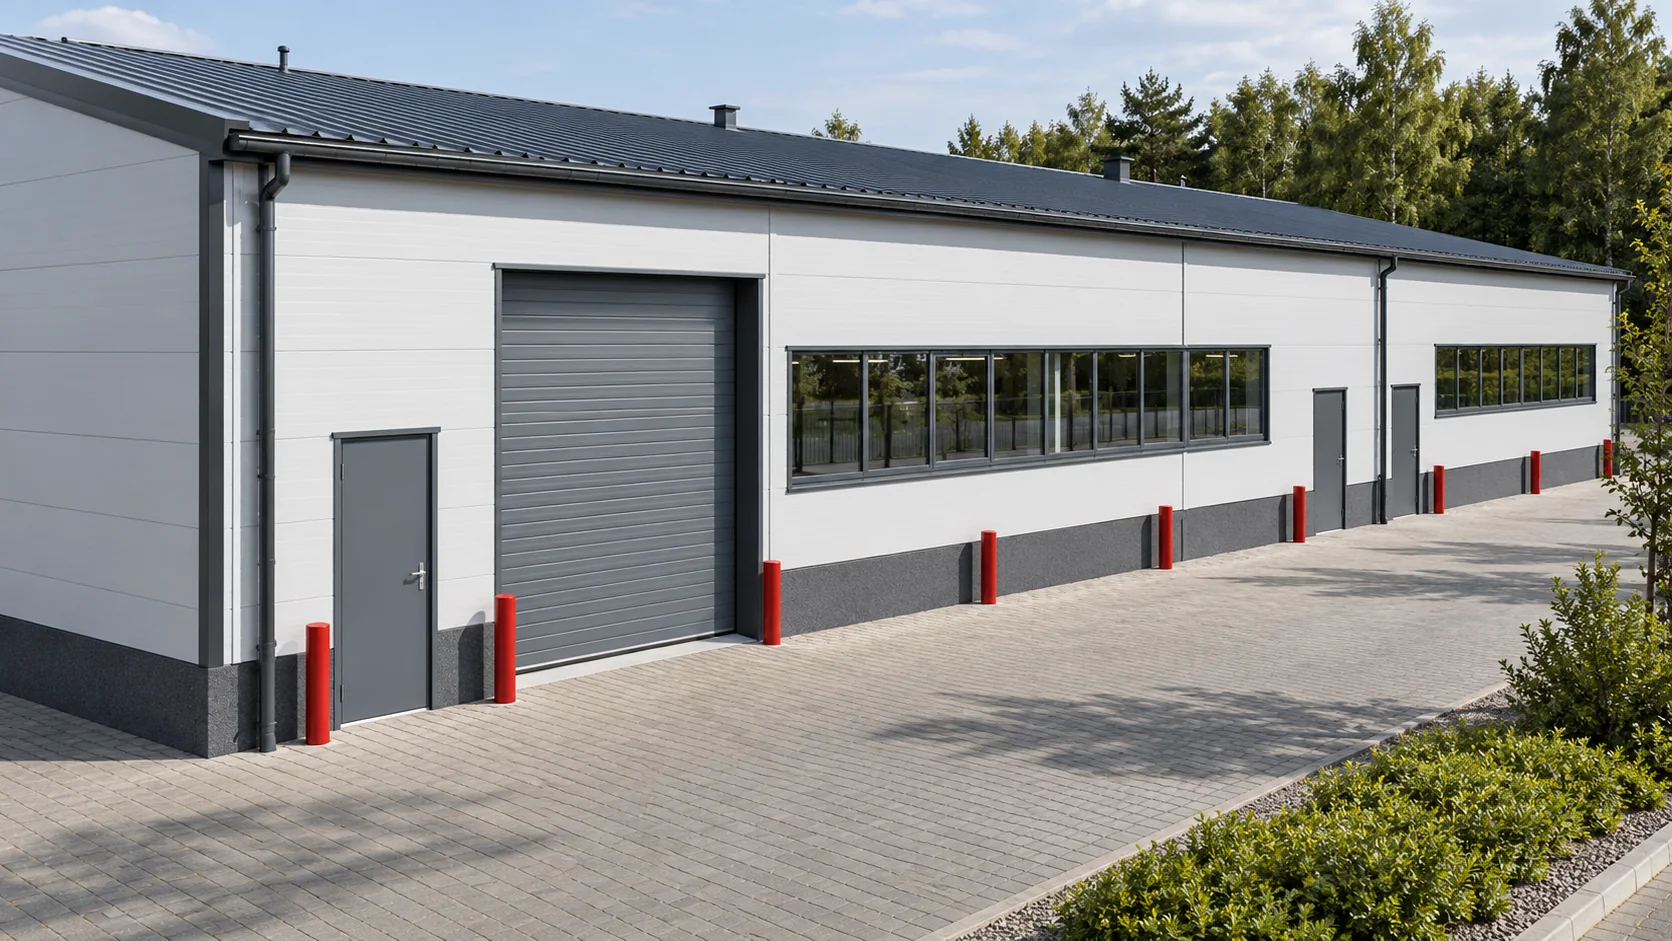
The price per square metre of sandwich panel reflects decisions made well before a discount is negotiated. Match the panels to the…
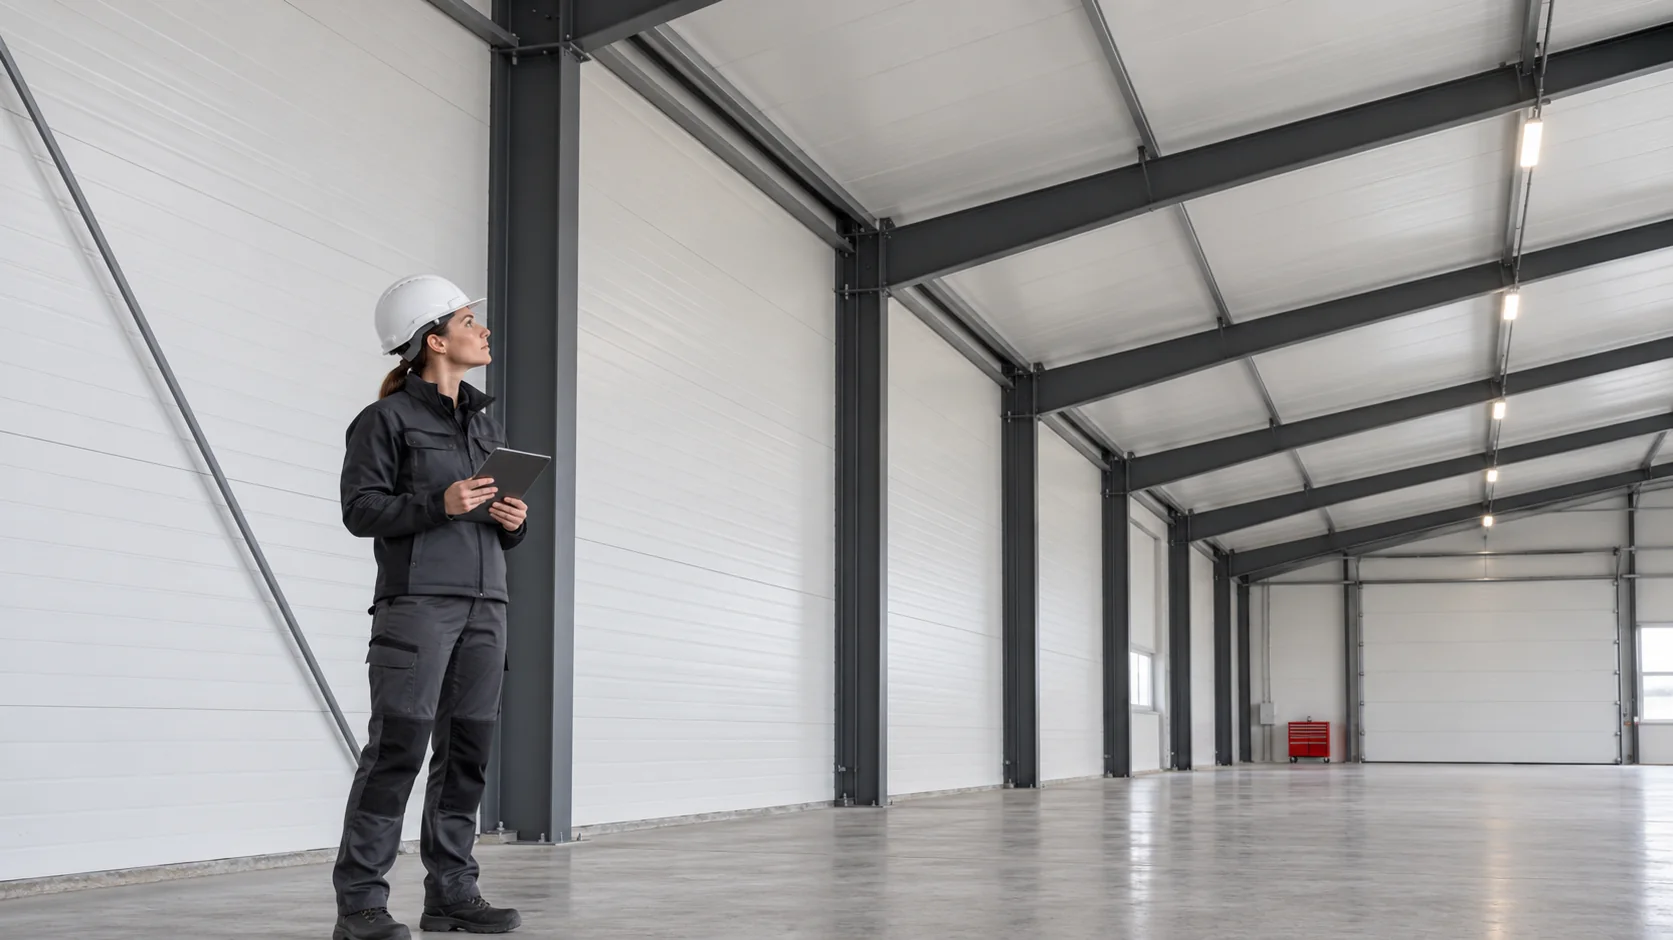
Start with the spaces on either side of the wall or roof. A heated production area, a cooler warehouse and staff rooms…
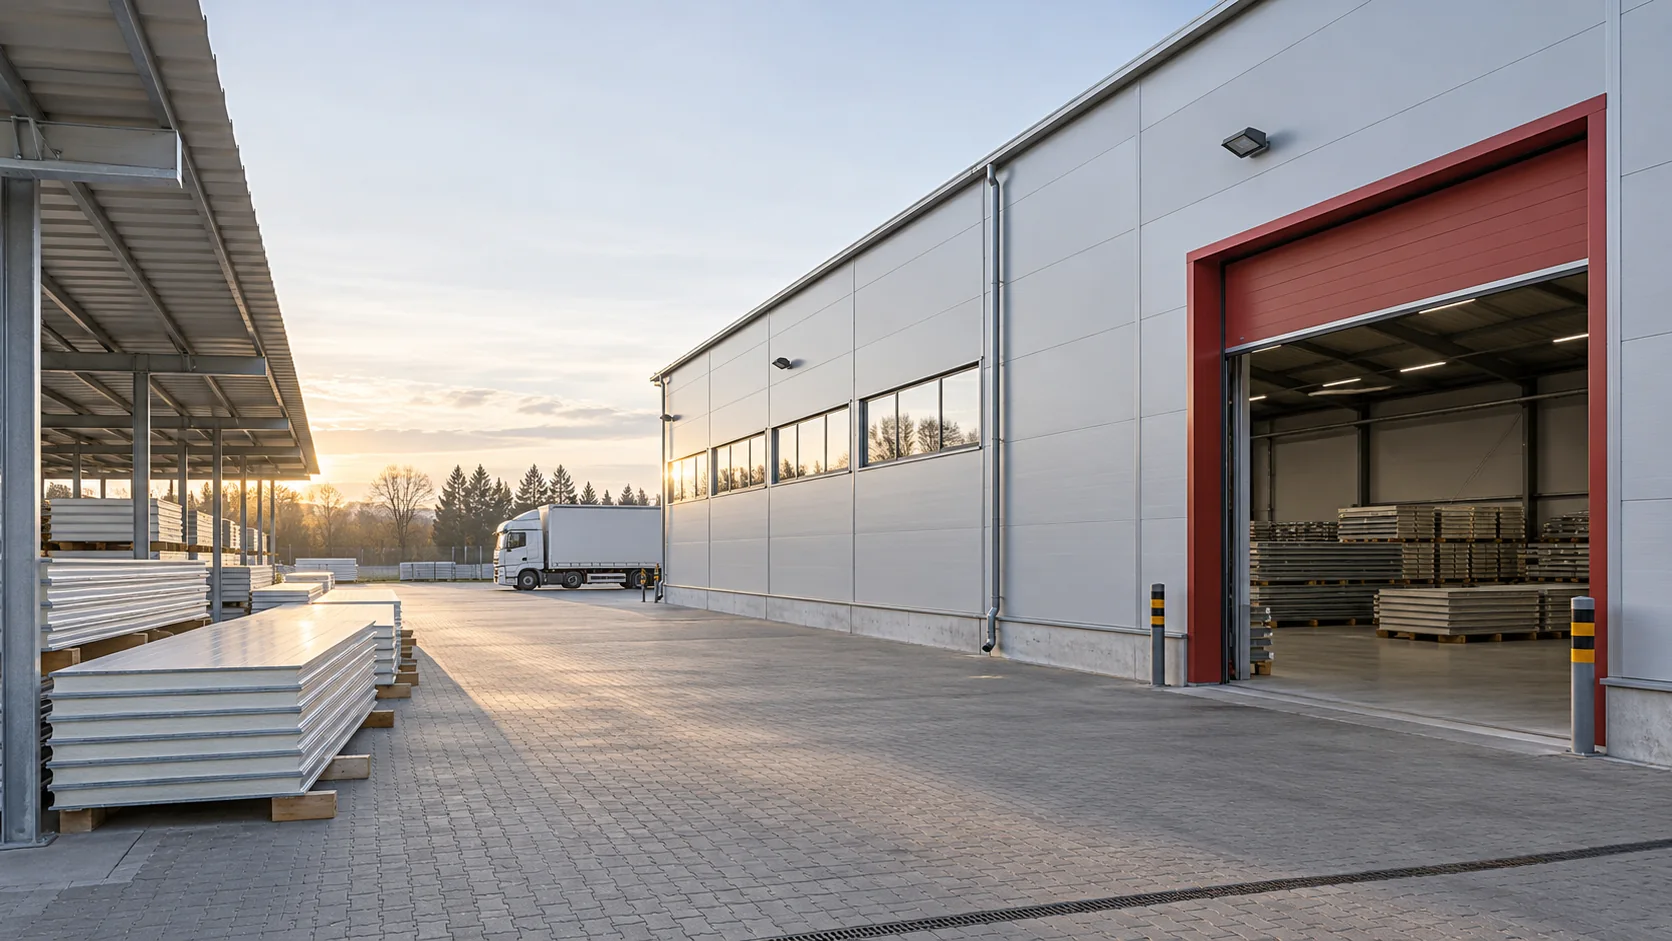
When buying sandwich panels in Wrocław or elsewhere in Lower Silesia, check the actual batch and the route to site before choosing…
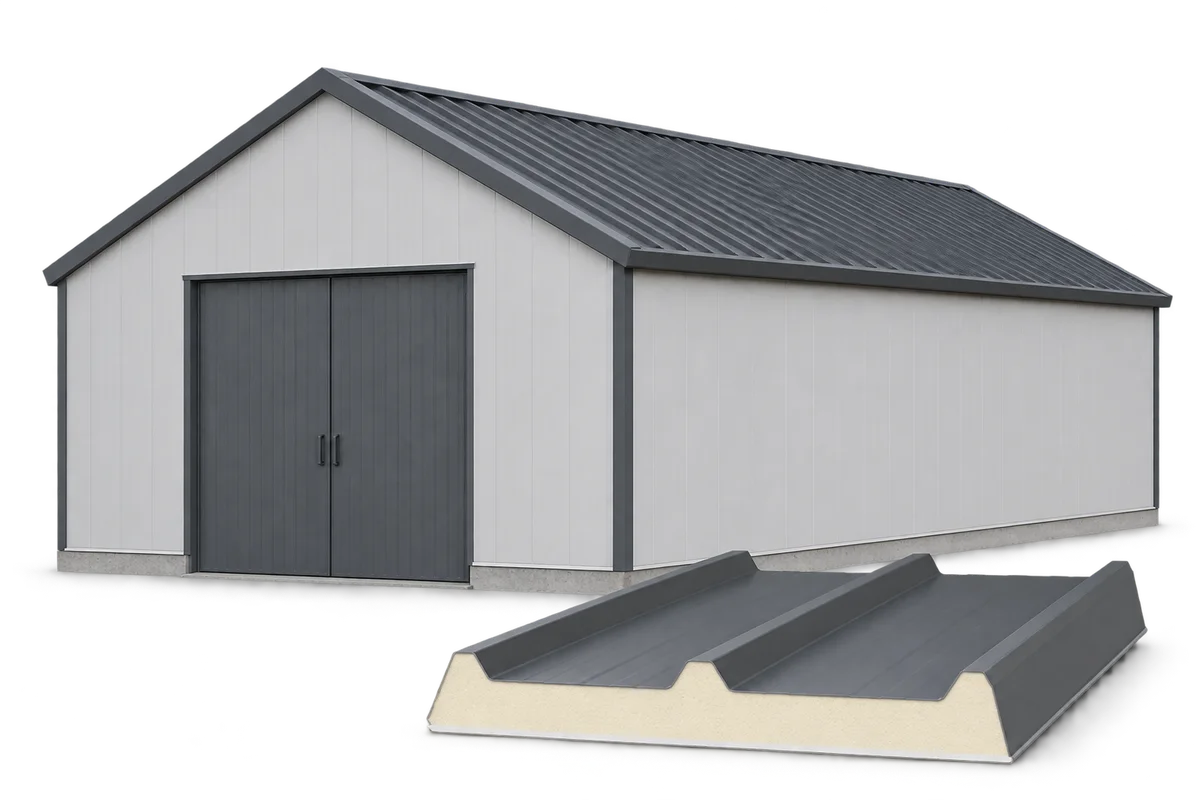
Insulating an agricultural building begins with identifying the function of each room, not with choosing a panel thickness. A vegetable store, a…
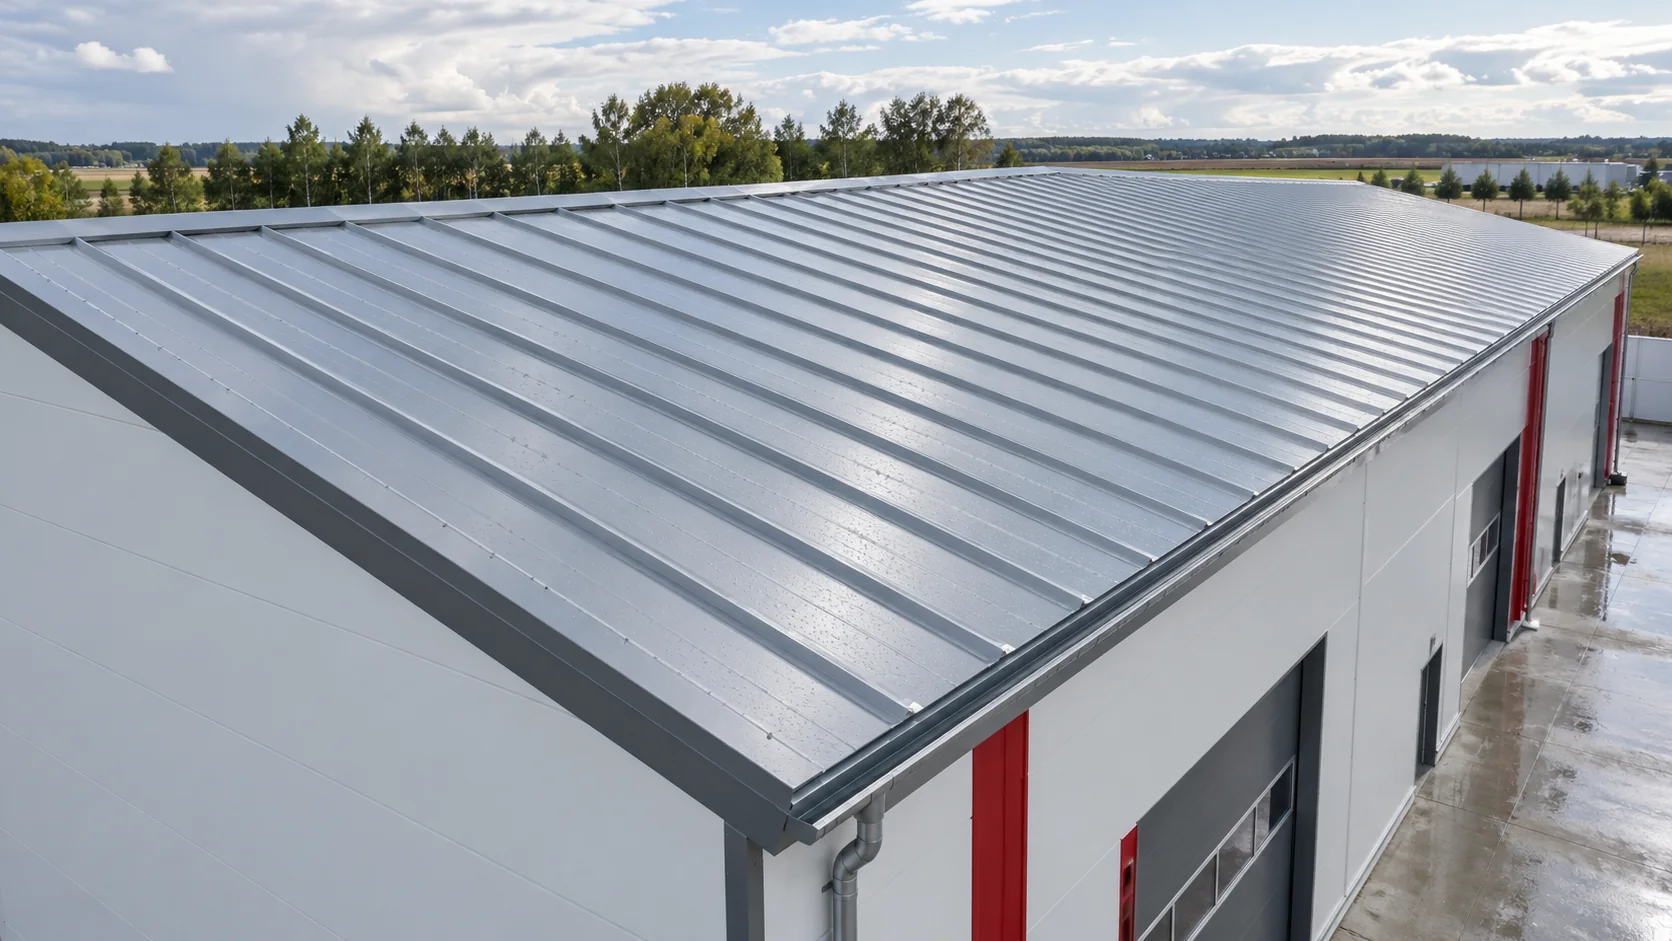
A sandwich panel roof budget should cover everything needed to make the roof weathertight and drain rainwater. Check whether the quotation includes…