

Installation and refurbishment
Installing sandwich panels with future repairs in mind
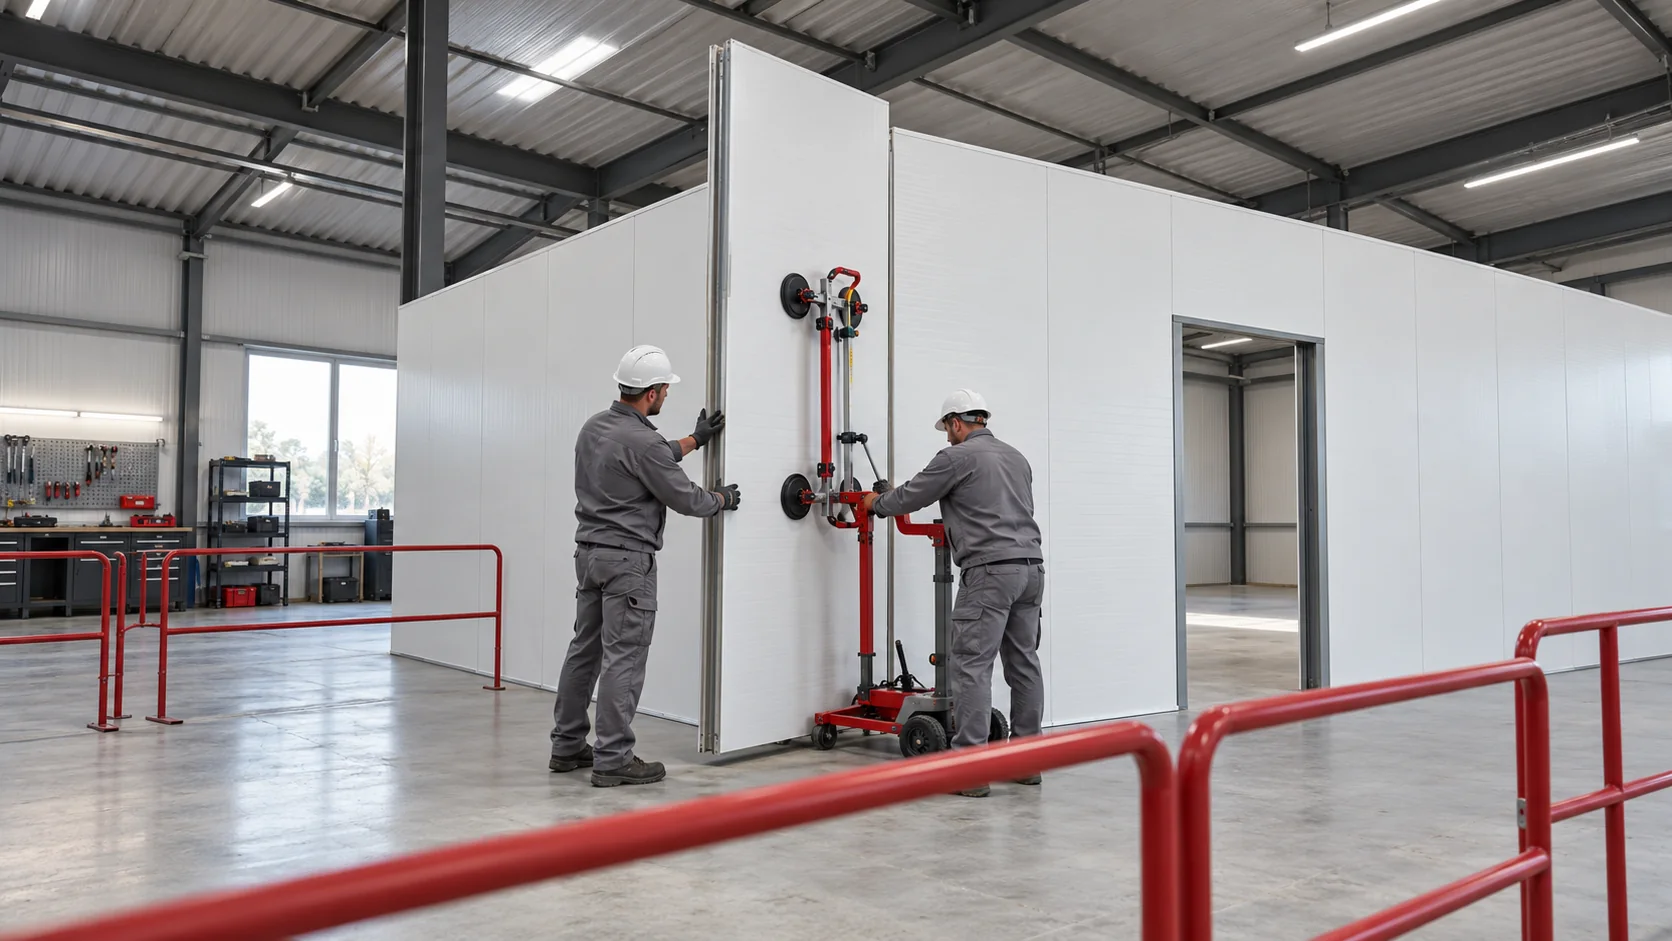
Plan the corners, openings and service penetrations before measuring for sandwich panels. Agree who will erect the frame, fit the panels, install the windows and doors, and seal each joint. Where two trades meet at an opening, name the person responsible for the finished junction and agree a detail showing the support level and how the panel edges will be closed. On a new build this helps the crews work in sequence. During refurbishment it also helps keep the building in use. Arrange access to concealed connections before covering them, so that a future repair need not involve dismantling a whole wall.
In this guide
Agree who finishes each junction
For refurbishment, plan temporary protection for the interior. Removing a wall can expose machinery to rain and dust and give unauthorised people access. Limit each day’s work to an area the crew can close again. Where the installation zone crosses a route used by staff, organise an alternative route or traffic controls before starting.
Measure the frame and draw the panel layout
Check the design dimensions against the actual support centrelines, levels and vertical alignment, then confirm the panel lengths. Vertical and horizontal layouts put joints in different places and require different support arrangements. Verify which facings are specified as well as the nominal core thickness.
Mark doors, windows, corners and proposed service penetrations on the drawing. If the last panel would leave a narrow strip, adjust the layout before cutting. Where heavy services pass through the wall, design their supports before closing it. The thin metal facing alone should not carry their weight.
Prepare the panels for lifting in sequence
On delivery, check the panel markings, dimensions and condition of the accessible surfaces. Record damage before installation so that it can be distinguished from any damage caused later. Arrange packs in installation order on ground that stays dry, clear of routes needed by site equipment.
Follow the product instructions for gripping, lifting and storage. Protect the edges and coatings. Sliding one panel over another can damage the surfaces that need to seal at the joint. When lifting panels upright, leave enough room to guide them into position without leaning them against finished cladding.
Complete the junctions as the wall goes up
Align the starter components and first panel before fixing the next panels. Close each joint as specified for its profile. Select fasteners, washers and seals for the panel, substrate and loads. Follow the specified tightening method to avoid deforming the facing.
Schedule the plinth connection, corners and roof junction as part of the wall installation. Check that each seal is continuous before the flashing covers it. Fit the layers shown on the detail drawing so the flashing can perform its intended function. Gaps are easier to locate now than after the heating is switched on and occupants notice draughts.

Inspect cuts and the work of follow-on trades
At every cut opening, check the support, the seal and the closure of exposed core edges. Use cutting tools approved for the facing. Clear swarf as work proceeds before it causes local surface damage. Remove the protective film at the time and in the manner specified for the product.
Inspect the wall again after the services installers have finished. An unused hole, a poorly supported pipe or a cut flashing can compromise an otherwise sound wall. Check the proposed fixings before hanging heavy cabinets or cable trays. Planning these attachments keeps the finished surface easier to maintain.
Inspect the cladding before the building goes into use
At handover, check the wall for plumb and flatness, inspect edge closures and coatings, and compare the work with the drawings. Record repairs made after installation. Photograph junctions before equipment hides them and mark the locations of different panel types on a drawing. A repair crew can then identify the right panel and connection for a local replacement.
Give the operator the maintenance requirements and the limits on attaching further equipment. Fit impact guards where the wall is exposed to knocks. If an extension is planned, document how the new façade will join the existing section. Keep these details with the handover records for later inspections.
Frequently asked questions
Can panels be ordered before the frame is measured?
You can prepare the order from the design drawings. Agree with the contractor how final lengths will be confirmed. Differences in the actual support levels can change which lengths are needed.
Can holes be drilled anywhere in a finished wall?
Every hole can affect the seal, the coating or a required property of the wall. Before drilling, agree the position, the support for the fitting and the method for restoring the seal with the person responsible for the detail.
7 branches. Materials closer to your project.

Free quote
Materials for your project

You may also find useful…
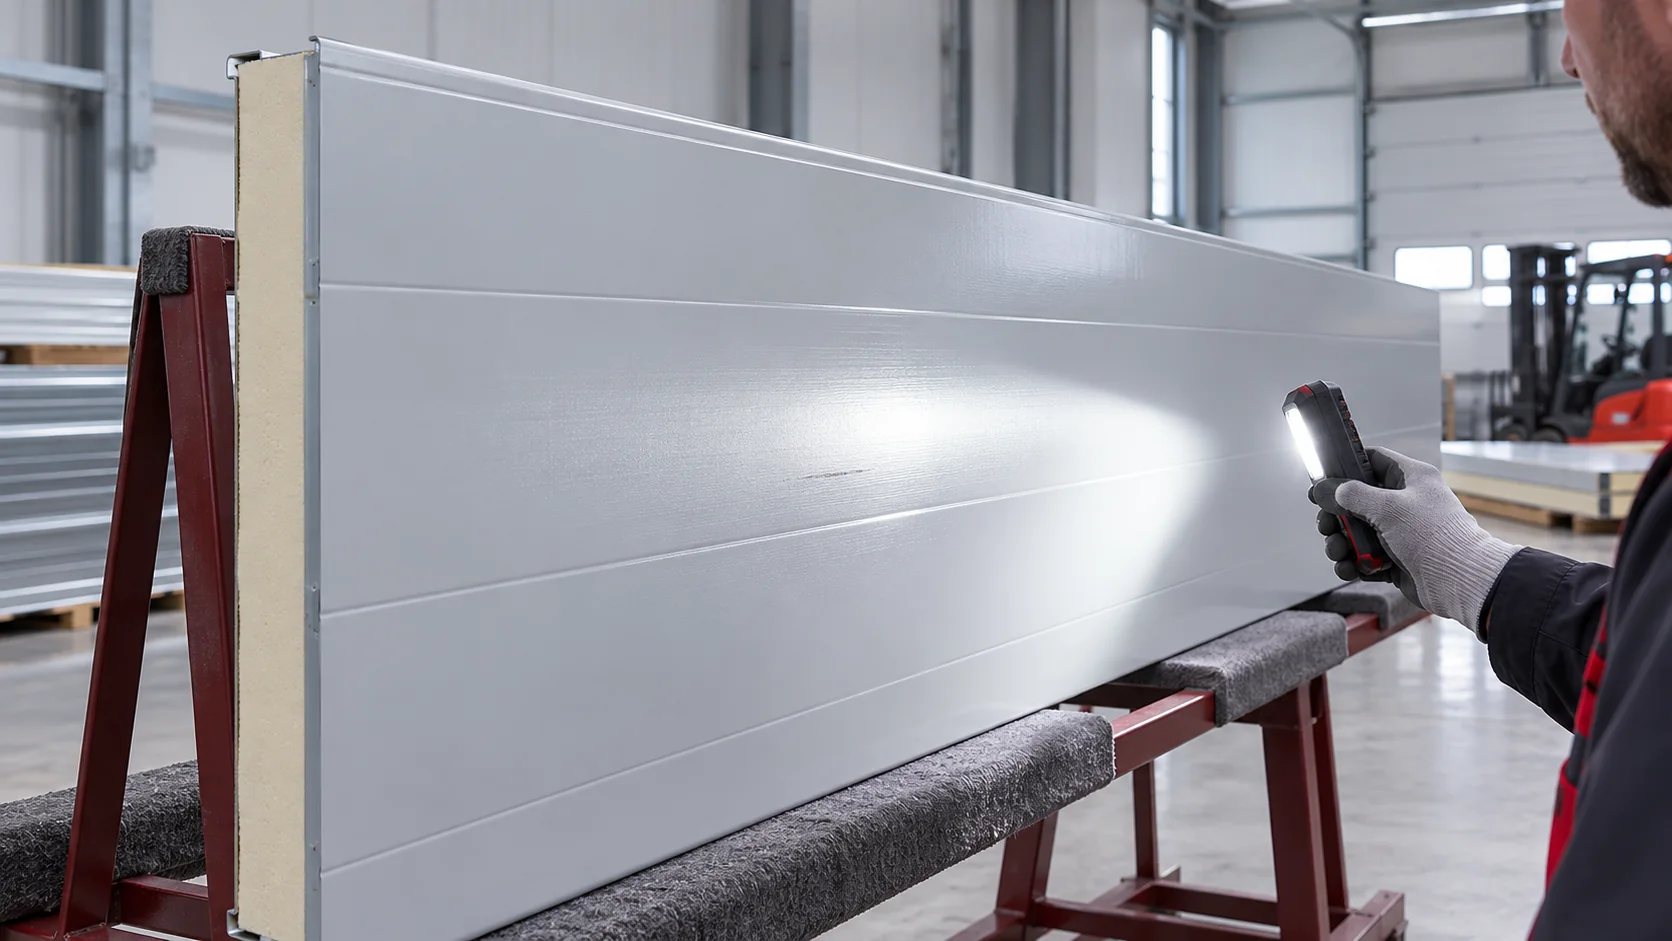
Start with the building specification when comparing first-grade sandwich panels with clearance stock. On a prominent façade, a consistent finish may be…
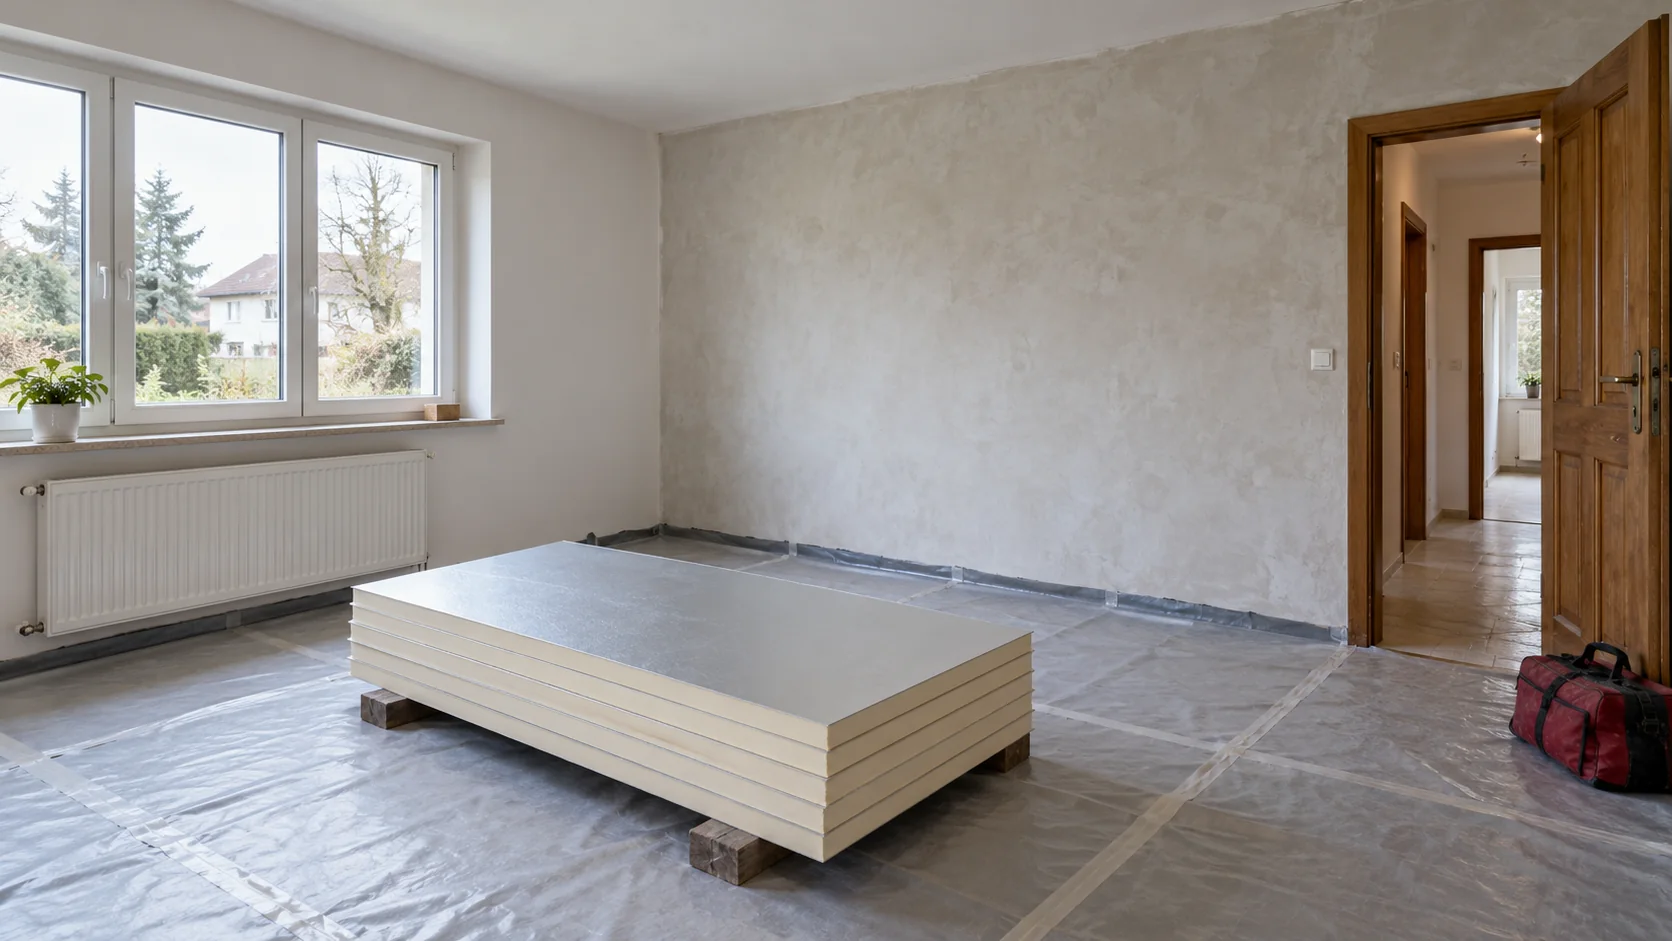
Internal wall insulation may be an option if the façade is in good condition or exterior work has to wait. Before fitting…
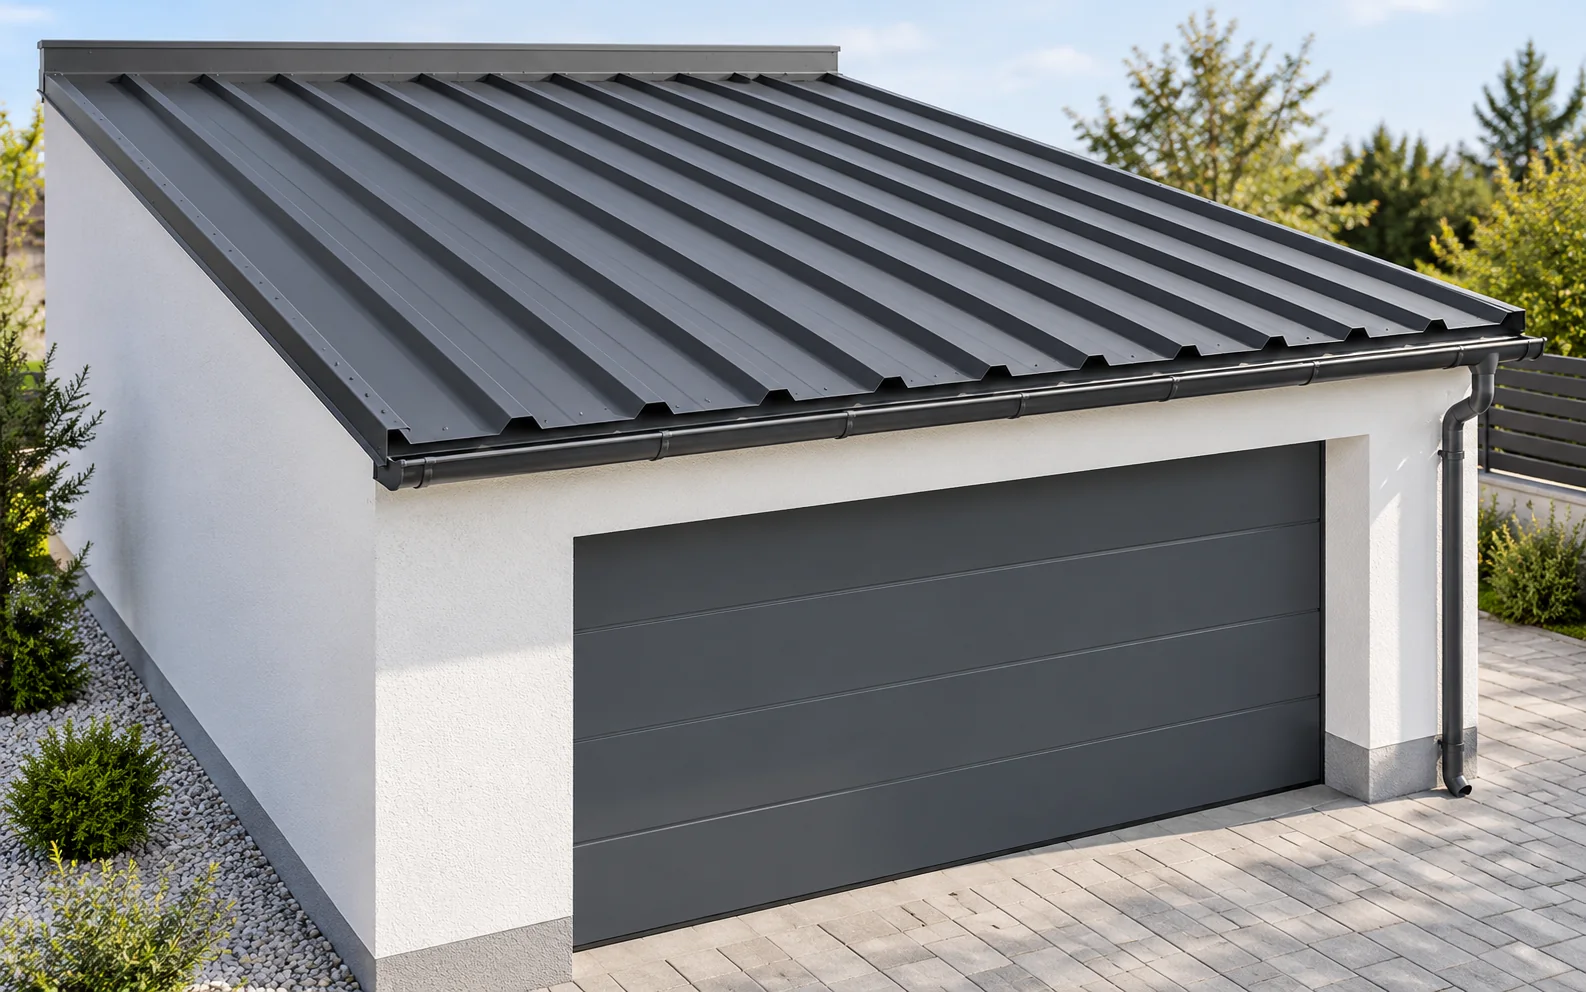
Single-skin trapezoidal steel sheet can suit an unheated garage if its load capacity matches the support spacing and the roof design allows…
Wall and roof panels in the design A sandwich panel combines two facings, usually steel, with an insulating core. When planning a…
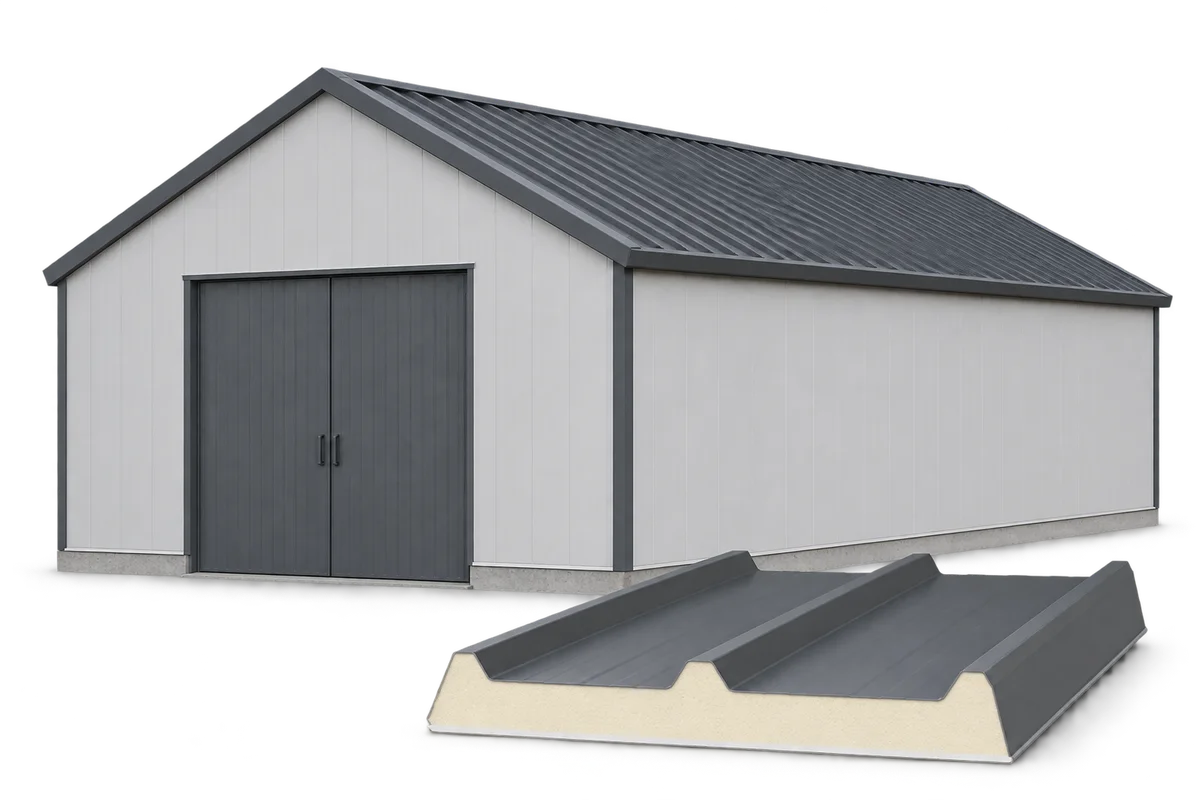
Insulating an agricultural building begins with identifying the function of each room, not with choosing a panel thickness. A vegetable store, a…
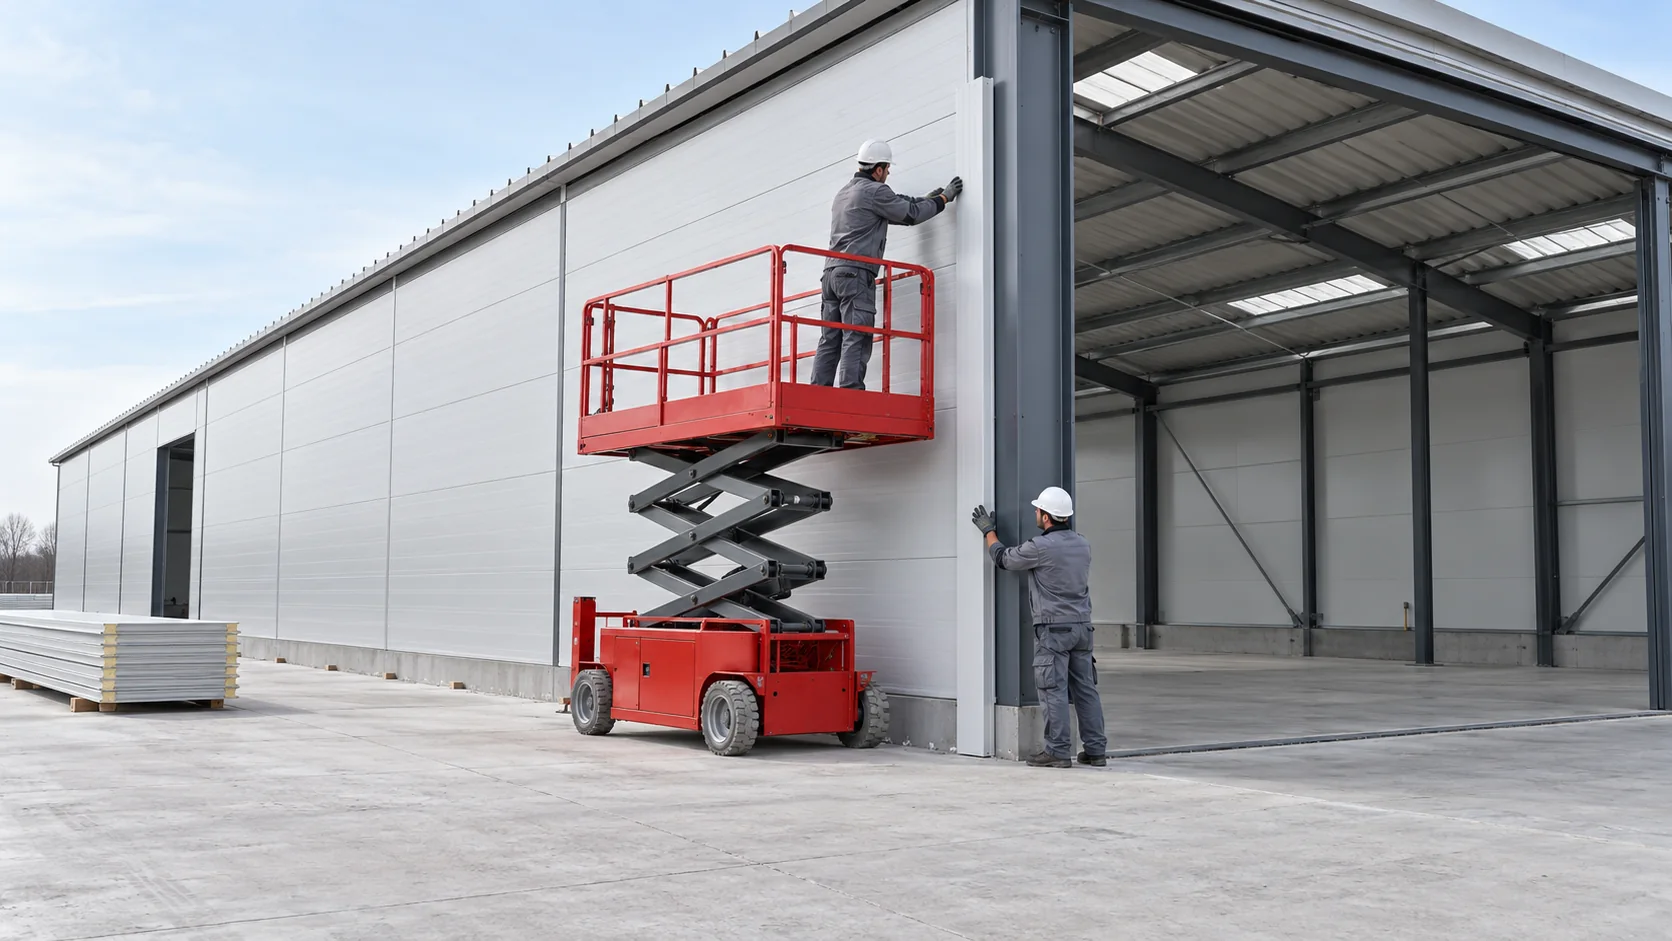
A rate per square metre for installing sandwich panels means little until you know which jobs it covers. One contractor may quote…
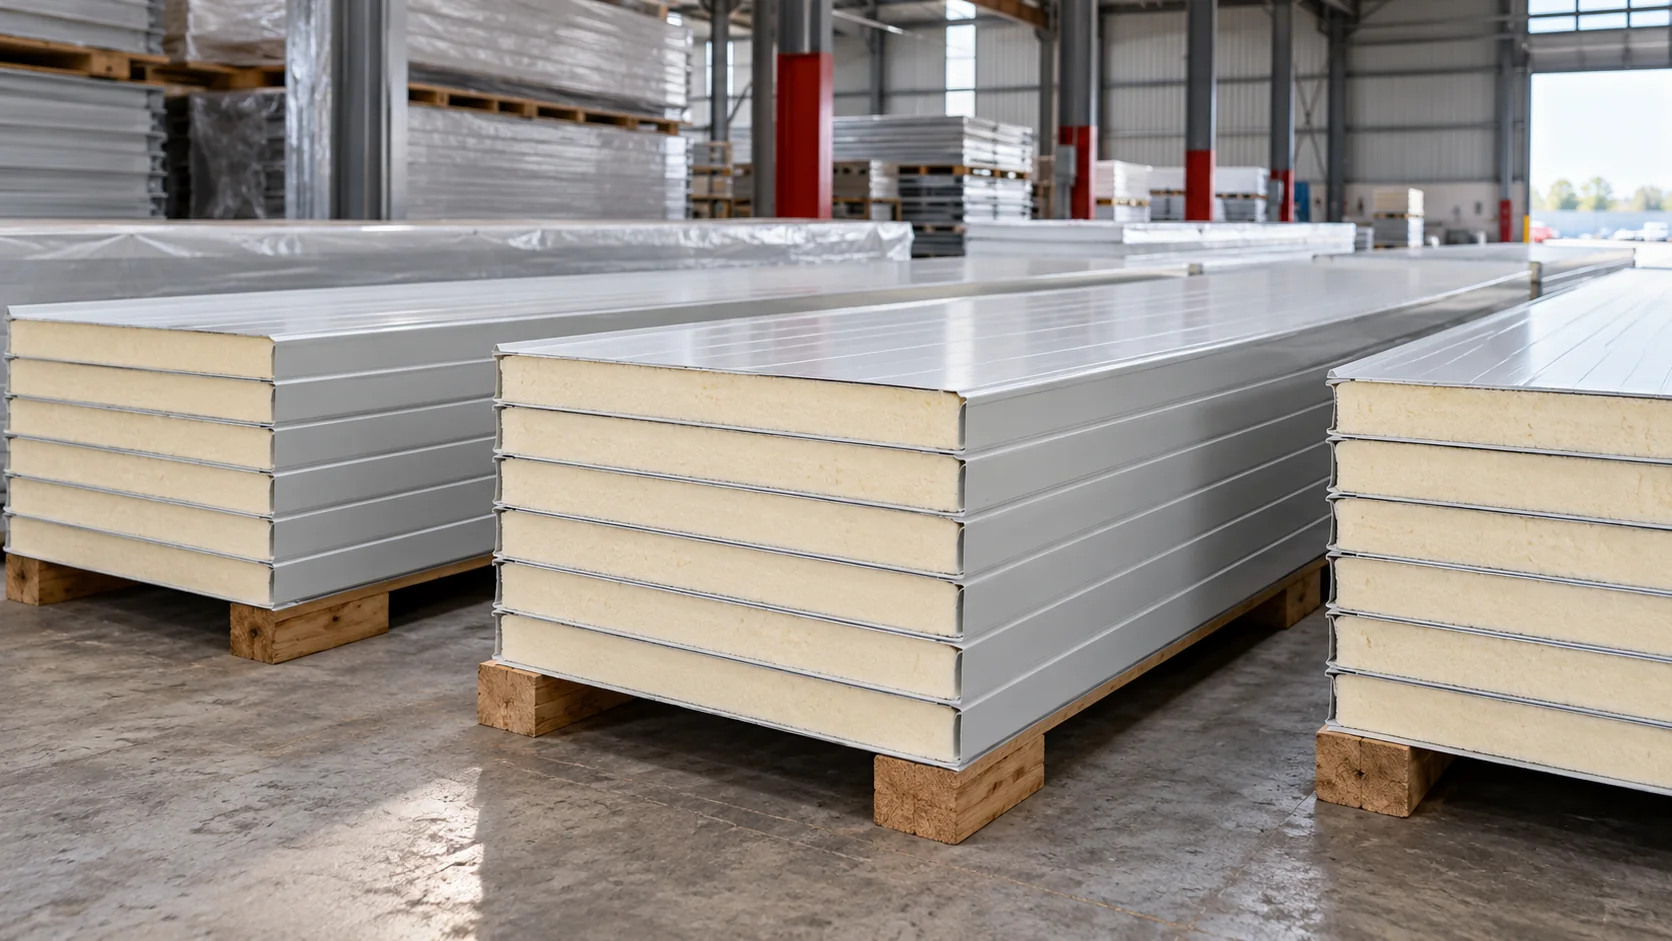
Start with the area the panels will actually cover, not the price in a stockist’s advert. Panel lengths, waste, batch condition and…
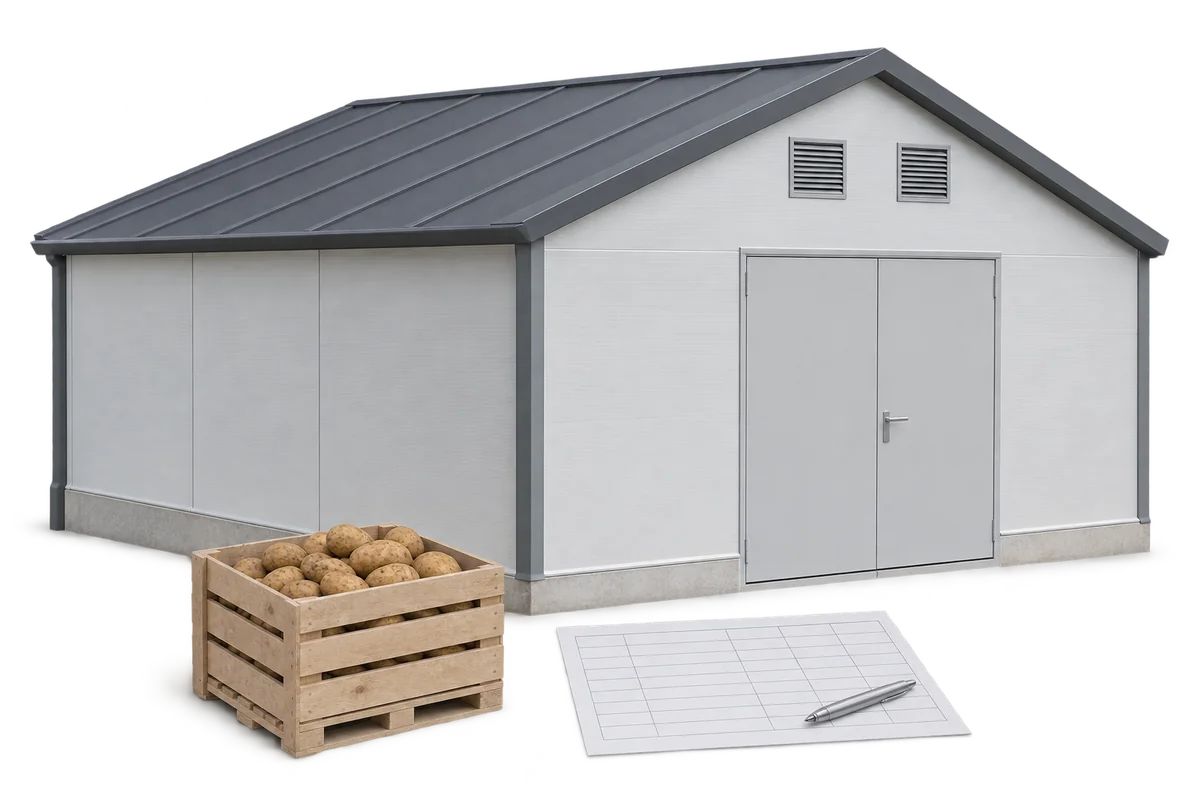
The insulation supplier for a potato storage facility needs more than the surface area of the walls and roof. The enquiry should…