

Renovation and maintenance
A leaking roof: how to determine the cause and plan the repair properly
A leaking roof requires prompt action, but not every stain on the ceiling means the covering is not watertight. Water can run along the membrane, a rafter or a duct and only show up far from the damaged detail, so it is worth noting when the moisture appeared, the type of precipitation and the wind direction. First, limit the damage inside, move objects away and protect the installations; do not go onto the roof slope during rain or strong wind. Only once the cause has been identified – flashing, fixing, drainage or condensation – can the repair and the subsequent inspection be planned.
In this article
What to do first?
Move items away from the wet area and protect the equipment to the extent that is accessible and safe. Do not stand beneath a bulging ceiling lining. If water is approaching the electrical installation, a safe response involving a person with the appropriate competence is required. Do not touch wet appliances.
Do not go onto the roof during rain or strong wind. Temporary protection of the roof slope requires prepared access and fall protection. It is worth photographing a visible stain from inside. Note the time it appeared, the type of precipitation and the wind direction. This information will later help with the diagnosis.
Is the water coming from outside?
A leak usually intensifies during rain, thawing or shortly afterwards. Condensation may appear when there is a large temperature difference and high indoor humidity. The symptoms can look similar. Wet insulation does not yet determine whether the sheets need sealing or the layer build-up needs correcting.
Note whether the problem occurs at a single point or over a larger area. Drops on many cold surfaces may suggest a different source than a single stain near the chimney. Do not treat this observation as a final diagnosis. An inspection of the covering and the layers from the loft side is required.
Why does a stain not indicate the exact point of failure?
Water may run along the membrane, a rafter or a duct and only become visible further down. A wet spot on the ceiling may be far from the damaged detail. Sealing the sheet metal directly above the stain may therefore have no effect. The possible path of ingress must be traced.
Earlier photographs of the roof and information about recent work are helpful. A new antenna, a PV installation or a replacement ventilation chimney may indicate an area to be checked. This does not automatically mean the contractor is at fault. It is a way of narrowing the search without randomly opening up the roof slope.
Which places should be checked first?
The inspection should cover the connections at the chimney, windows, walls and service penetrations. The roof valleys, the ridge and the eaves are also important. Water may get under the covering through an incorrectly laid lap or damaged fixing. Accumulated leaves can additionally impede drainage.
On sheet metal, the condition of the coating and any holes are checked. In sandwich panels, the joints and the sealing of penetrations also need to be assessed. Everything should not be coated with roofing mastic straight away. Such a layer makes later diagnosis more difficult and sometimes traps water in the wrong place.

How is the right repair selected?
A loose or damaged detail may require the fixing to be corrected, the seal to be replaced or a new flashing to be fitted. An extensively corroded sheet will not regain its properties from spot sealing alone. If the problem results from an incorrect lap, the connection must be corrected, not just its edge covered.
In the case of condensation, humidity, air tightness from the inside and the roof’s ability to dry out are checked. Adding tape to the outer side of the sheet metal will not eliminate such a cause. The repair may cover insulation and ventilation. Its scope should follow from establishing where and why moisture forms.
What about wet layers beneath the covering?
Stopping the inflow of water does not mean the whole roof is already dry. The insulation, timber elements and linings must be assessed. Trapping moisture beneath a new layer can lead to further damage. The extent of drying or replacement depends on the material and the degree of moisture.
Do not decide solely on the basis of the stain’s surface having dried. Moisture may remain deeper. In the case of larger damage, measurements taken at suitable points are useful. Repainting the ceiling should be the end of the repair, after the source has been eliminated and the condition of the building element assessed.
How can you check whether the repair has helped?
The contractor should document the cause and the solution applied. After the repair, a check is needed under conditions appropriate to the particular problem. One dry day does not confirm the tightness of a detail that only leaks in rain from a particular direction or during thawing.
Keep the photographs and monitor the previously wet area. Set a date for rechecking. If the symptom returns, do not add another layer of the same product without a diagnosis. A recurring fault is a sign that the original cause may not have been identified.
Advice before commissioning
Each time it recurs, note the weather and the time when the moisture appears. The information ‘it only leaks with a strong west wind’ is far more useful to a diagnostician than a photograph of a dry stain alone.
What is worth remembering?
An effective repair begins with distinguishing between a leak and condensation and tracing the path of the water. Then the detail must be repaired and the wet layers assessed. Merely masking the stain or patching a random spot rarely closes the problem.
7 branches. Materials closer to your project.

Free quote
Materials for your project

You may also find useful…
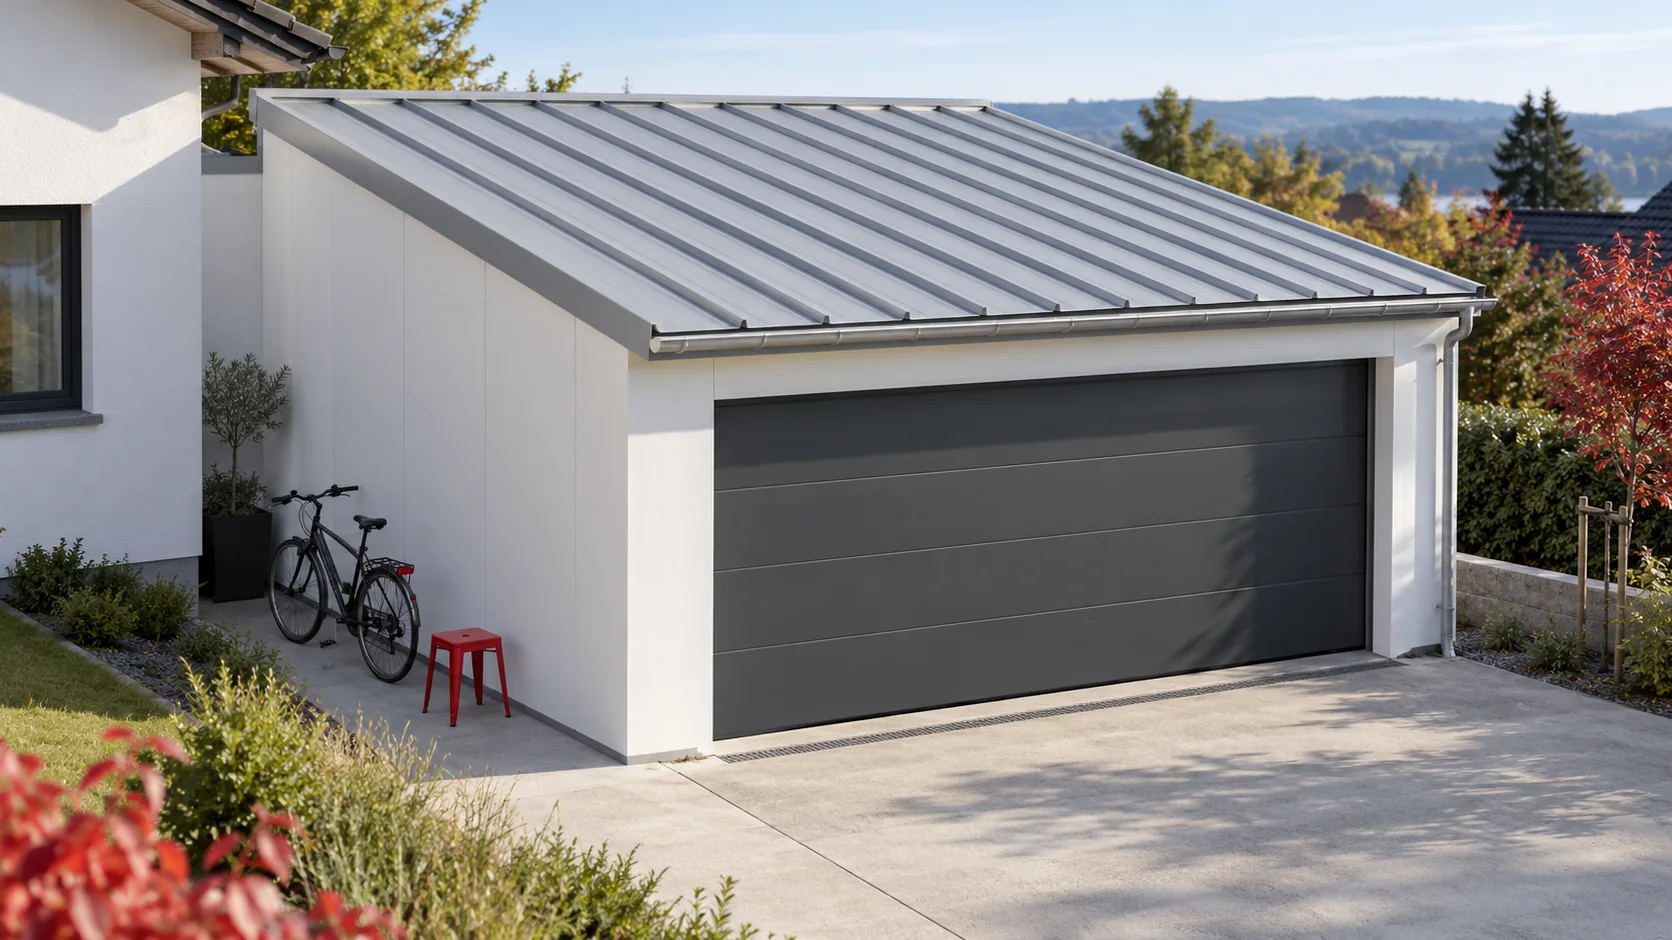
Choose garage roof panel thickness according to how warm the space needs to be in winter and how it will be ventilated.…
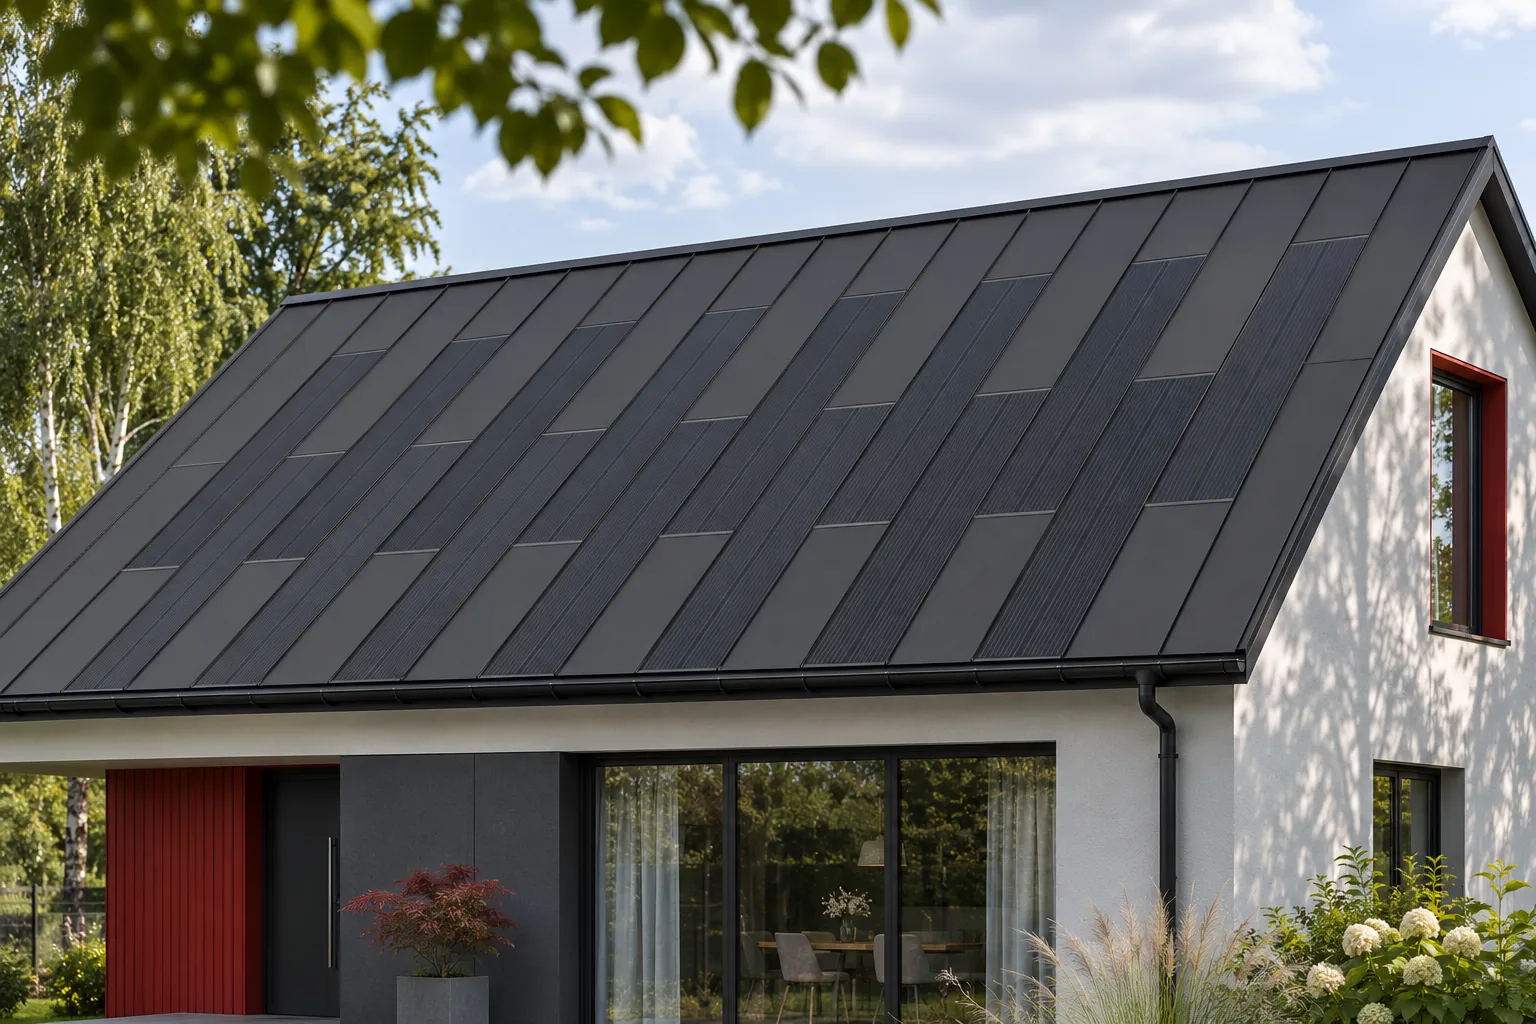
Not every section of an integrated roof has to contain cells. The active part produces energy, while passive elements complete the covering.…
A passive house is an energy standard in which the result is determined by the entire building envelope, not by a single…
Starter profiles define where installation of a given covering or cladding begins. Some form a hook for the panel, others support the…
On a flat roof, swissporPIR Alu can reduce the height of the regular thermal insulation layer. However, the reserve must also be…
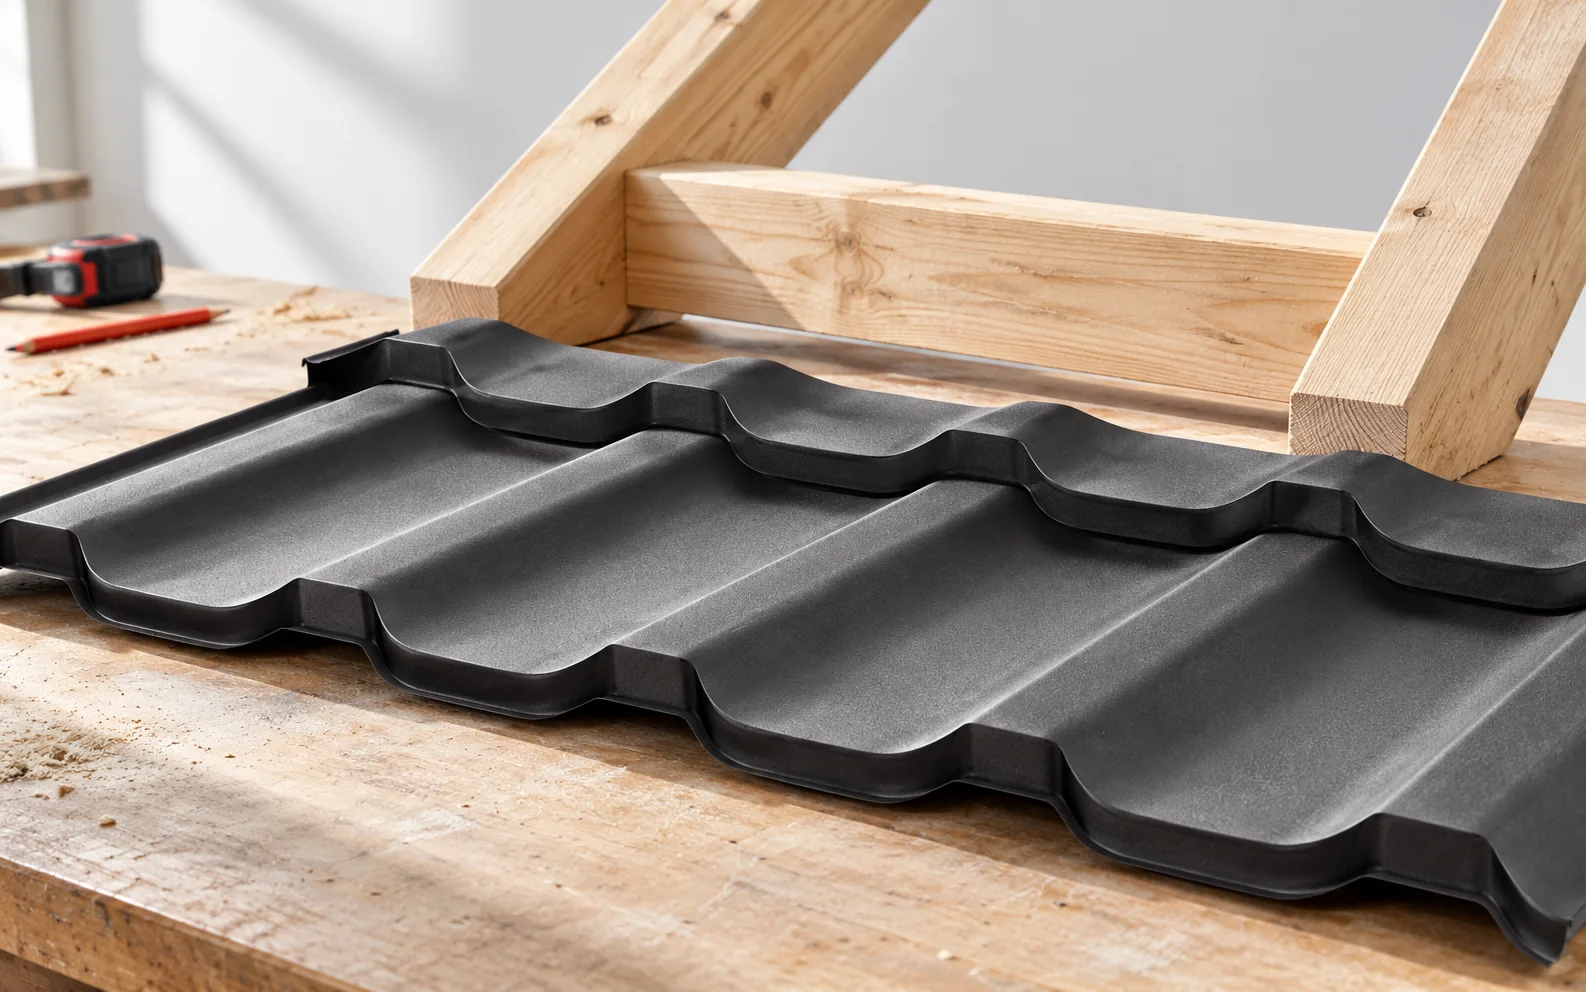
In a collar-tie roof, pairs of rafters are connected by a horizontal collar tie. Such an arrangement can allow convenient use of…
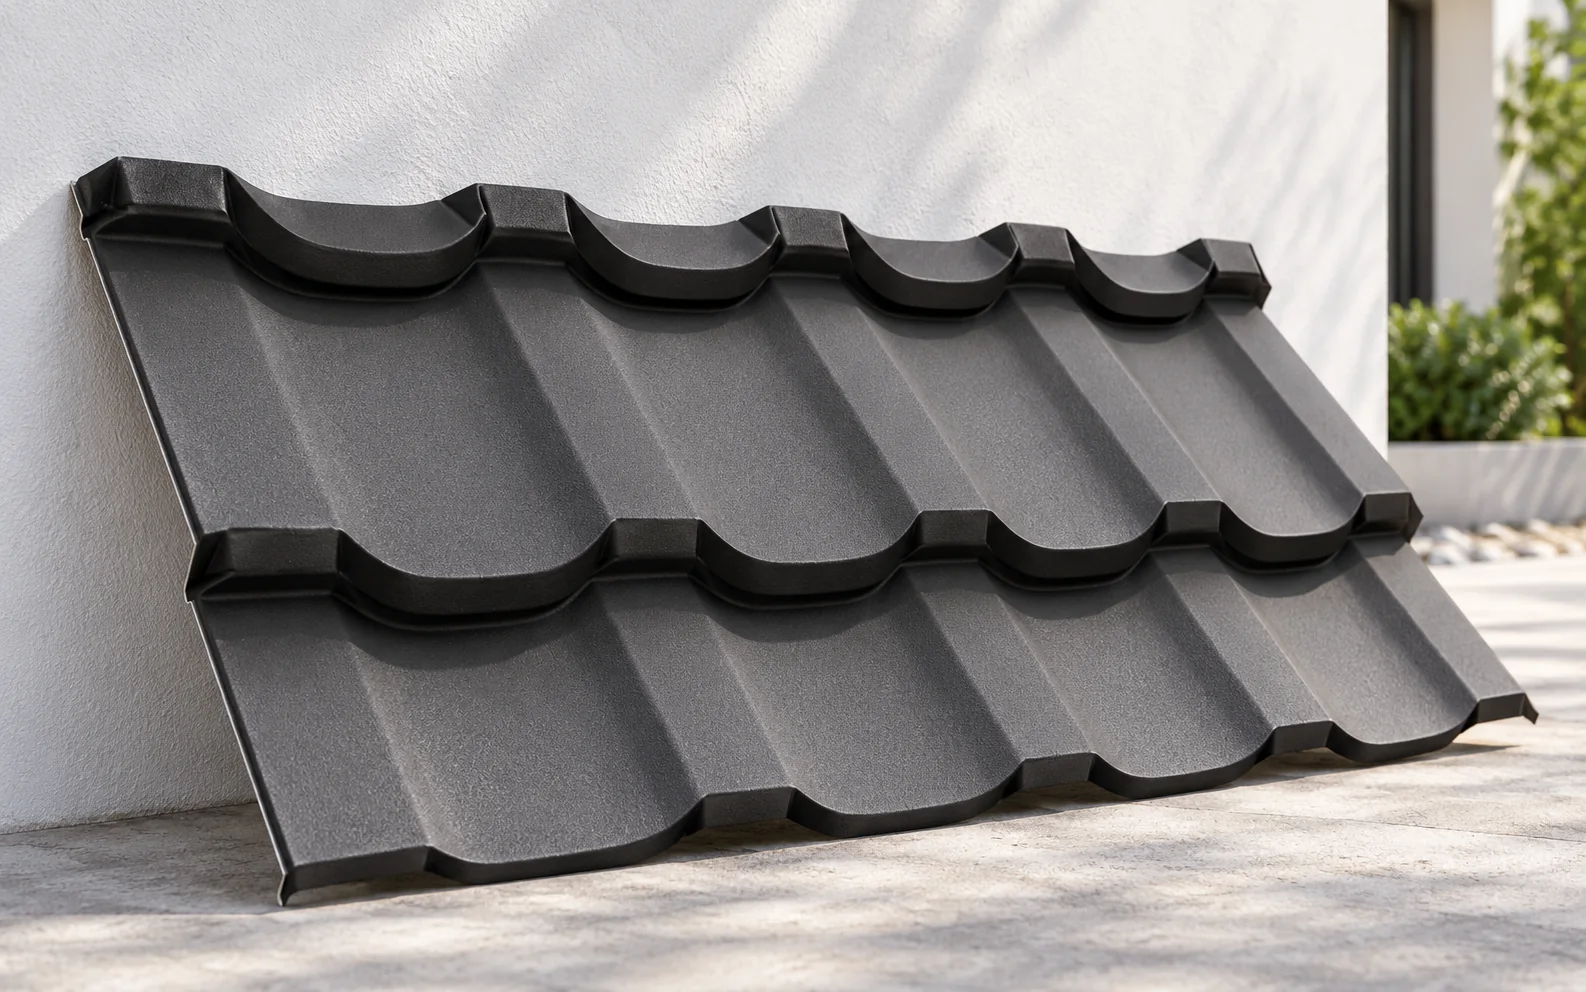
Concrete tiles and tile-effect steel place different loads on the same roof and call for different delivery arrangements. Compare their weight per…
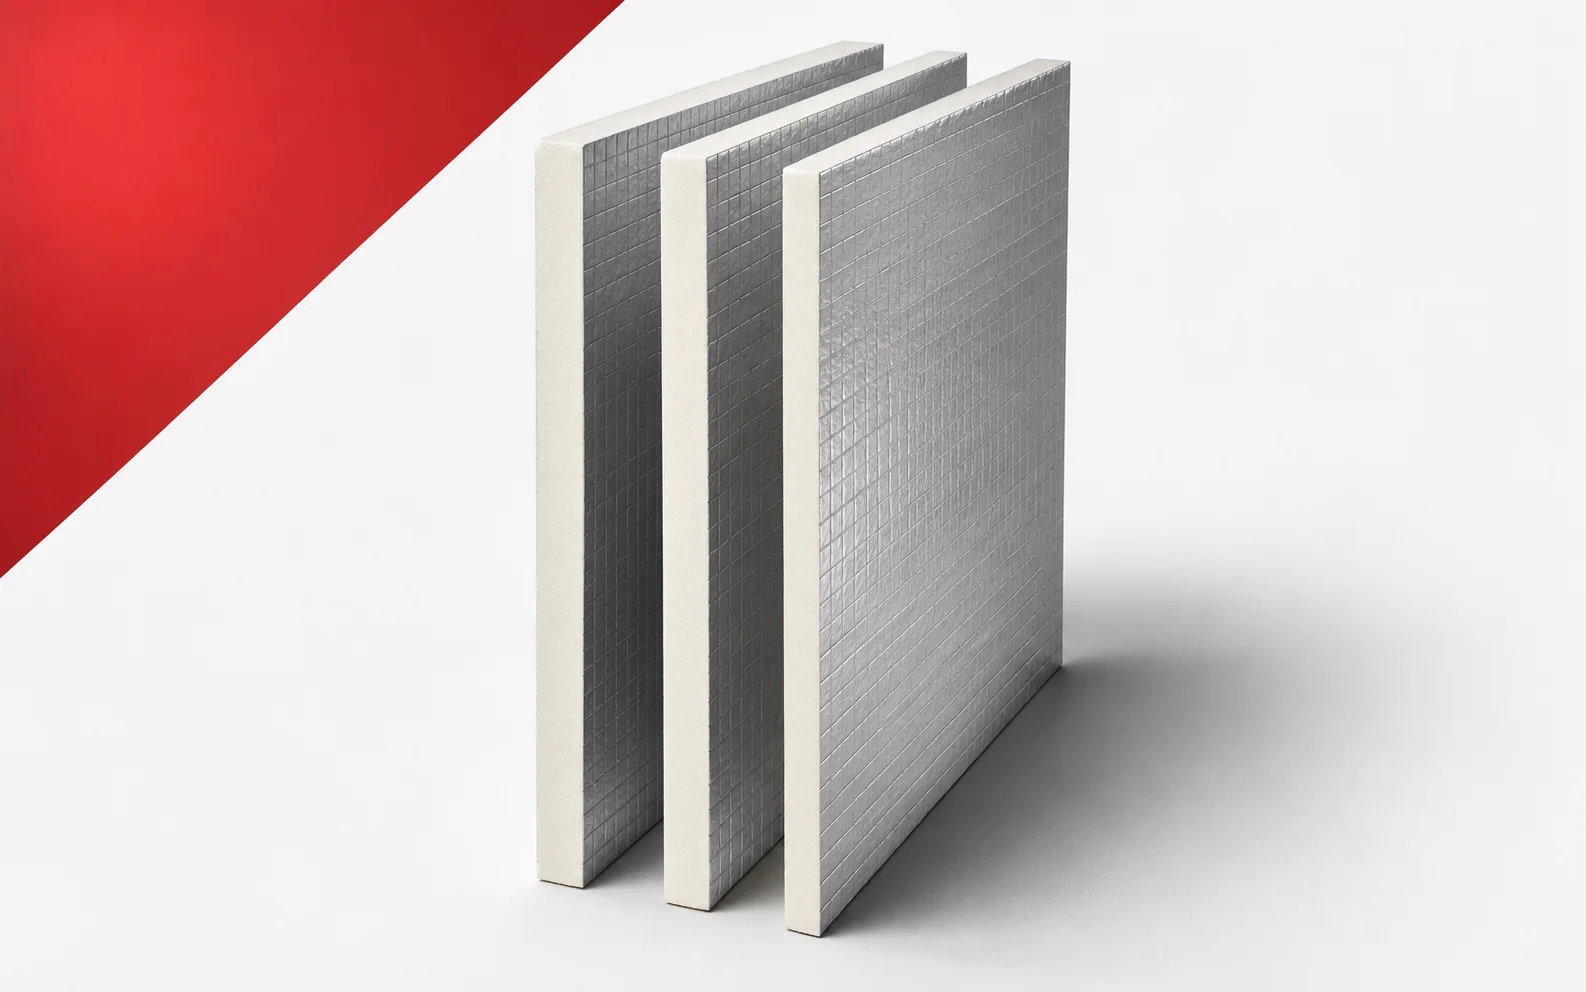
Two ALU TAP fields are to direct water to separate outlets. Their heights meet at a shared boundary. The energy-based choice of…