

Installation and details
What is a roof valley and how should it drain?
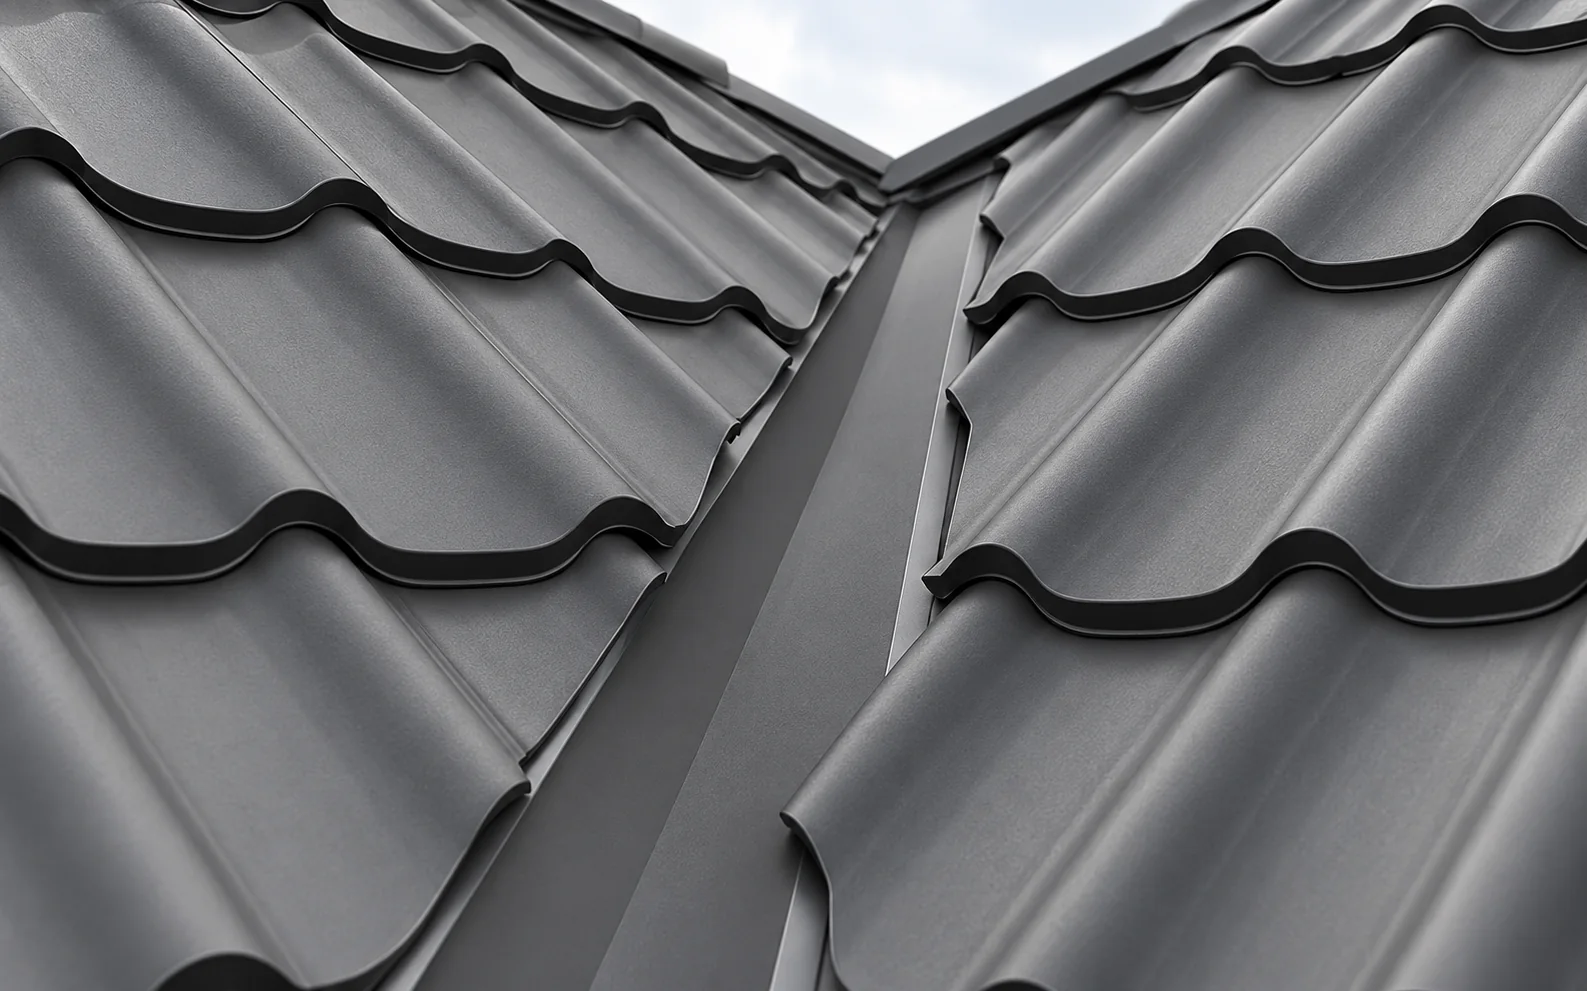
A roof valley is the concave junction of two roof slopes that collects water from both sides and carries it down towards the eaves. It requires suitable flashings, support and an unobstructed drainage path. Faults at this point often become apparent during heavy rain or when leaves accumulate. The dimensions of the detail must be matched to the specific roof geometry. On a single roof slope, water flows over a relatively even surface. In a valley, the streams from two areas merge and the direction of flow changes. There is also the possibility of snow and debris accumulating. A small fault can therefore matter more than a similar shortcoming in a quieter part of the roof.
In this article
Why is a valley a demanding location?
On a single roof slope, water flows over a relatively even surface. In a valley, the streams from two areas merge and the direction of flow changes. There is also the possibility of snow and debris accumulating. A small fault can therefore matter more than a similar shortcoming in a quieter part of the roof.
A valley is neither a ridge nor an external corner. These elements have a different geometry and different tasks. Their flashings should not be used interchangeably. The design should show how the transition is made from the upper start of the valley to the drainage at the eaves, including the joints between sections.
How wide should the flashing be?
The required width depends on the length of the valley, the pitch and the area of the roof slopes from which it collects water. The profile of the covering and the shape of the detail also matter. There is no single universal width that is good for every roof. Values from an instruction apply under the conditions described there.
A distinction must be made between the total width of the developed sheet metal and the width of the open channel between the edges of the covering. Pushing the sheets too tightly together can restrict flow and make cleaning more difficult. An aesthetically pleasing narrow line should not be the goal at the expense of drainage capacity.
What should be underneath the valley?
The flashing needs correct support and underlay layers in accordance with the design. At this point, any water from beneath the covering must also be controlled. It is not enough to make a watertight visible element if the membrane beneath it is cut or laid in such a way that it directs moisture into the structure.
Before installation, the geometry and evenness of the substrate should be checked. Forcing the shape by pressing down the sheet metal can create depressions in which water remains. The support should also correspond to the loads during installation. An uncovered valley must not be treated as an unrestricted walkway across the roof.
How are successive sections joined?
The method of overlap or other connection depends on the system. It must direct water to the correct side of the joint and allow for the movement of the metal. Lengths and sealing are selected according to the pitch and the construction of the flashing. A random value remembered from another covering should not be used.
Fastenings must not create unnecessary penetrations in the main flow path. Depending on the solution, appropriate methods are used to hold the edges. The detail should remain in accordance with the instruction. An extra screw in the base is not a universal repair for flashing that sits badly on the substrate.

How is the sheet metal cut at the valley?
The edge of the tile-effect metal roofing or trapezoidal steel sheet should keep the line and spacing intended for drainage. Cut-outs are made with cold-cutting tools, and filings are removed as work proceeds. Leaving them in the valley is particularly disadvantageous, because water carries them along and holds them in damp places.
With modules, provision must be made for supporting small fragments and for maintaining the overlaps. Not every cut piece can be safely fixed with one random screw. The layout should be drawn before installation. This helps to limit waste and avoid very narrow elements in a sensitive zone of the roof.
What most often restricts the drainage path?
Leaves, needles, fragments of packaging and installation waste can hold back water. In winter, snow and ice are added. The valley requires periodic inspection, especially where there are trees. It should not be obscured by installations or equipment that hinder flow and access for cleaning.
Damp patches at the valley do not always mean that the entire flashing must be replaced straight away. First the cause, the condition of the joints and the drainage path should be established. Merely adding sealant may shift the problem if the source is a constriction or incorrect geometry. Inspection at height requires proper protection.
How can the work be checked before acceptance?
The check should cover the support, the arrangement of the underlay, the sheet metal joints and the termination at the eaves. It is worth keeping photographs before the edges are covered by the covering. After the work is completed, the valley should be clean and have an unobstructed drainage path. The condition of the coating after cutting is also assessed.
In the cost estimate, this detail should be a recognisable item. On a roof with many valleys, the share of labour and waste increases, so the cost per metre of covering alone is misleading. Good preparation of the detail limits later corrections. Water arriving from two roof slopes requires a solution planned from the outset.
A tip before ordering
At acceptance, ask for photographs of the valley before the cut sheets were laid. They allow the support and joints to be checked that will later no longer be visible. A neat finish line alone does not confirm that the whole detail is correct.
What is worth remembering?
A roof valley should have sufficient space for flow, correct support and system-compliant connections. The most important thing is the path of the water from start to eaves. The aesthetics of the cut-outs should be assessed together with this function.
7 branches. Materials closer to your project.

Free quote
Materials for your project








You may also find useful…
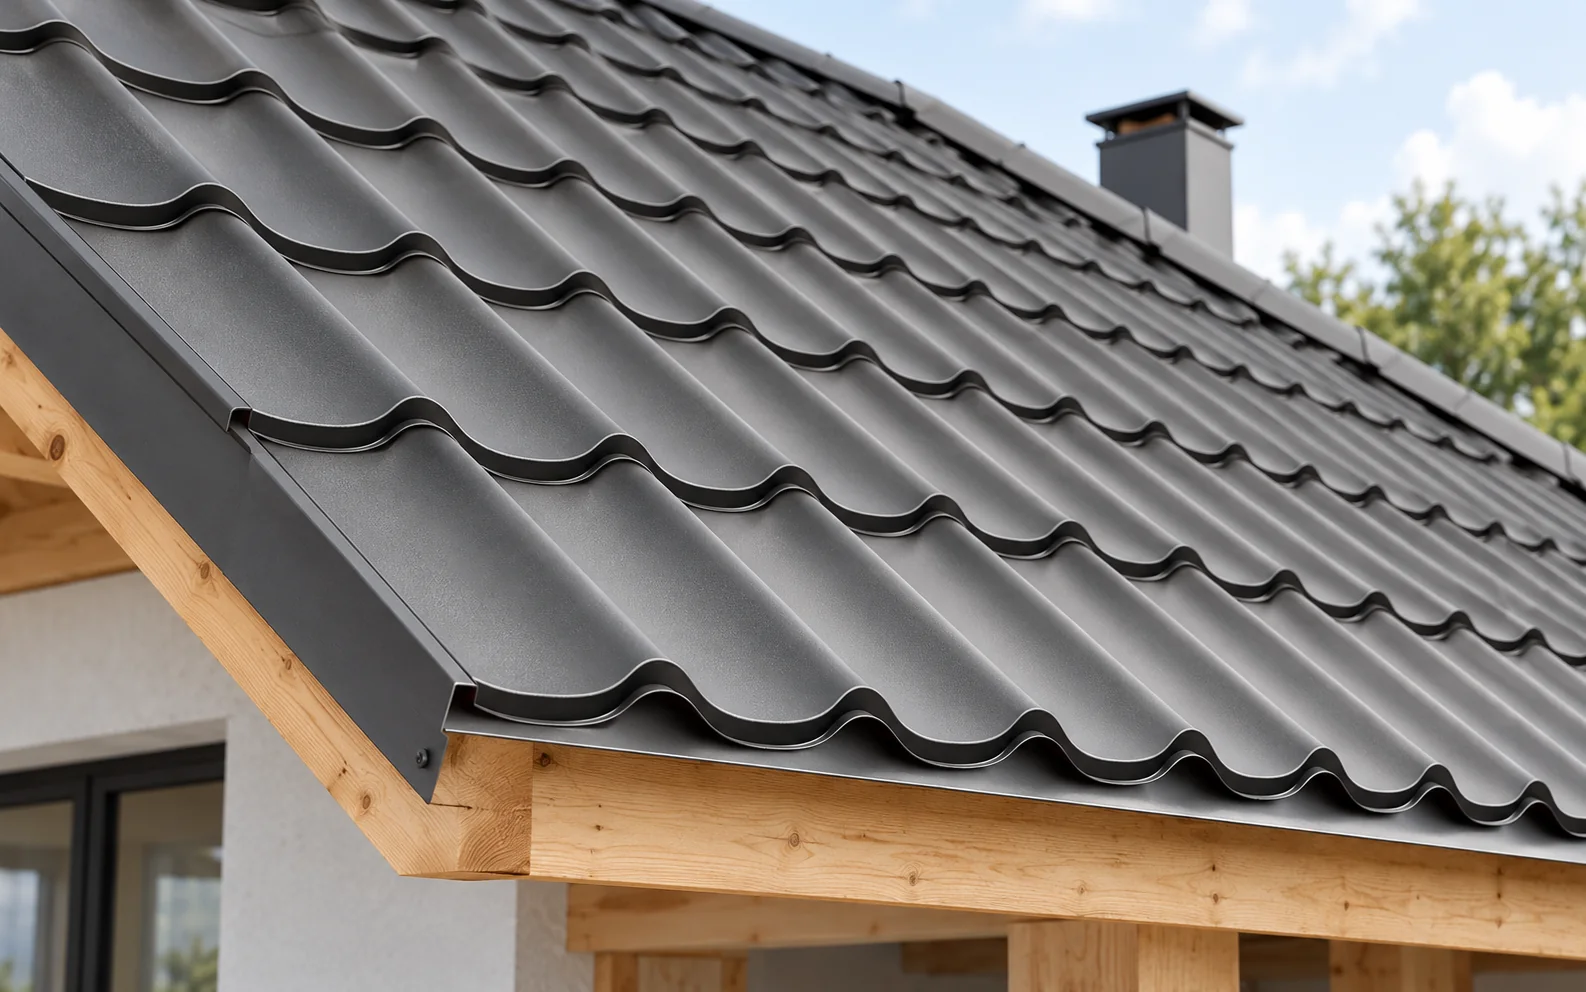
Replacing a roof from measurement to handover requires decisions on material, construction and details before dismantling begins. A survey of the finished…
Two ALU TAP fields are to direct water to separate outlets. Their heights meet at a shared boundary. The energy-based choice of…
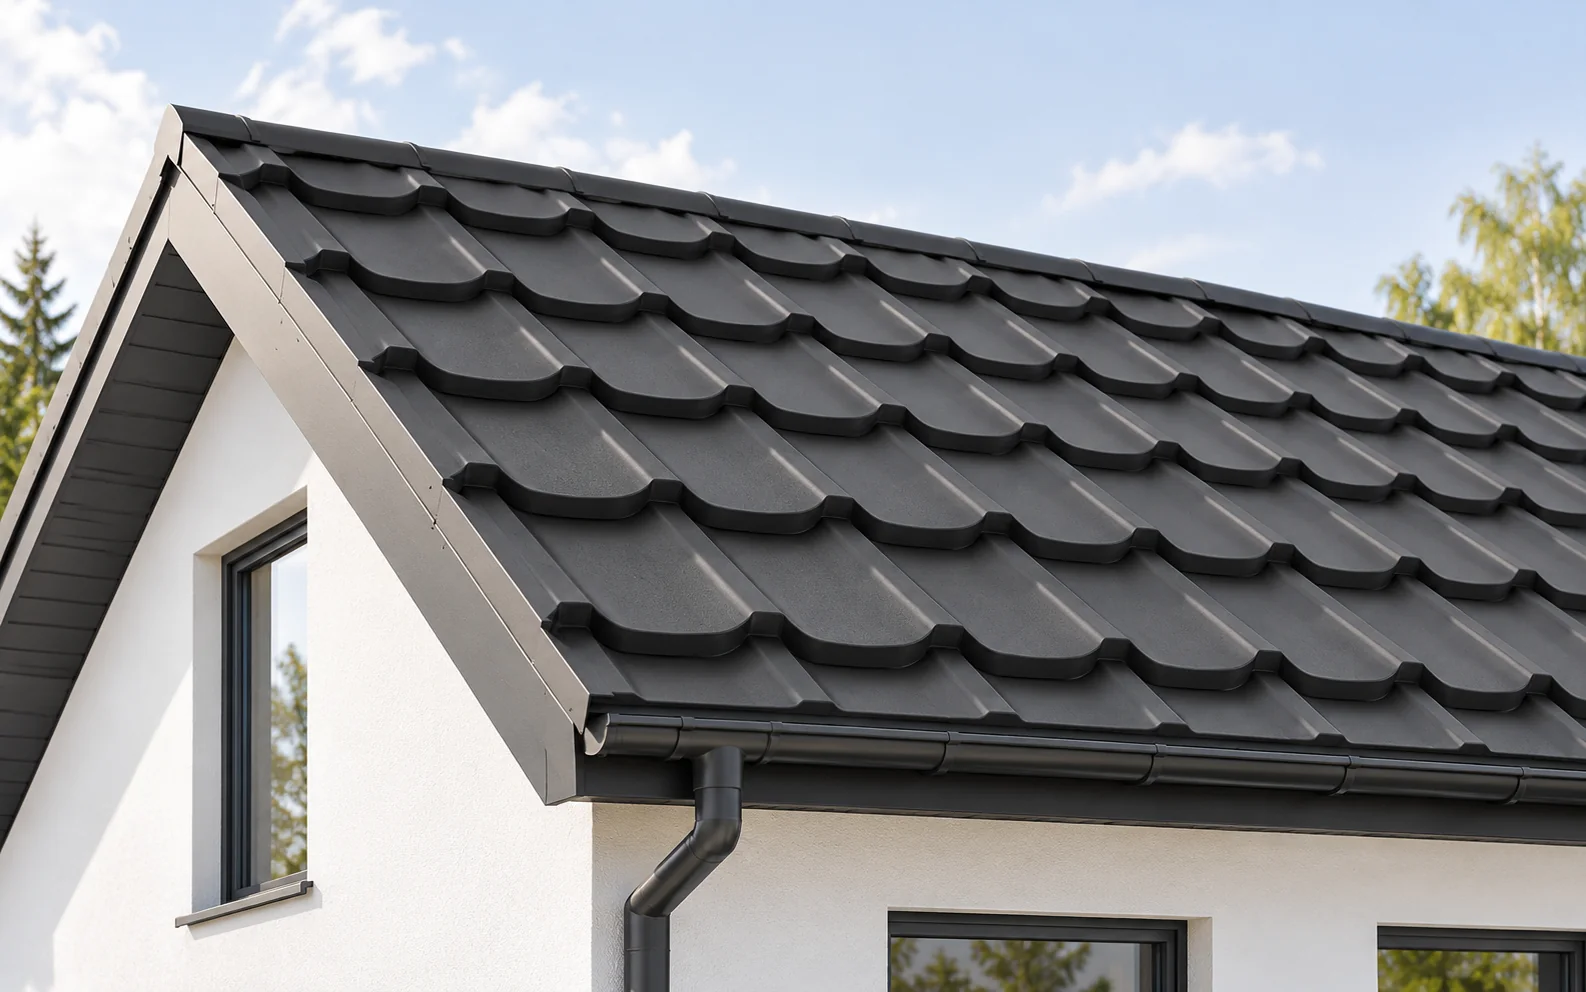
A pitched roof lends itself to a simple material layout and clear water drainage. It can be covered with cut-to-size tile-effect metal…
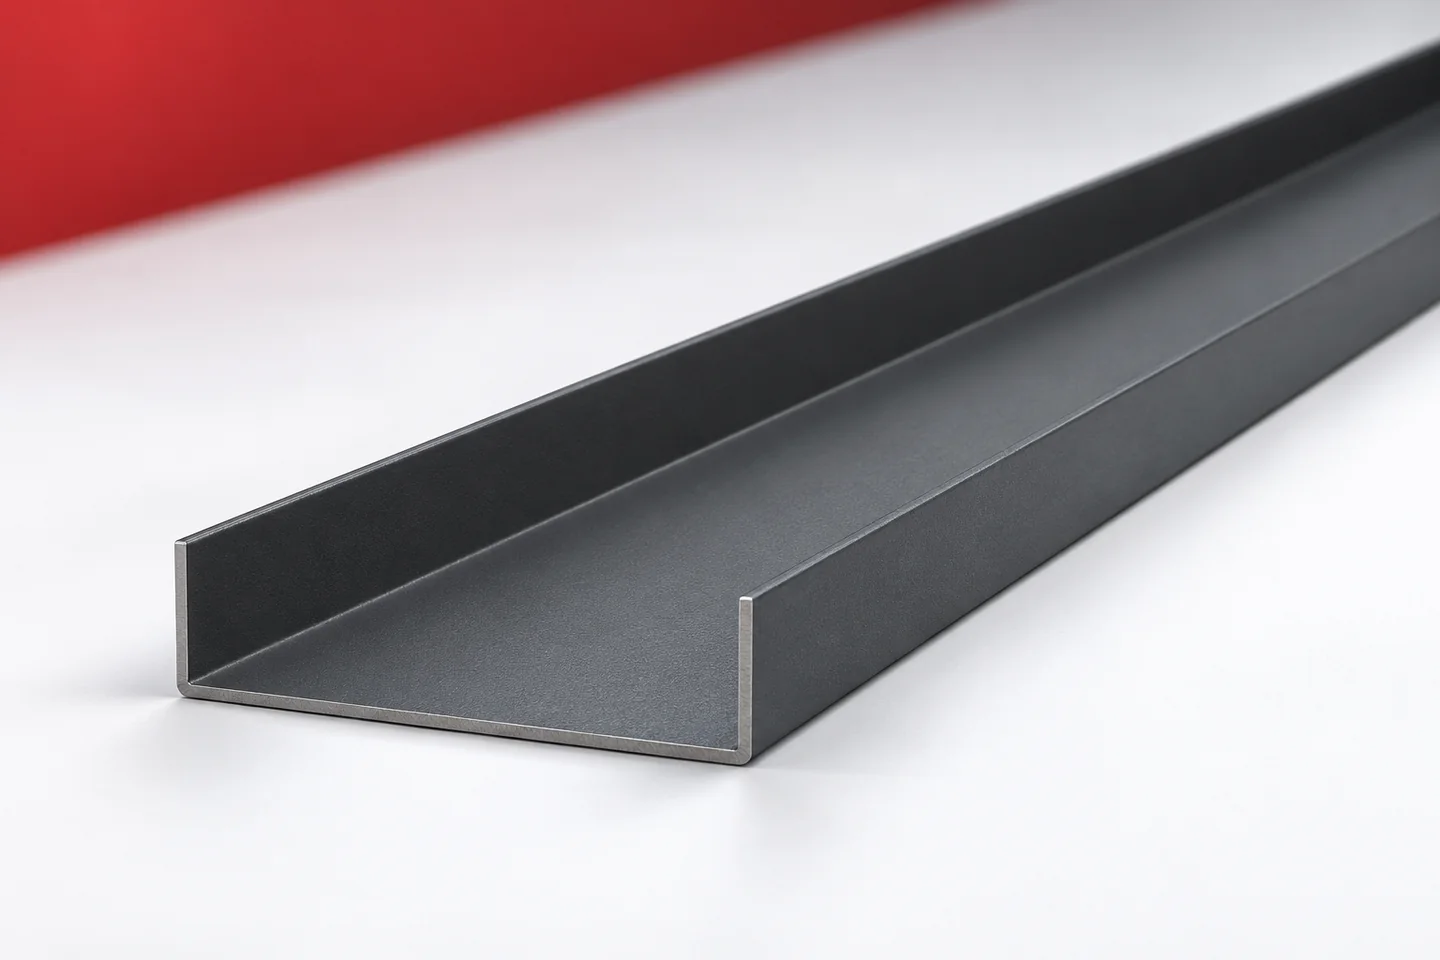
Starter profiles define where installation of a given covering or cladding begins. Some form a hook for the panel, others support the…
The grey corrugated sheet has a distinct wave pattern and a calm, mineral appearance. It does not have to imitate a roof…
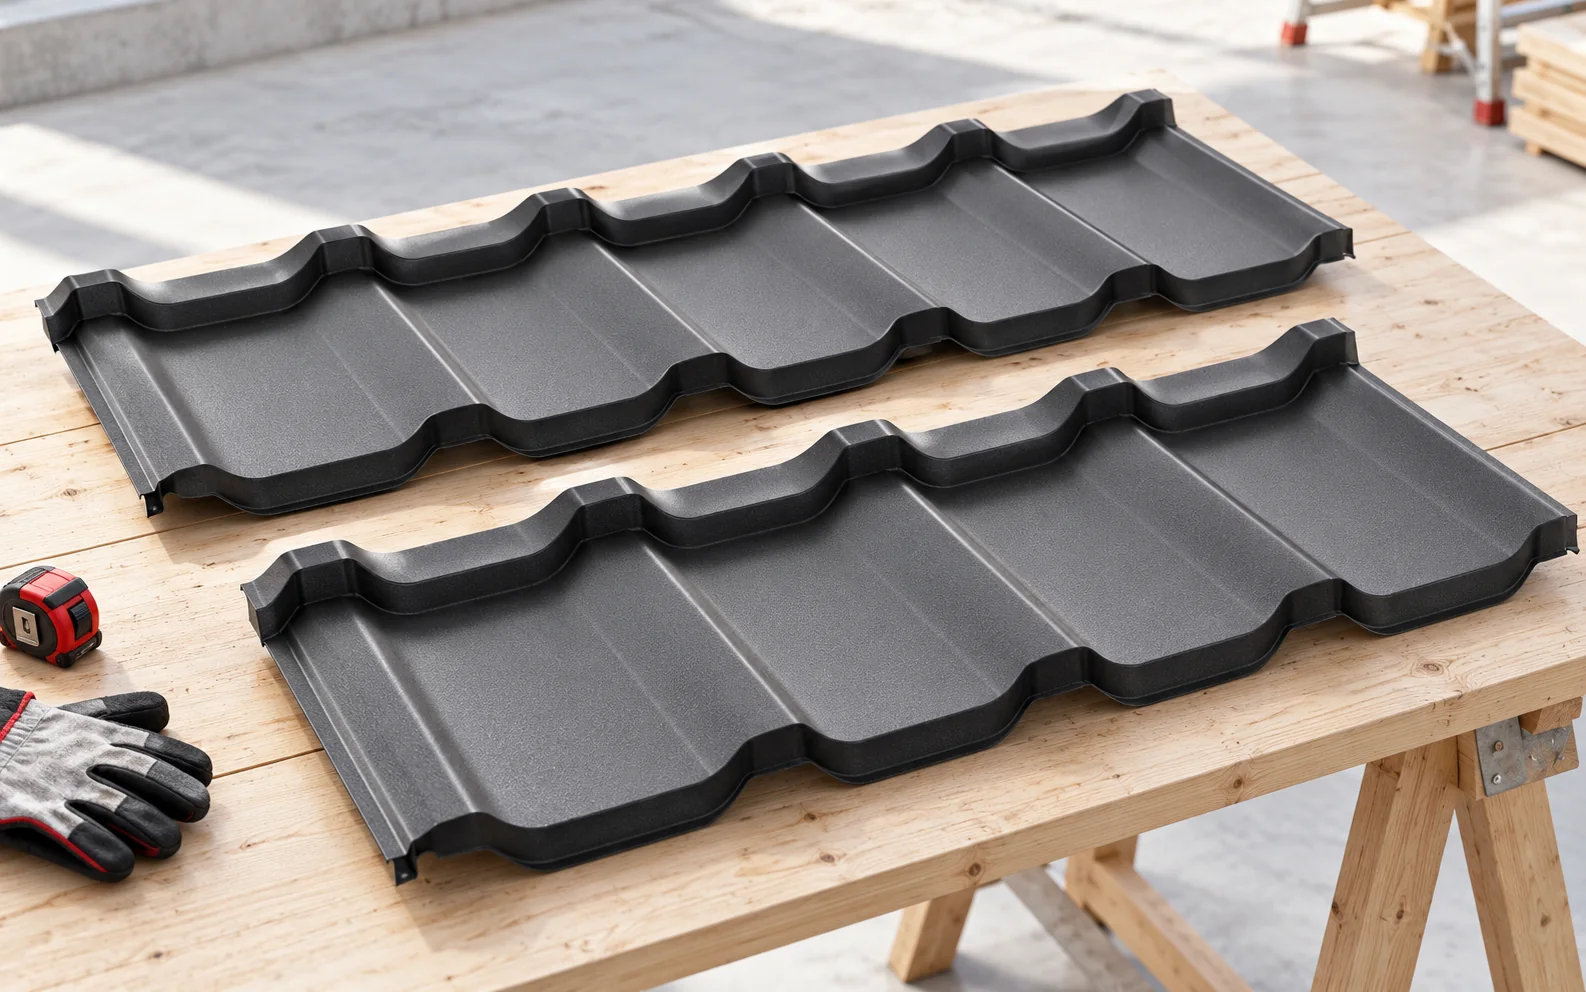
Installation of modular metal roof tiles begins with a level substructure, the correct layer sequence and a properly formed eaves zone. Only…
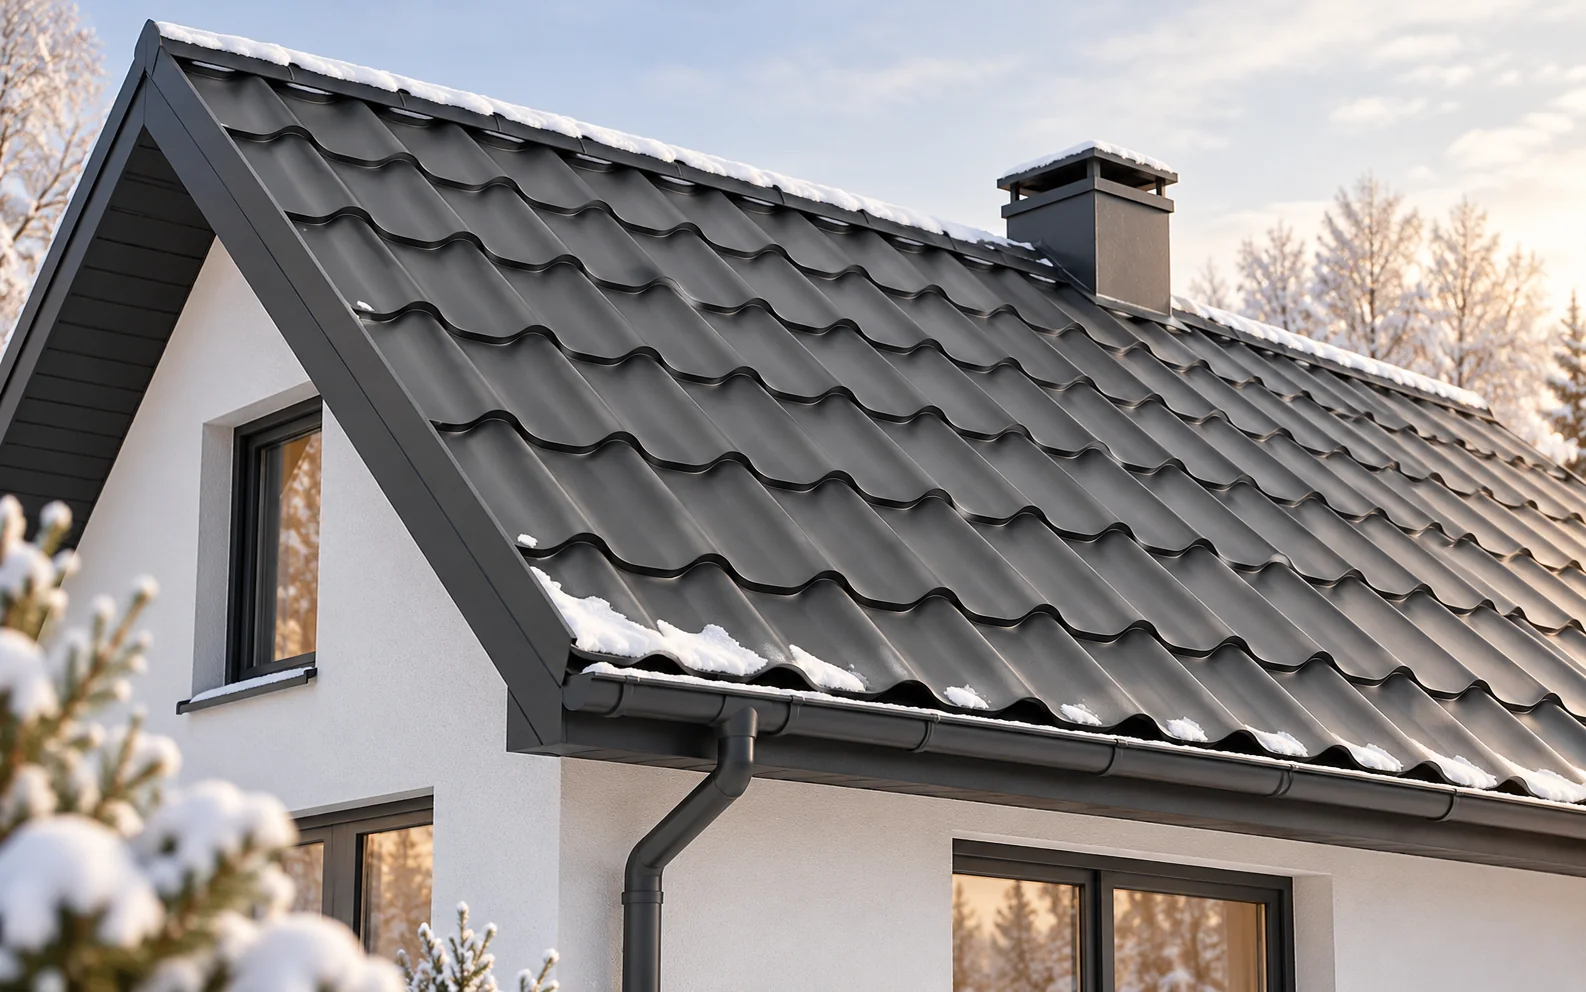
Preparing a roof for winter covers three areas: drainage, the safety of components and moisture control beneath the covering. The response to…
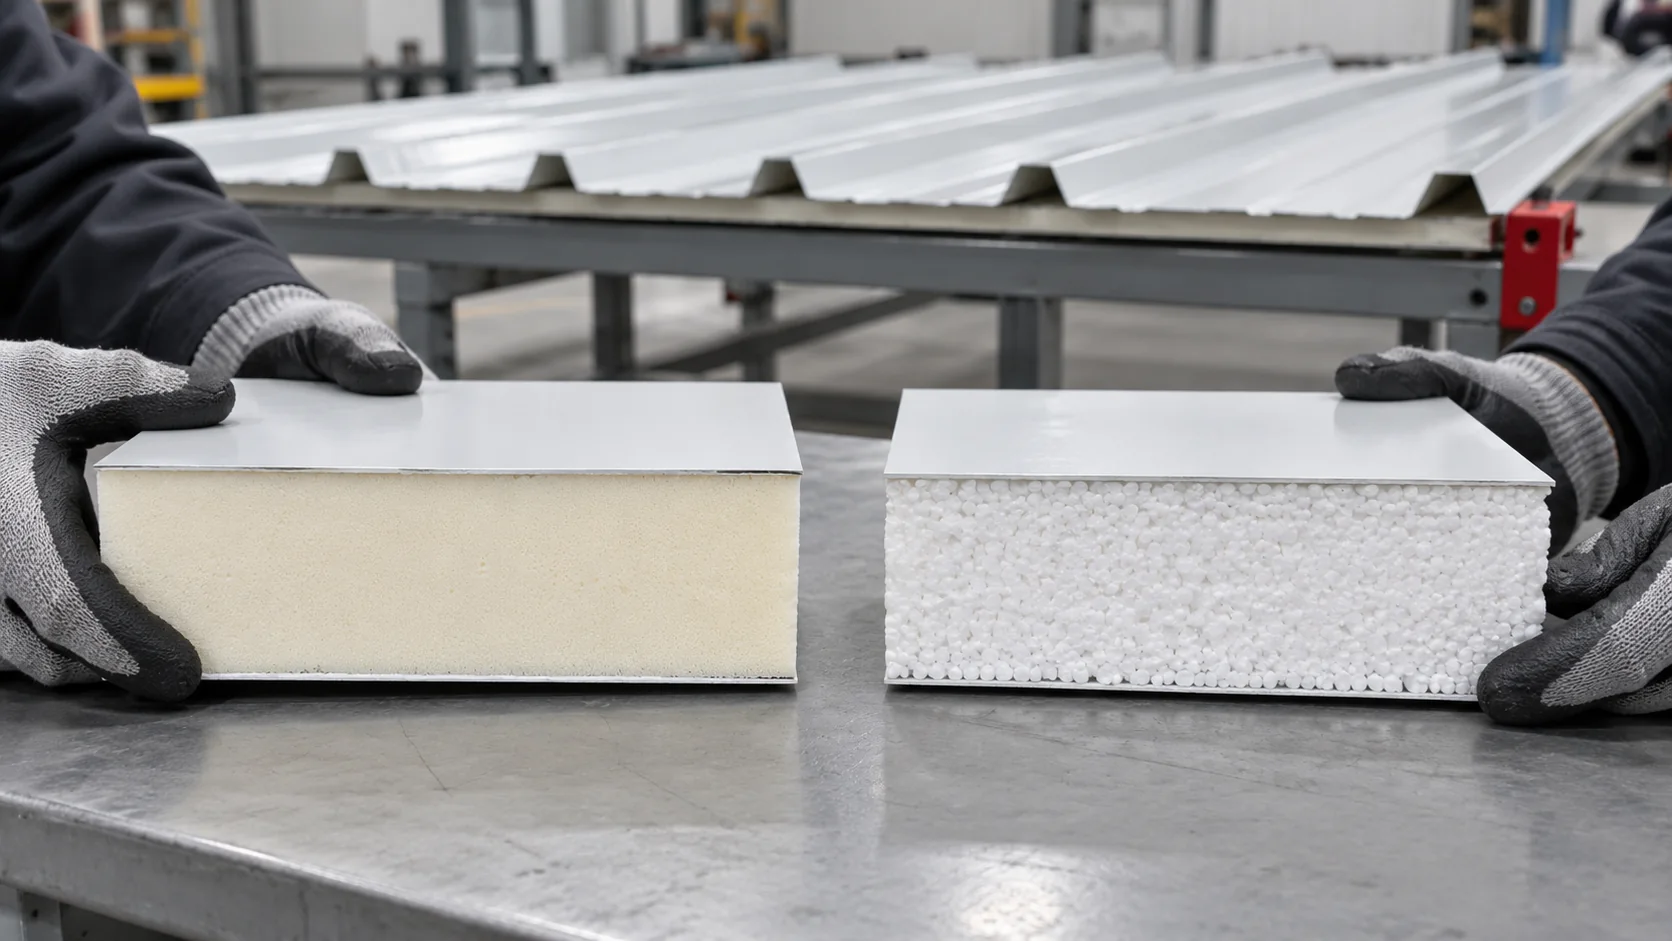
When replacing a roof, compare complete roof panels with two facings and a profile designed for roofing. The PIR or EPS core…