

Insulation and energy renovation
What to check in a hygrothermal assessment before renovating
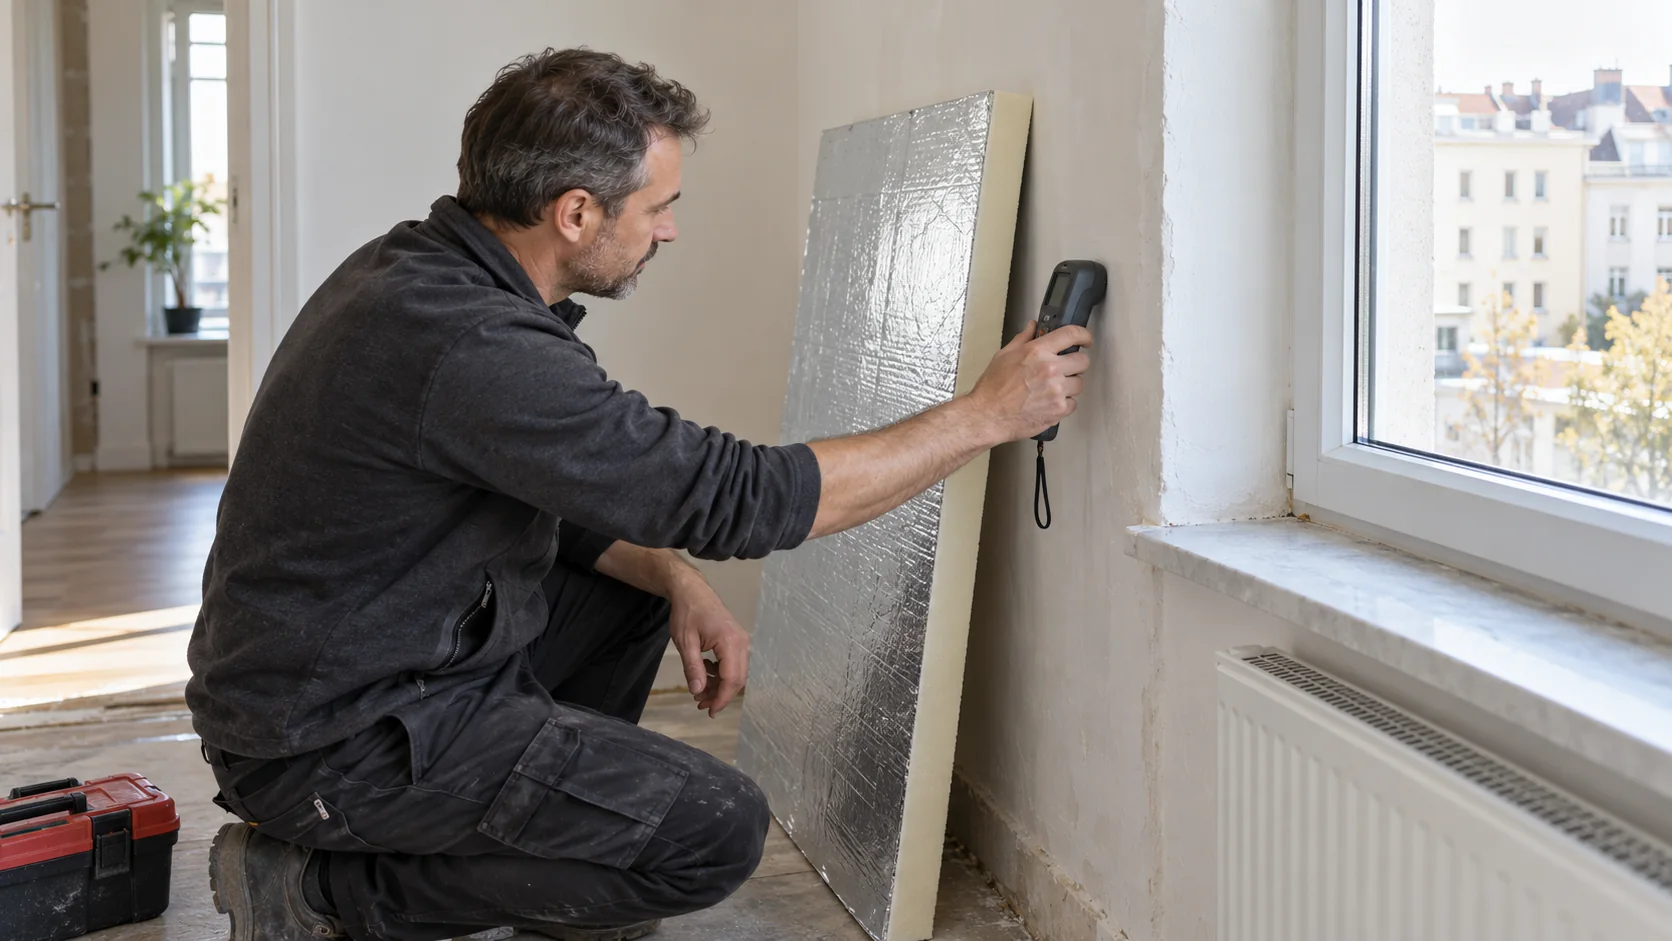
A hygrothermal calculation is only as reliable as the building survey behind it. For a renovation, record the condition of the masonry, heating pattern and moisture exposure. A green indicator on a calculator cannot by itself establish that an insulation design is suitable. Check the assumptions and carry the findings through to the construction drawings. Old plans may differ from what the work uncovers. Walls can contain infilled recesses, several types of brick and local repairs. List the layers from the room to the façade, their thicknesses and how they were identified. If a material is unknown, investigate before assigning a favourable thermal conductivity.
In this article
Establish what is actually in the wall
Opening the wall in one place cannot characterise an entire storey. Assess the spandrel below the window, ring beam and balcony junction separately. A conservative assumption can be revised once the construction is known. Documenting this explains the choice of insulation thickness later.
Distinguish thermal conductivity, R-value and U-value
Lambda denotes a material’s thermal conductivity. For a homogeneous layer, thermal resistance is R = d/λ, where d is the thickness in metres. For example, 80 mm of material with λ = 0.022 W/(m·K) gives R of about 3.64 m²K/W. This calculation applies to that layer alone. The U-value of the finished wall and the declared properties of the chosen PIR board need separate data.
The U-value includes the full construction and the relevant surface resistances. A thin insulation board’s datasheet cannot describe the existing masonry. Include the applicable corrections when checking the requirement and investigate thermal bridges at reveals and floor junctions separately.
If an existing masonry property is uncertain, compare two plausible sets of inputs. A large difference between results shows where further investigation of the wall will improve the assessment more than refining the calculation itself.
Enter the conditions in the room
Bedrooms, laundries and intermittently heated workshops have different humidity patterns. Use temperatures and humidity levels suited to the room. Check that ventilation still works after windows have been replaced. Collect measurements during a cold spell to supplement any single reading taken on a sunny afternoon.
Internal insulation reduces the heat reaching the masonry from the room. Consider how the wall dries and how much water reaches it from outside. Changing a humidity input in software cannot remedy a leaking gutter or rising damp.

Choose a method that covers the problem
Methods in PN-EN ISO 13788 include simplified assessments of surface humidity and interstitial condensation. They cover only certain moisture transport mechanisms. Airflow through leaks and the full effects of capillary water movement are outside the scope of these simplified calculations.
Wind-driven rain, old timber beam ends built into masonry or unusual layer sequences may call for a transient hygrothermal analysis. The designer determines its scope. A quick calculation can compare options as long as its limits remain clear.
Assess corners and junctions
Even with a favourable overall U-value, a cold strip can remain at a lintel. Mark reveals, external corners, floor junctions and service penetrations on the drawings. For internal insulation, include intersecting walls. Their junction with cold masonry can govern the room-side surface temperature.
Translate the results into details for continuous insulation, sealed layer junctions and the final lining. If the specified thickness will not fit behind a radiator or beside window hinges, revise the design before installation. A thinner strip chosen on site changes the conditions assessed.
Keep assumptions available for inspection
Include the layer sequence, material properties, boundary conditions and limits of the method. Provide results for the existing and proposed walls so the effect of the retrofit is clear. Use product data for the facing and thickness that will actually be installed.
Photograph junctions before the lining conceals them. If opening up reveals wet masonry or a different construction, notify the person responsible for the assessment. Update the final report to describe what was actually built.
Questions and answers
Can a calculator printout be included in the design documents?
Yes, once the designer has checked the inputs and the method. Include the assumptions, layer sequence and scope. A screenshot of the final U-value alone gives no indication of whether moisture and thermal bridges were assessed.
Does a calculation showing no condensation rule out mould?
No. Assess local surface temperatures, actual humidity, ventilation and airtightness as well. Software cannot detect a leaking gutter, a concealed water leak or air circulating behind insulation.
7 branches. Materials closer to your project.

Free quote
Materials for your project

You may also find useful…
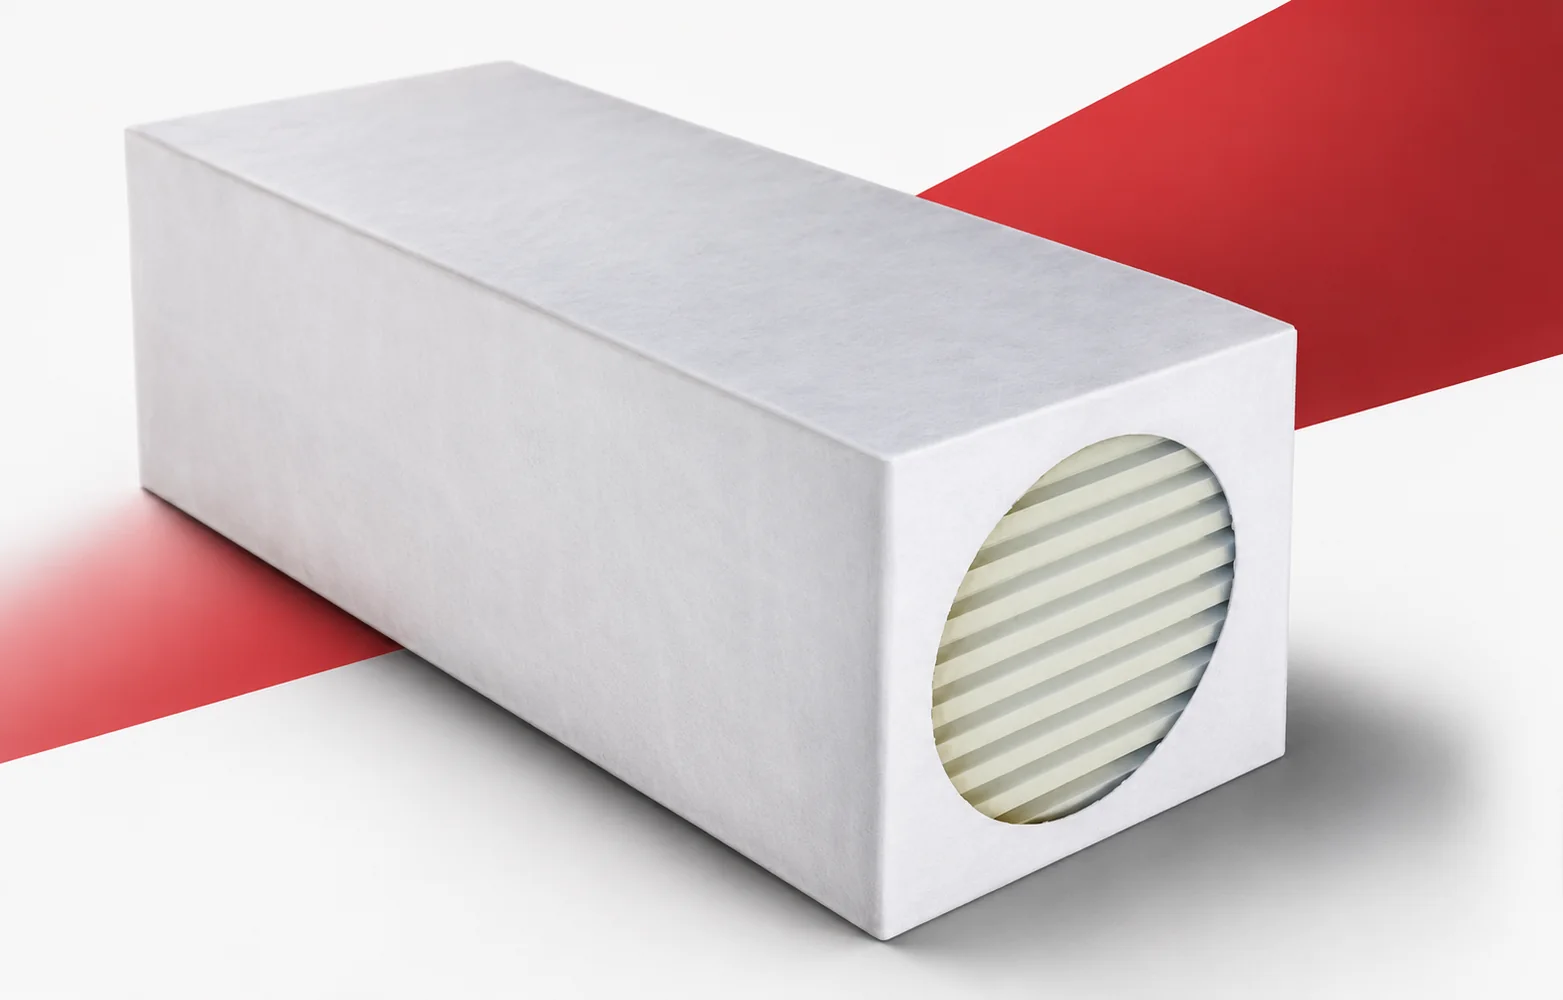
The thermal performance of insulation is often determined by small areas. Thermano Compact makes work easier where a full-size board would require…
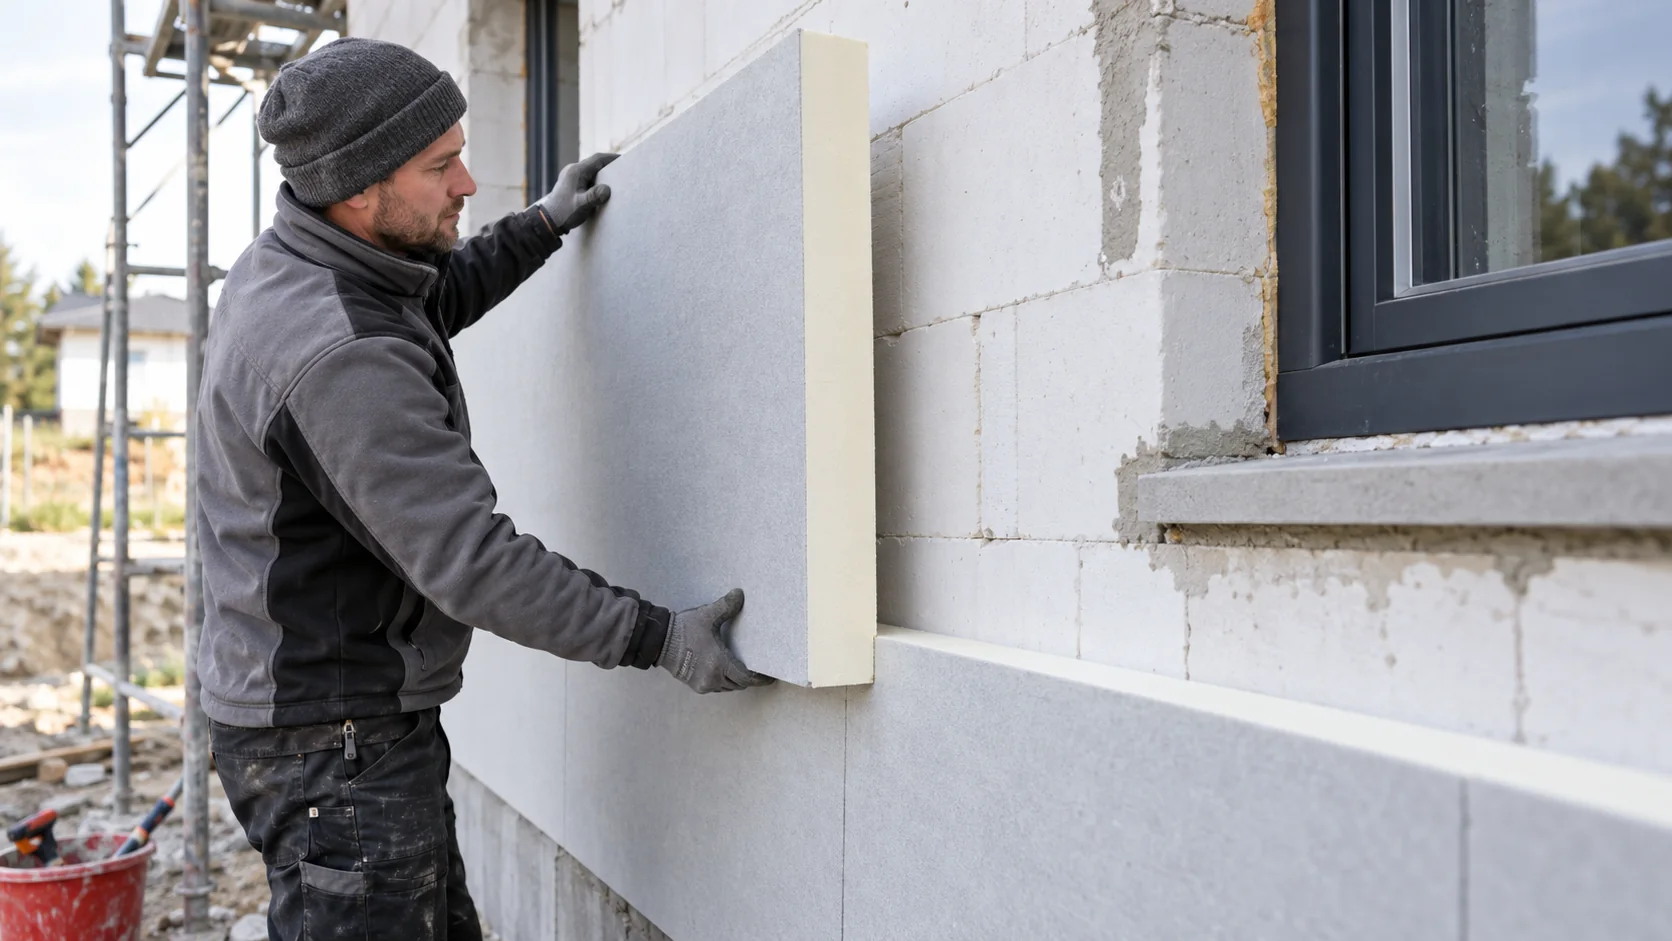
Aerated concrete blocks come in different densities and thermal conductivities. The PIR thickness a house needs depends on the actual blocks, wall…
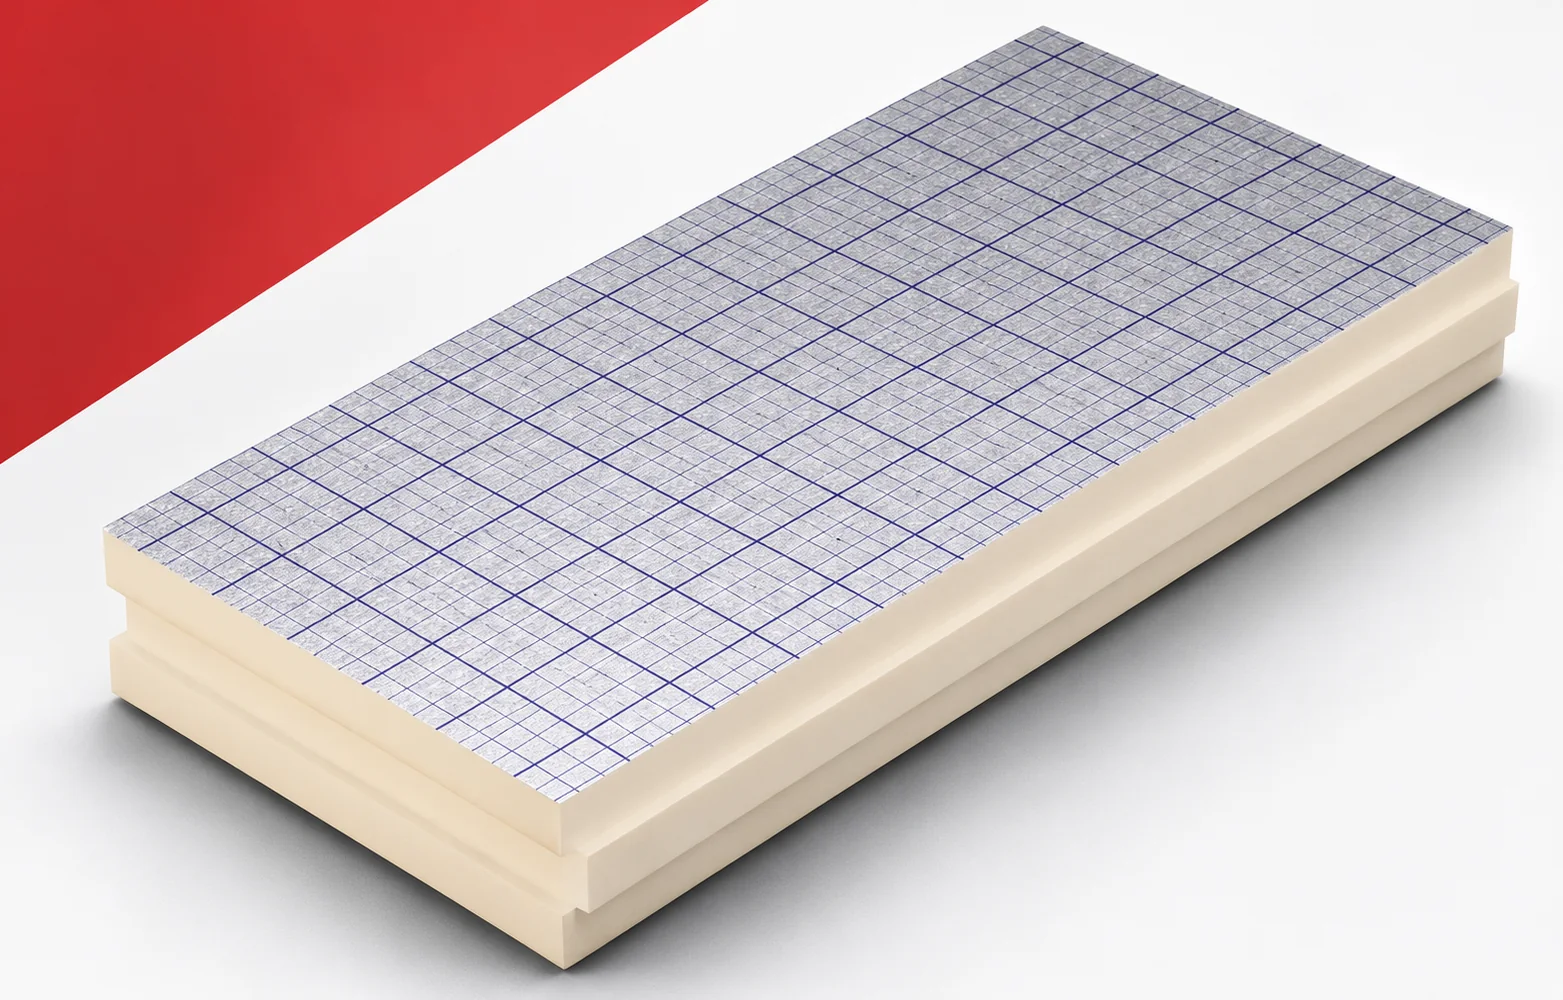
The edges of swissporPIR Alu influence how adjacent elements are joined. The thermal benefit depends on correct fitting, not on the profile…
Lambda helps compare materials, but it does not explain the whole energy balance of a house. When describing PIR boards, it is…
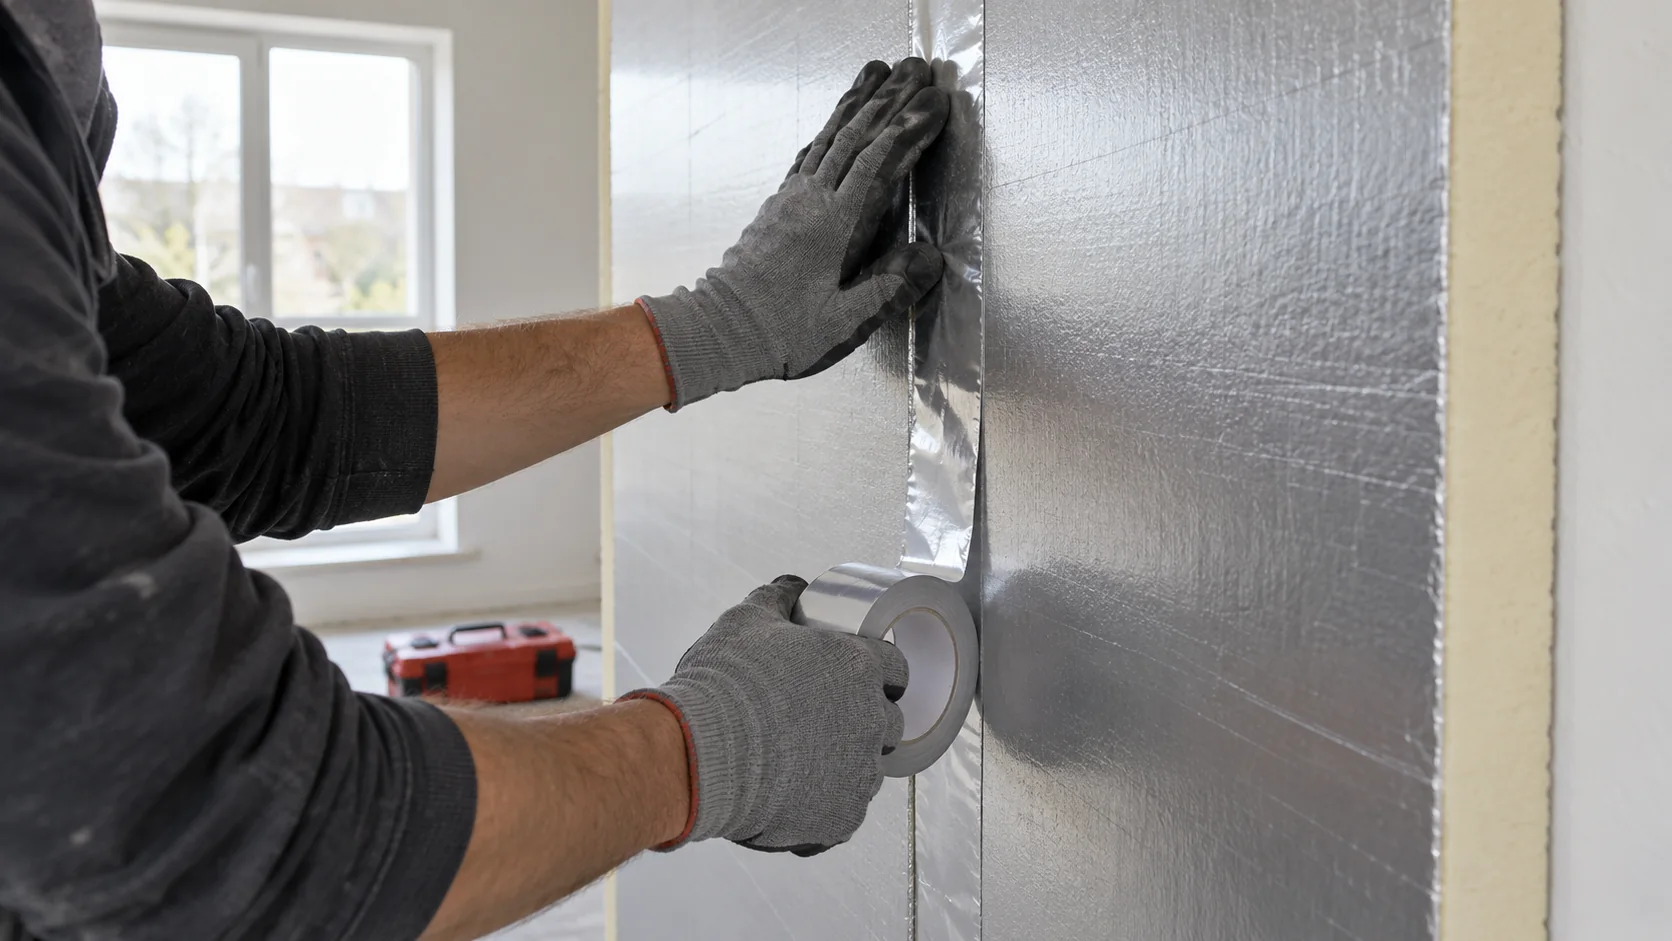
An aluminium facing on a PIR board can greatly restrict water vapour diffusion. The performance of the finished wall depends on how…
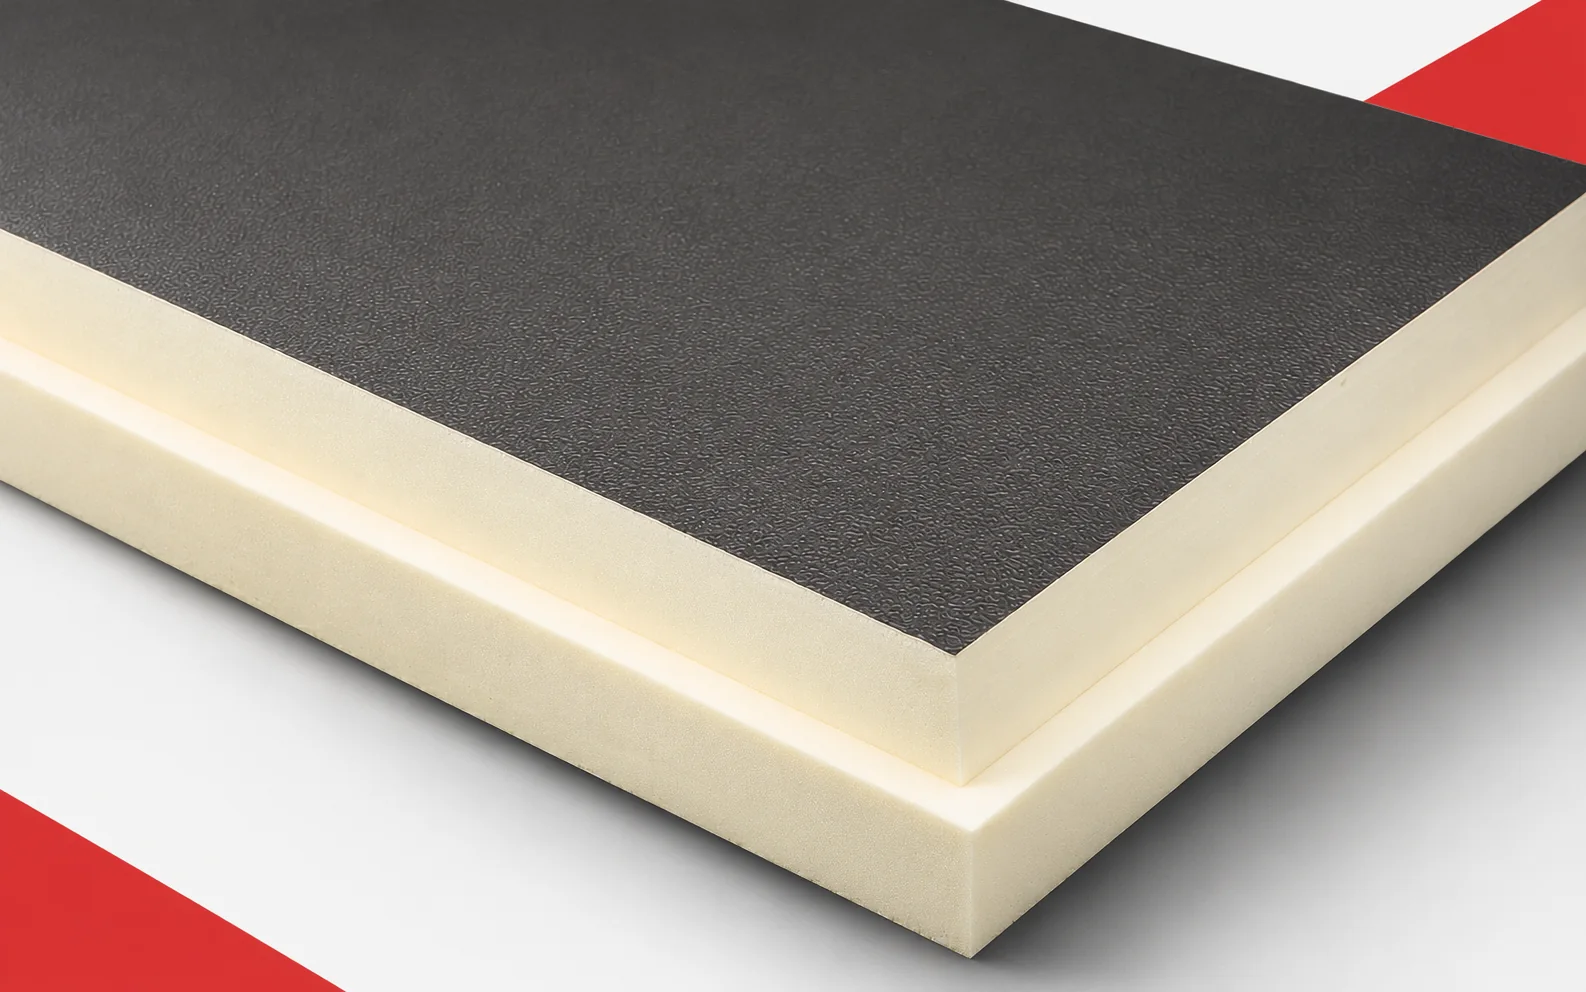
On a rectangular roof area, the large FA format makes it easier to plan a regular layout. The thermal effect, however, depends…
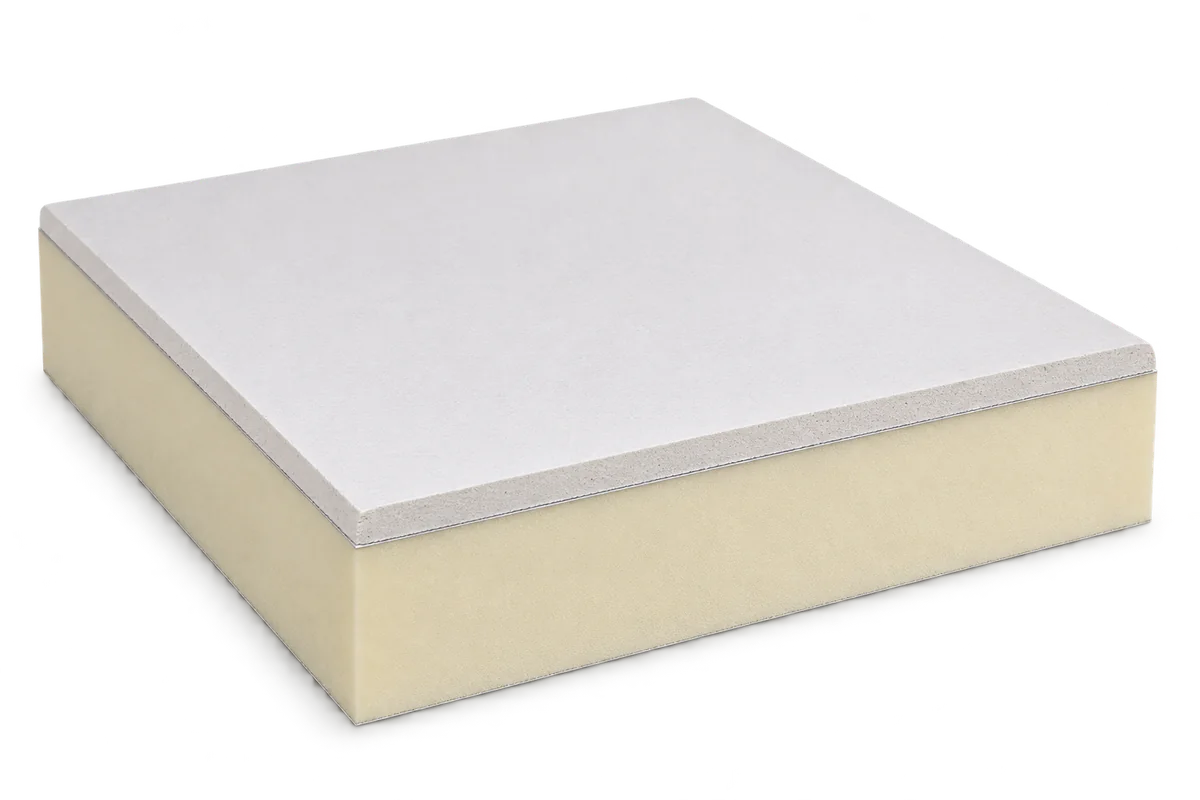
PIR bonded to plasterboard combines thermal insulation with a surface ready for interior finishing. Suitability depends on the whole wall, including the…
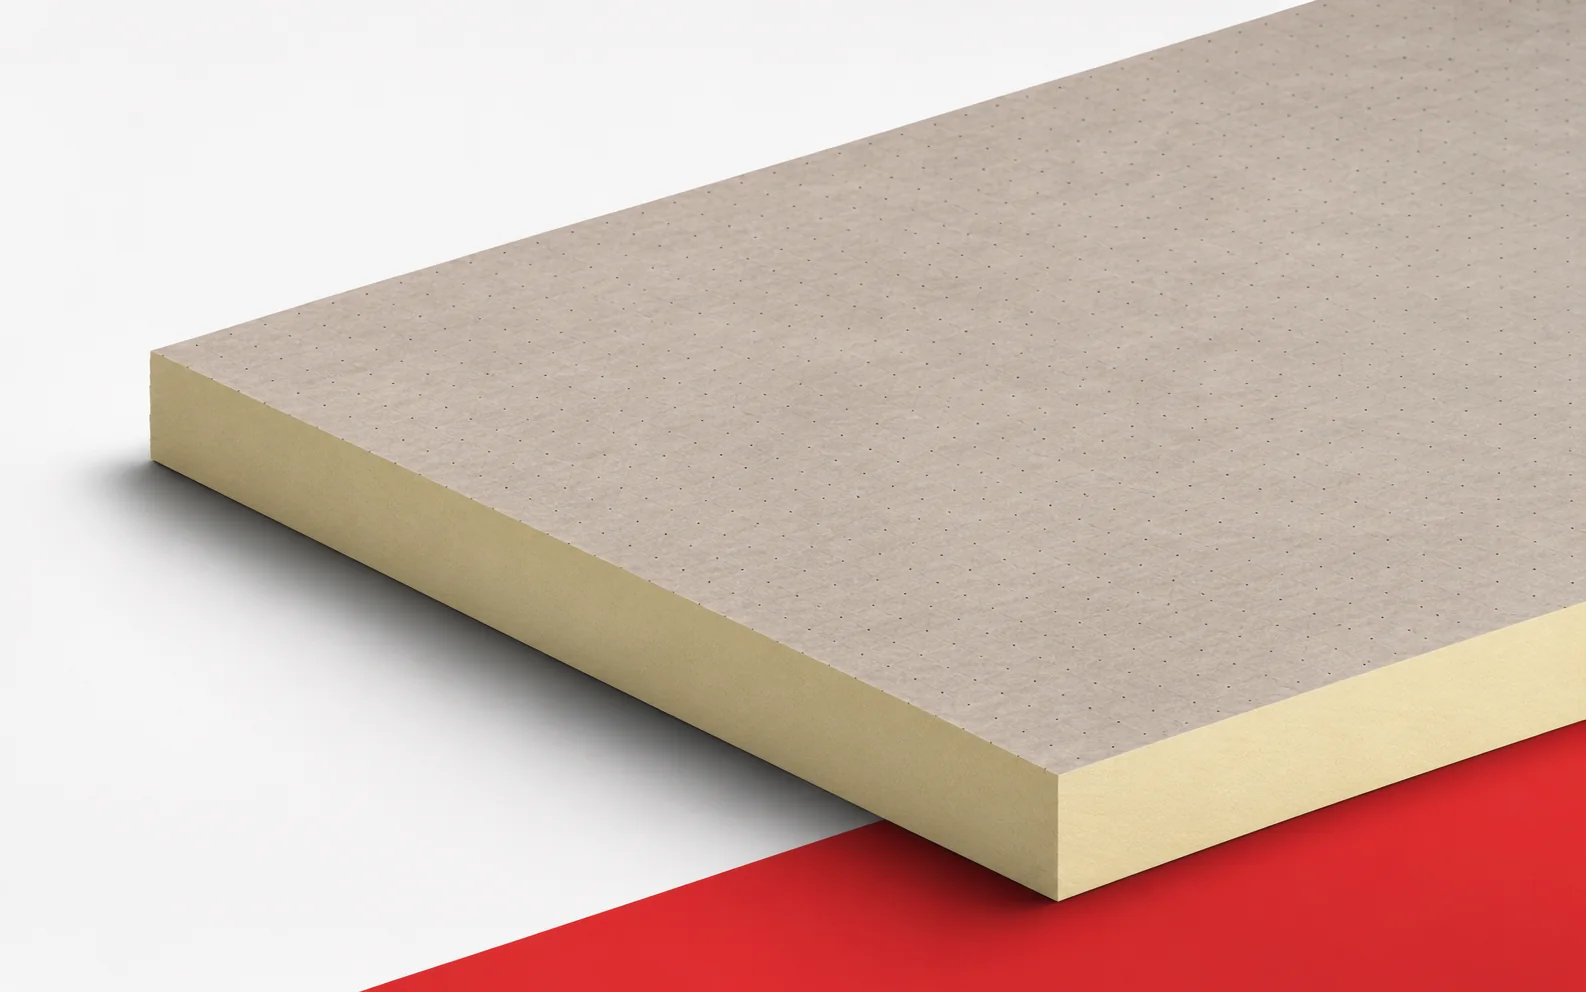
Therma TR27 shows why a single lambda value cannot be attributed to all PIR boards. Choosing the thickness must go hand in…