

Insulation and energy renovation
Rendered PIR insulation on an aerated concrete wall: what to check before installation
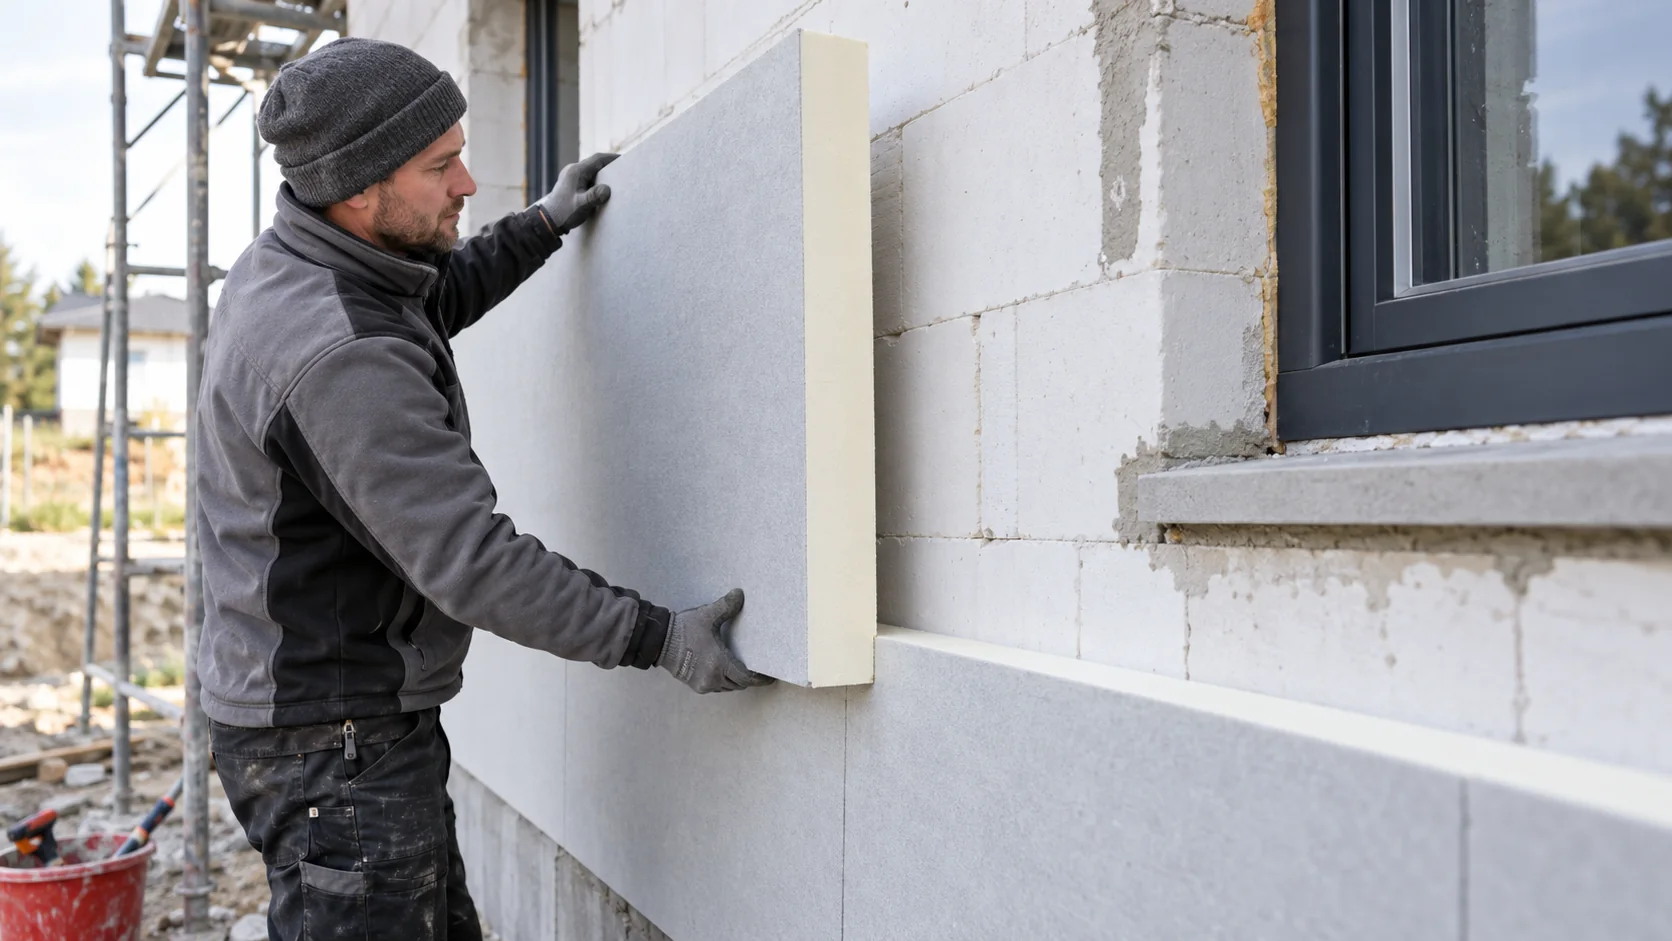
Aerated concrete blocks come in different densities and thermal conductivities. The PIR thickness a house needs depends on the actual blocks, wall thickness and masonry joints. For a rendered façade, check that the board belongs to the specified insulation system as well as checking the wall U-value. Inspect the substrate, fixings and details around windows and at the plinth before the render conceals them. Select data that match the blocks on site. Choosing the lightest block in a catalogue because it has the lowest conductivity can distort the calculation. Identify lintels, ring beams and repairs separately, as their construction may differ from the main wall.
In this article
Identify the blocks and the masonry construction
Check the moisture content and whether wet trades have finished. The substrate must meet the insulation system’s requirements. Covering a wet wall to shorten the build can trap moisture. If the building stood without a roof for a long time, establish the condition of the masonry before comparing insulation prices.
Choose a board suitable for the render system
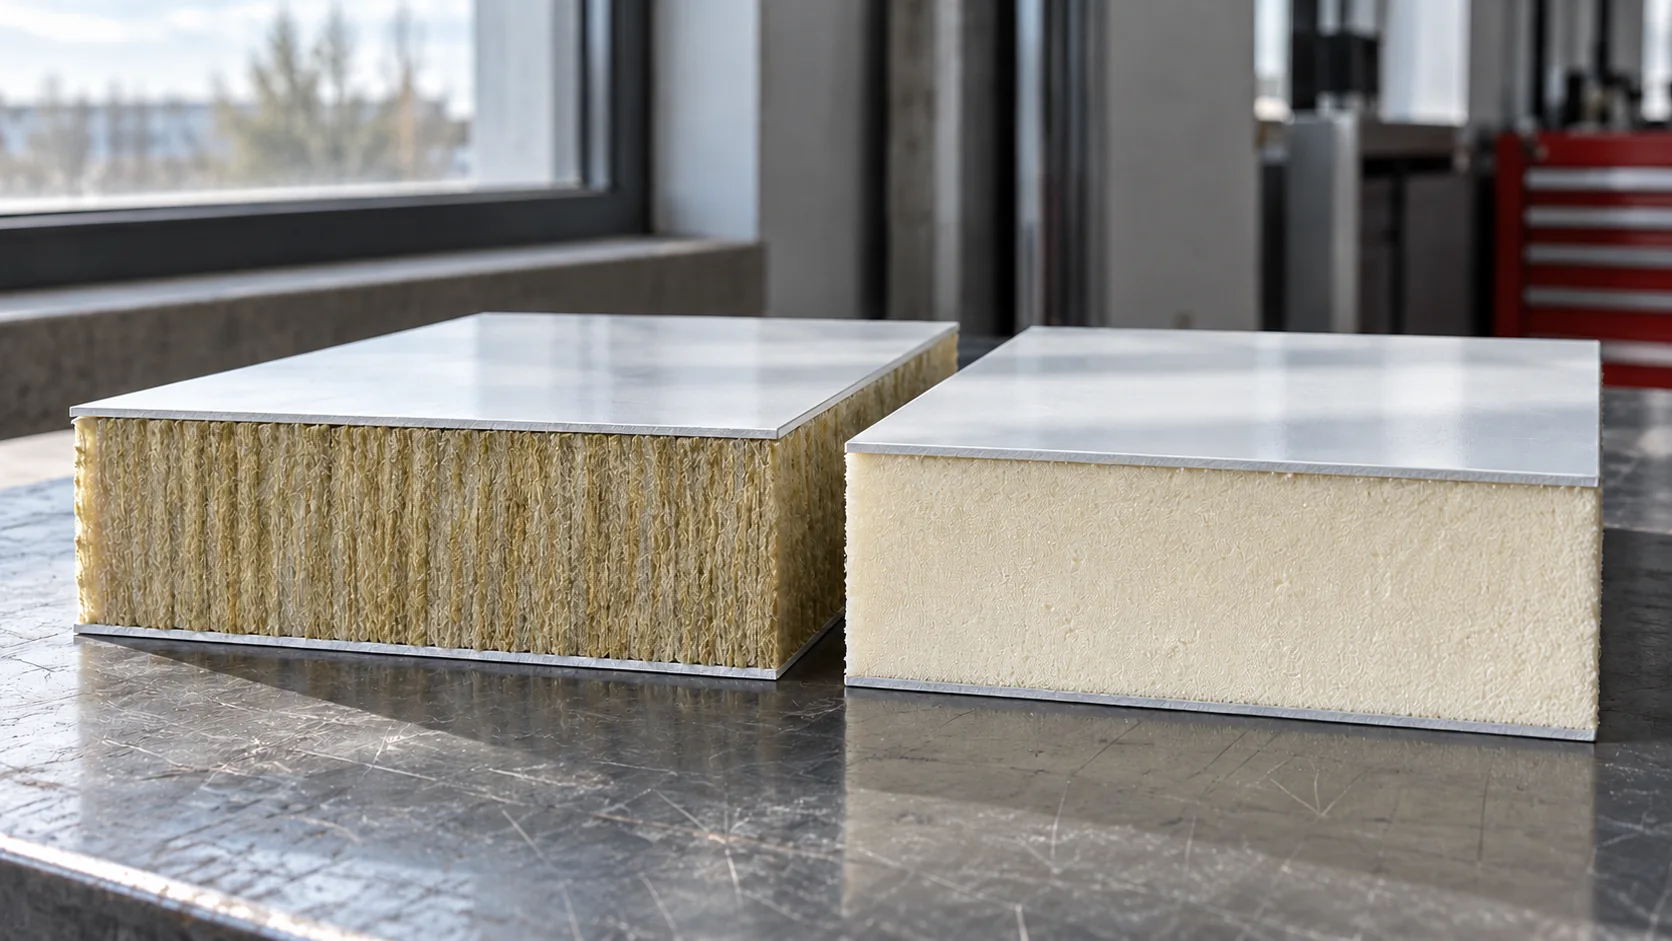
PIR for use beneath render forms part of a specific external thermal insulation composite system (ETICS). Some boards have a glass fleece facing designed to bond with the other layers. An aluminium-faced board with a similar-looking core does not establish the required adhesive bond or durability. Check which board the system specifies.
Confirm which face goes against the wall. On some boards the two facings serve different functions. Use the specified adhesive, reinforced base coat, fixings and render. Combining components from separate installation guides puts the assembly outside the performance demonstrated for the complete system unless that combination is covered.
Compare two thicknesses on the same wall
Take a 24 cm masonry wall with an assumed conductivity of 0.16 W/(m·K). Its thermal resistance is 1.50 m²K/W. Add surface resistances totalling 0.17 m²K/W. With 80 mm of façade insulation at λ = 0.026 W/(m·K), the simplified U-value is about 0.21 W/(m²·K). At 100 mm with the same conductivity, it falls to about 0.18 W/(m²·K).
This comparison omits render, fixings and thermal bridges. Under the Polish technical conditions referred to as WT, the limiting Uc for this type of wall at a design indoor temperature of at least 16°C is 0.20 W/(m²·K). The designer should confirm which provisions apply, including transitional rules. Final sizing requires a full calculation with building-specific data.
Use the conductivity for the specified facing
A foil-faced PIR board may have a declared λ of 0.022 W/(m·K), while the façade version has a different value. In the rendered-board family used in this example, conductivity also varies with thickness. It is 0.026 W/(m·K) at 80–110 mm and 0.025 W/(m·K) from 120 mm. These figures apply to the product family described.
Use a calculator that accepts the actual product value. Entering the lowest figure advertised for a different board can underestimate the thickness required. Match each quotation to the datasheet for the exact board offered.

Select fixings for a lightweight, absorbent substrate
Prepare the aerated concrete surface and choose fixings suitable for it. Sanding dust can impair adhesion. On an existing wall, check the render too. Select the primer, adhesive and fixing method using the system instructions and the condition of the substrate.
Wind loads can be higher at corners. Determine the number of anchors for the building’s height, location, façade geometry and fixing capacity. If the existing substrate’s holding capacity is uncertain, on-site tests may be needed.
A test at one arbitrarily selected spot cannot characterise a façade with several substrates. Mark infilled openings, ring beams and repairs on the survey drawing and account for them in the fixing design.
Detail openings and areas exposed to water
Provide drainage and sealed junctions at the plinth, sills and downpipes. Measure the eaves overhang and size the flashings for the full insulation build-up. The reinforcement mesh and render cannot provide a windowsill flashing. Use system-compatible protection in areas exposed to impacts.
Record how the insulation runs around windows and service penetrations before finishing. Retain the system details for repairs. If a corner is damaged, reinstate its layers as part of the repair. Repainting alone can hide damage that affects the façade in later seasons.
Questions and answers
Is 8 cm of PIR enough for an aerated concrete wall?
It depends on the wall and the selected board. For the assumed masonry in this example, 8 cm gives about 0.21 W/(m²·K) before all corrections are applied. Calculate the result for the actual construction.
Does thin insulation eliminate a thermal bridge at a ring beam?
Thickness alone cannot establish that. Check continuity at the junction and assess the ring beam, lintels and reveals together with the blockwork.
7 branches. Materials closer to your project.

Free quote
Materials for your project
You may also find useful…
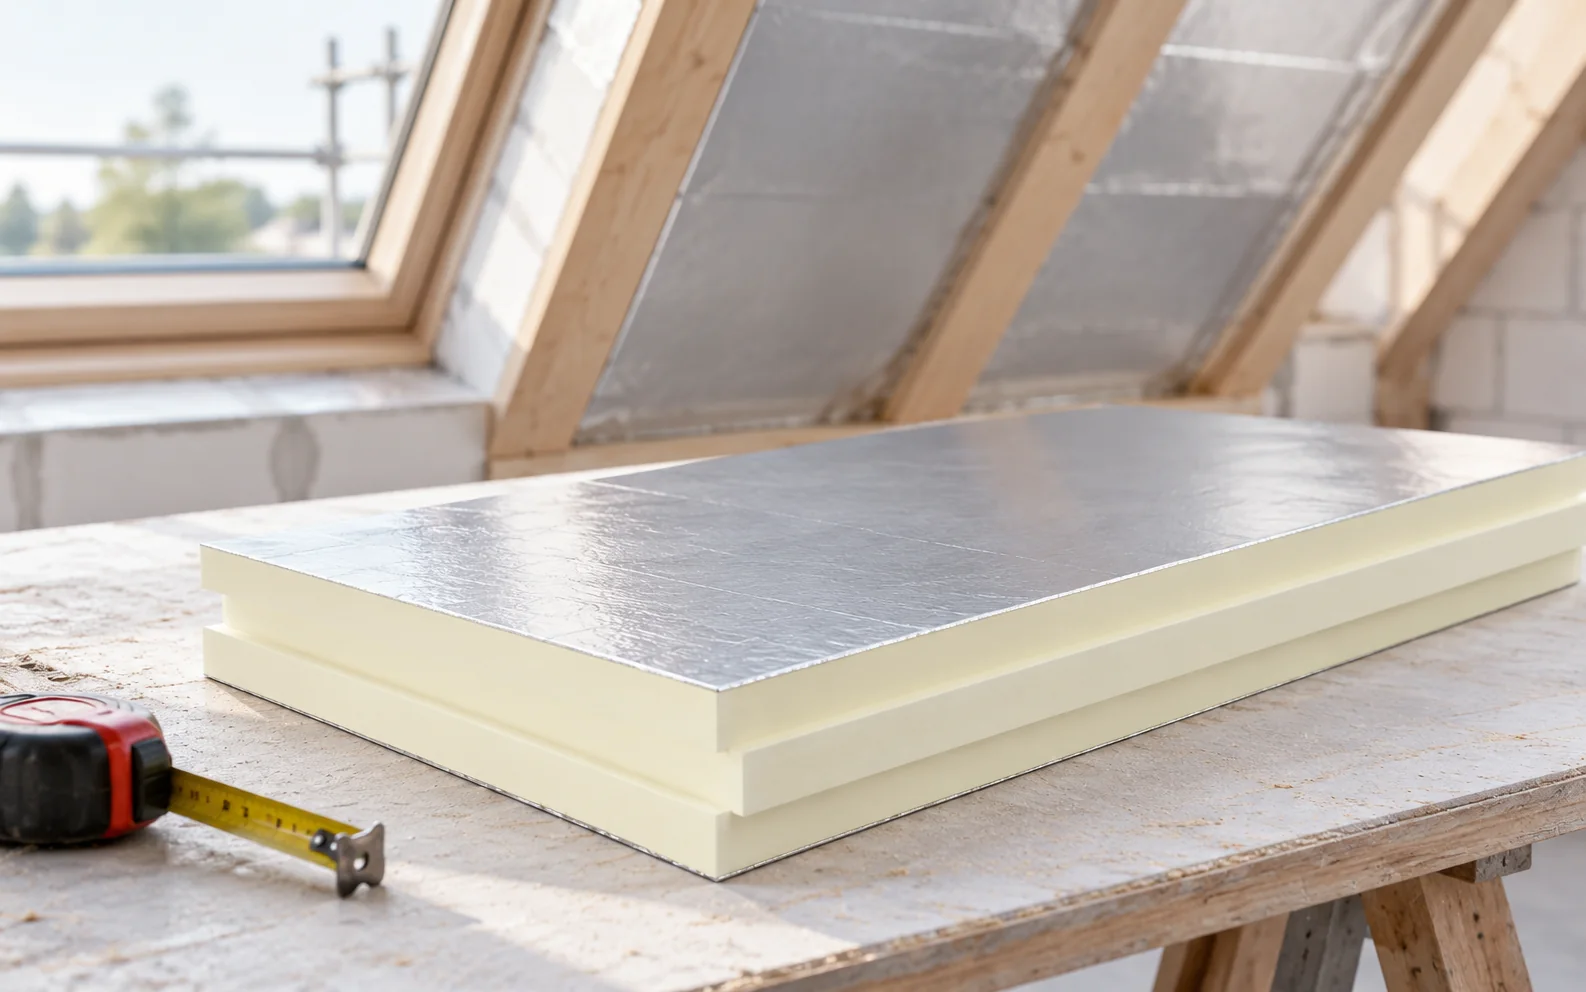
Answering the question of how to plan and carry out roof insulation step by step requires first of all establishing the boundary…
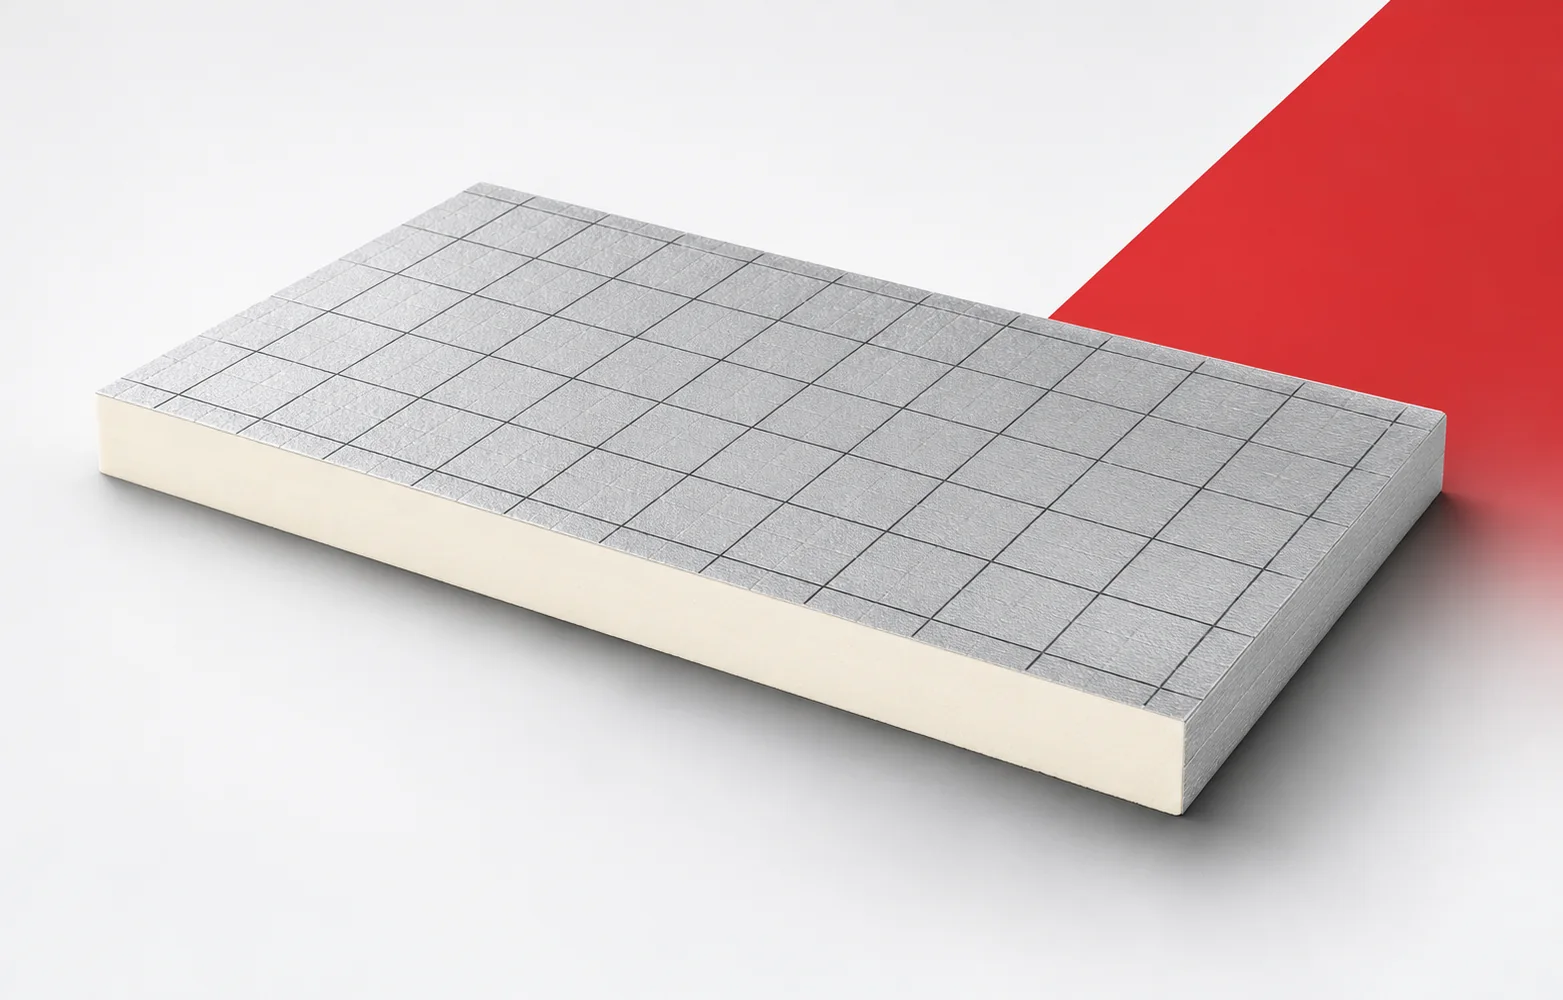
IDELCO α-therm ROOF makes it possible to aim for high thermal resistance where roof height is limited. The choice of thickness should,…
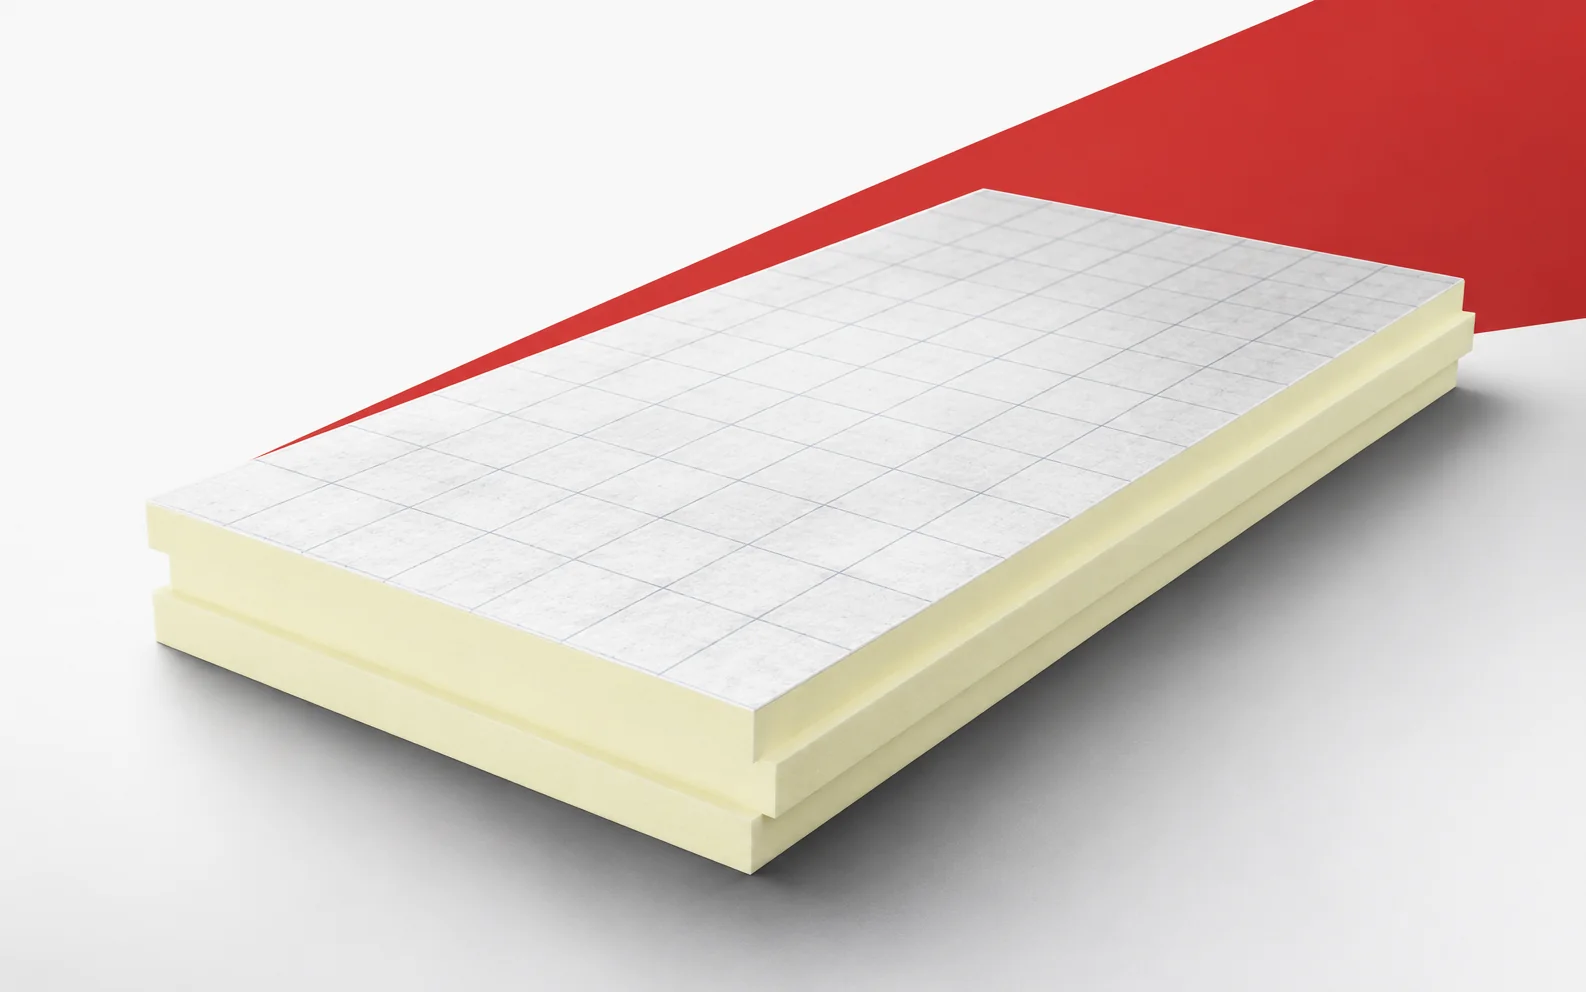
A very low lambda is most useful where there is no room for the layers. termPIR MAX 19 AL has a declared…
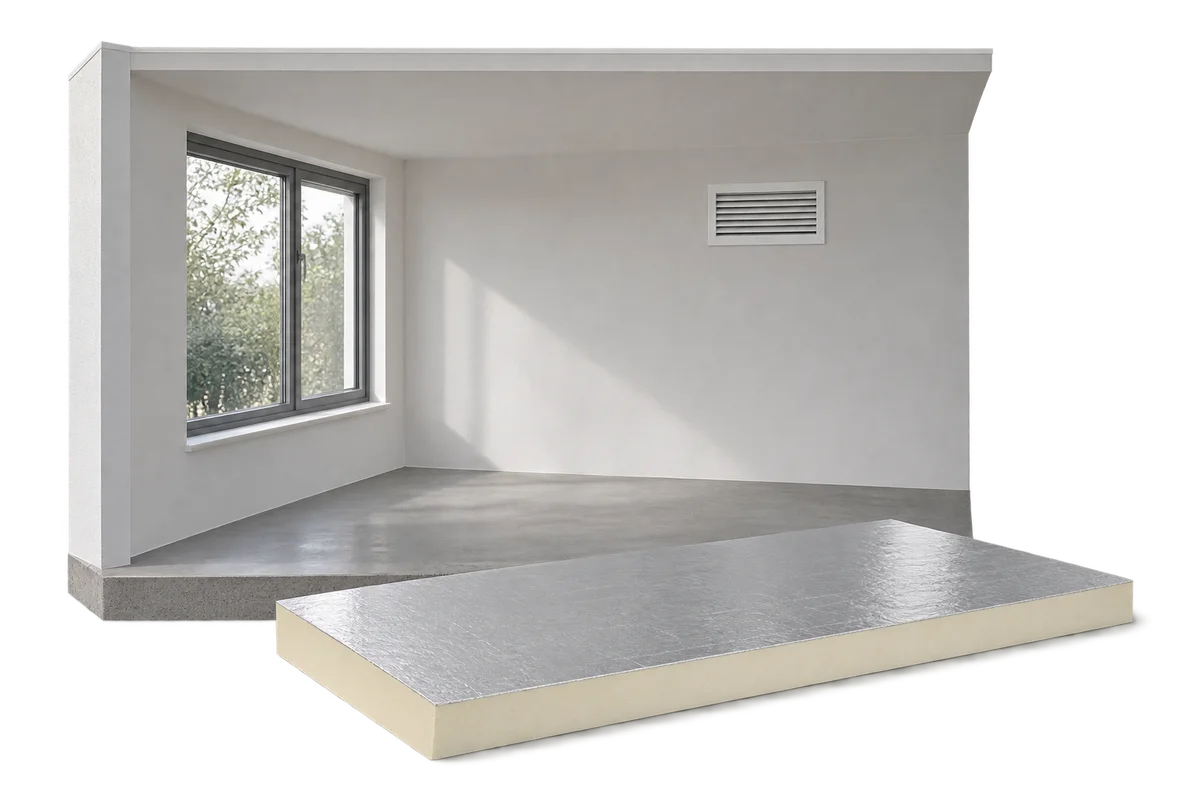
Indoor moisture conditions depend on the sources of water vapour, the way the house is ventilated and the surface temperatures. Water vapour…
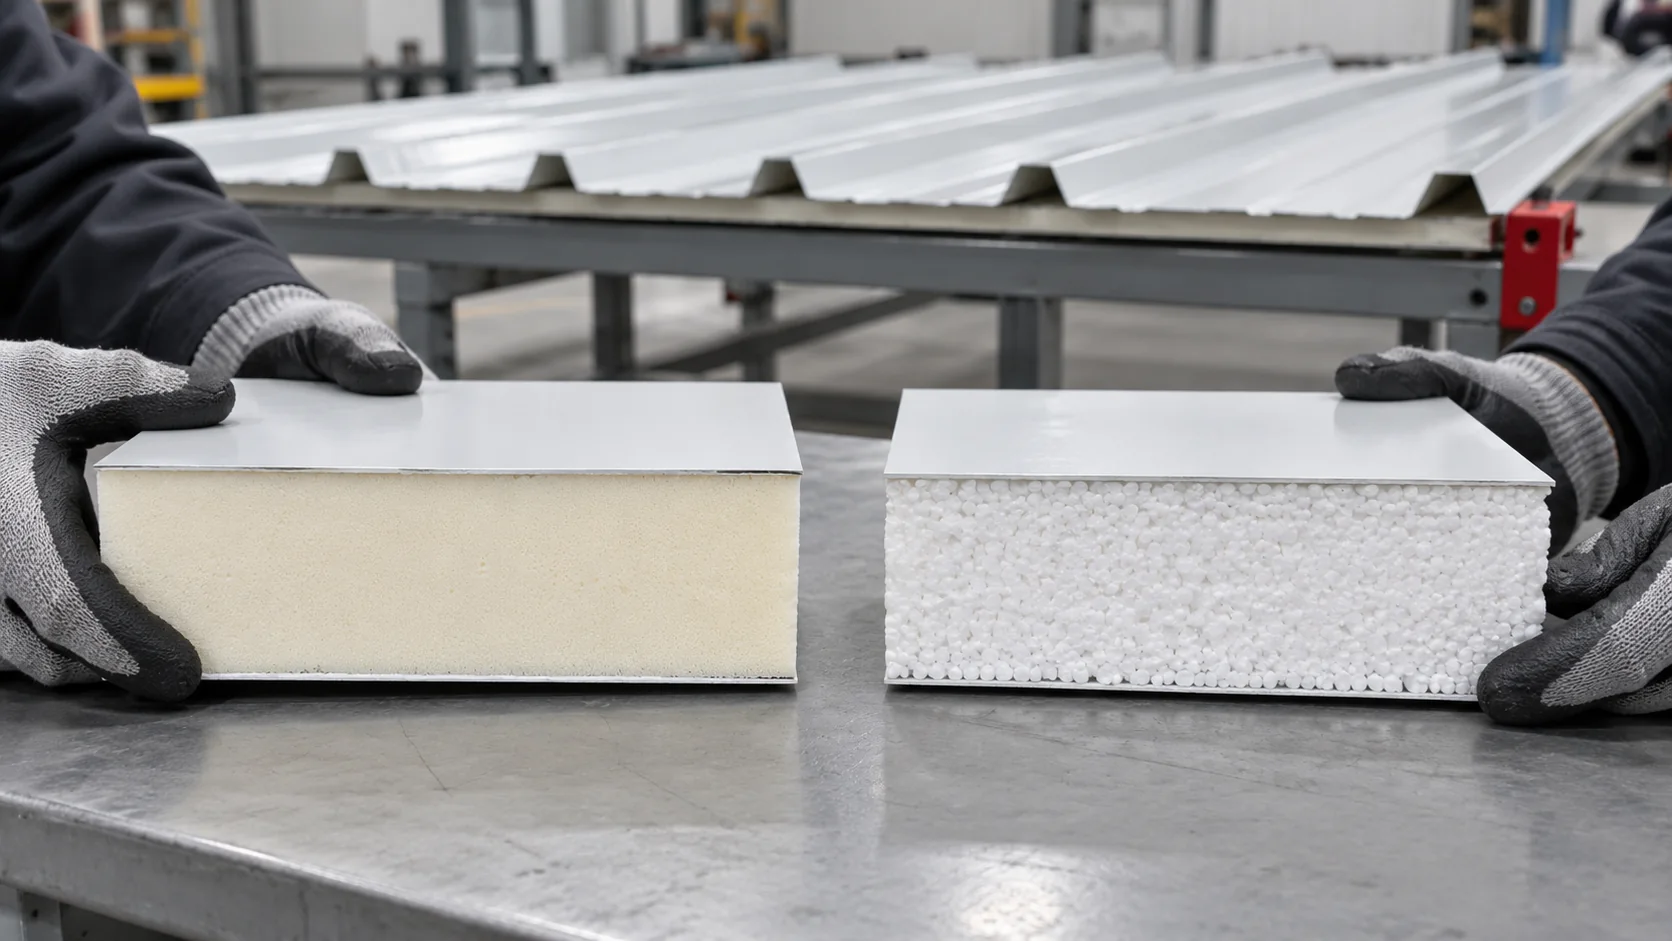
When replacing a roof, compare complete roof panels with two facings and a profile designed for roofing. The PIR or EPS core…
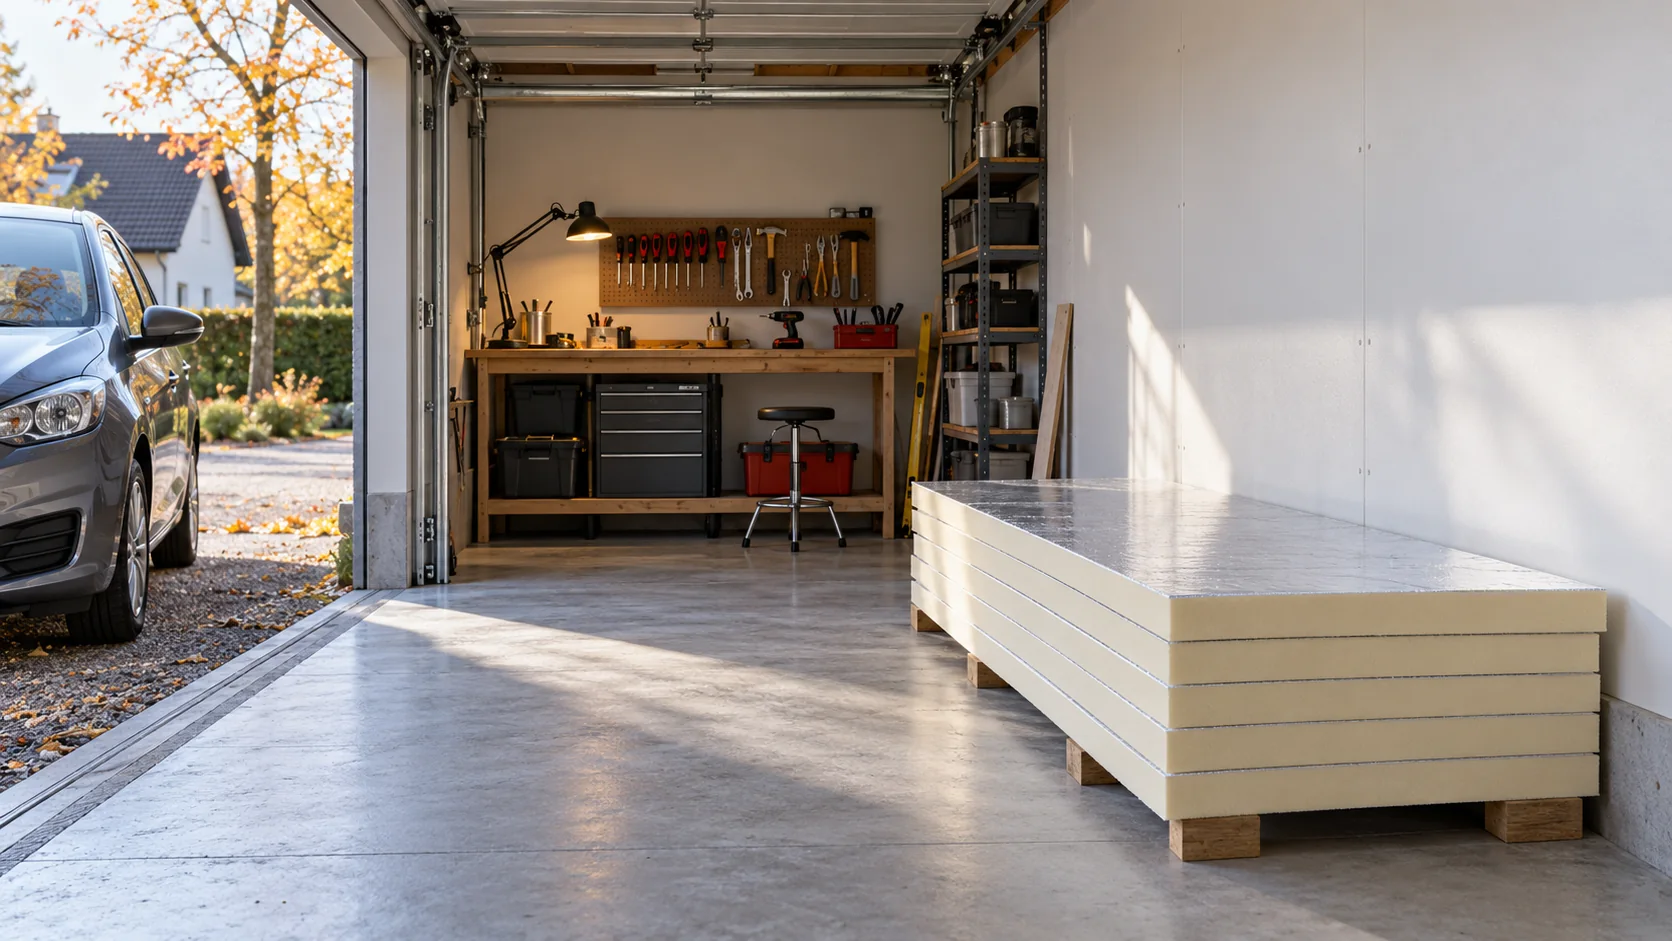
Start with when the building will be heated and what temperature it needs to reach. A garage housing a wet car has…
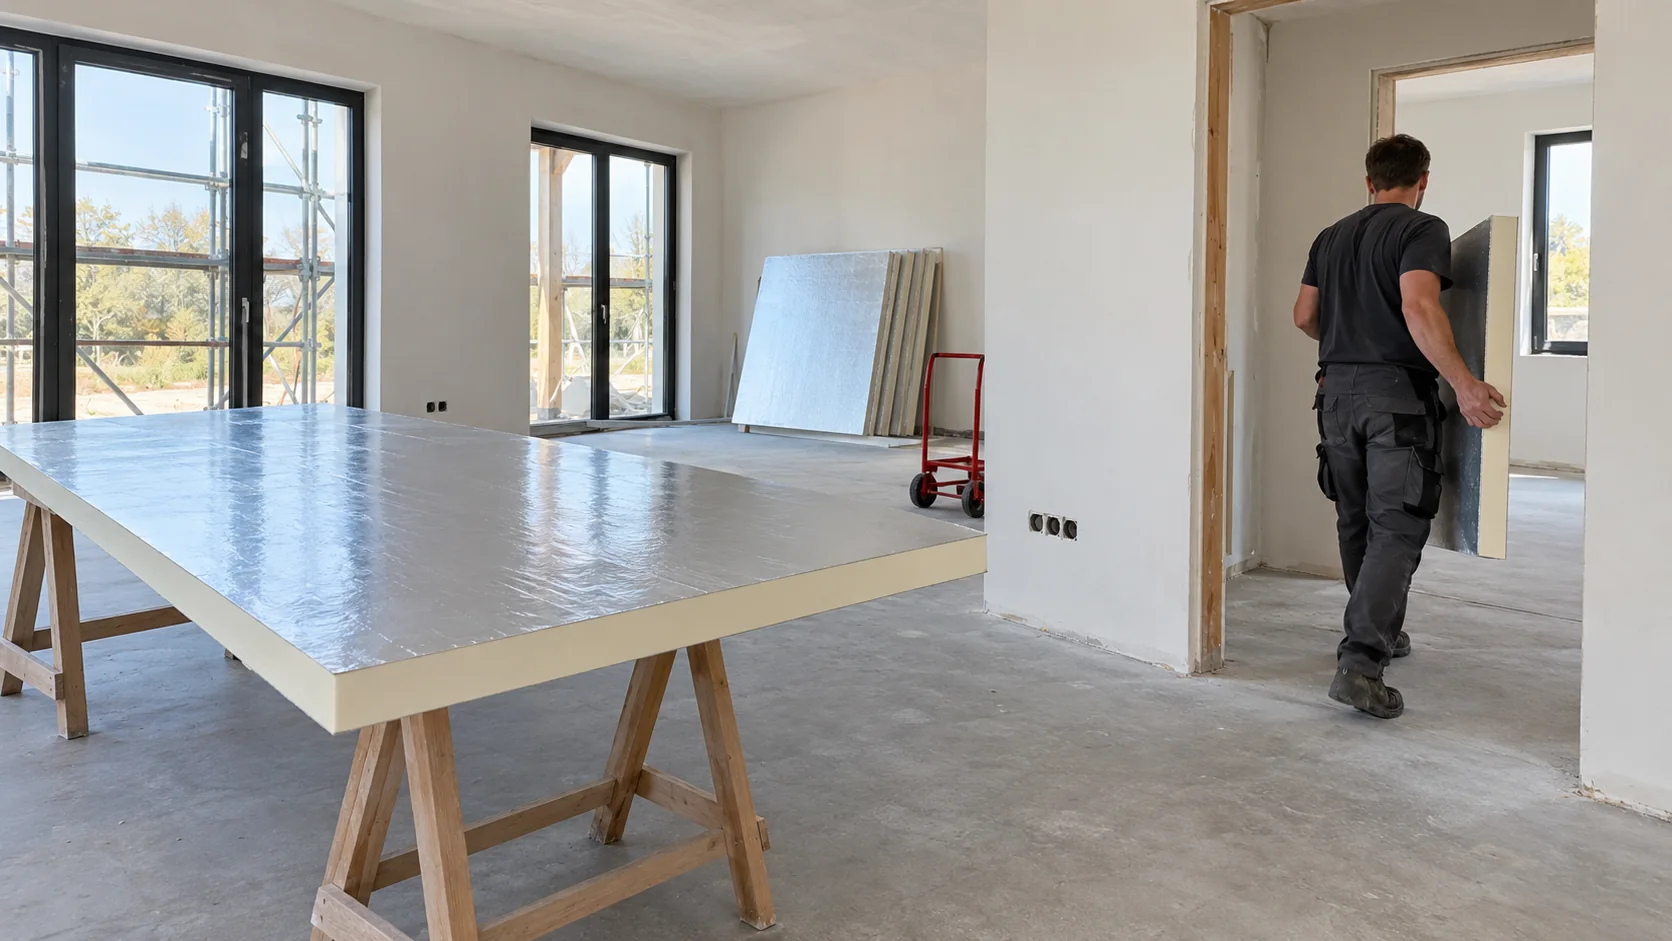
Large PIR boards cover an uninterrupted surface quickly. Smaller boards are easier to manoeuvre in a flat or around openings on a…
Start with what the wall or roof has to do before comparing panel prices and thicknesses. PIR is a rigid foam with…