

Installation and refurbishment
Installing sandwich roof panels: site preparation, inspection and handover
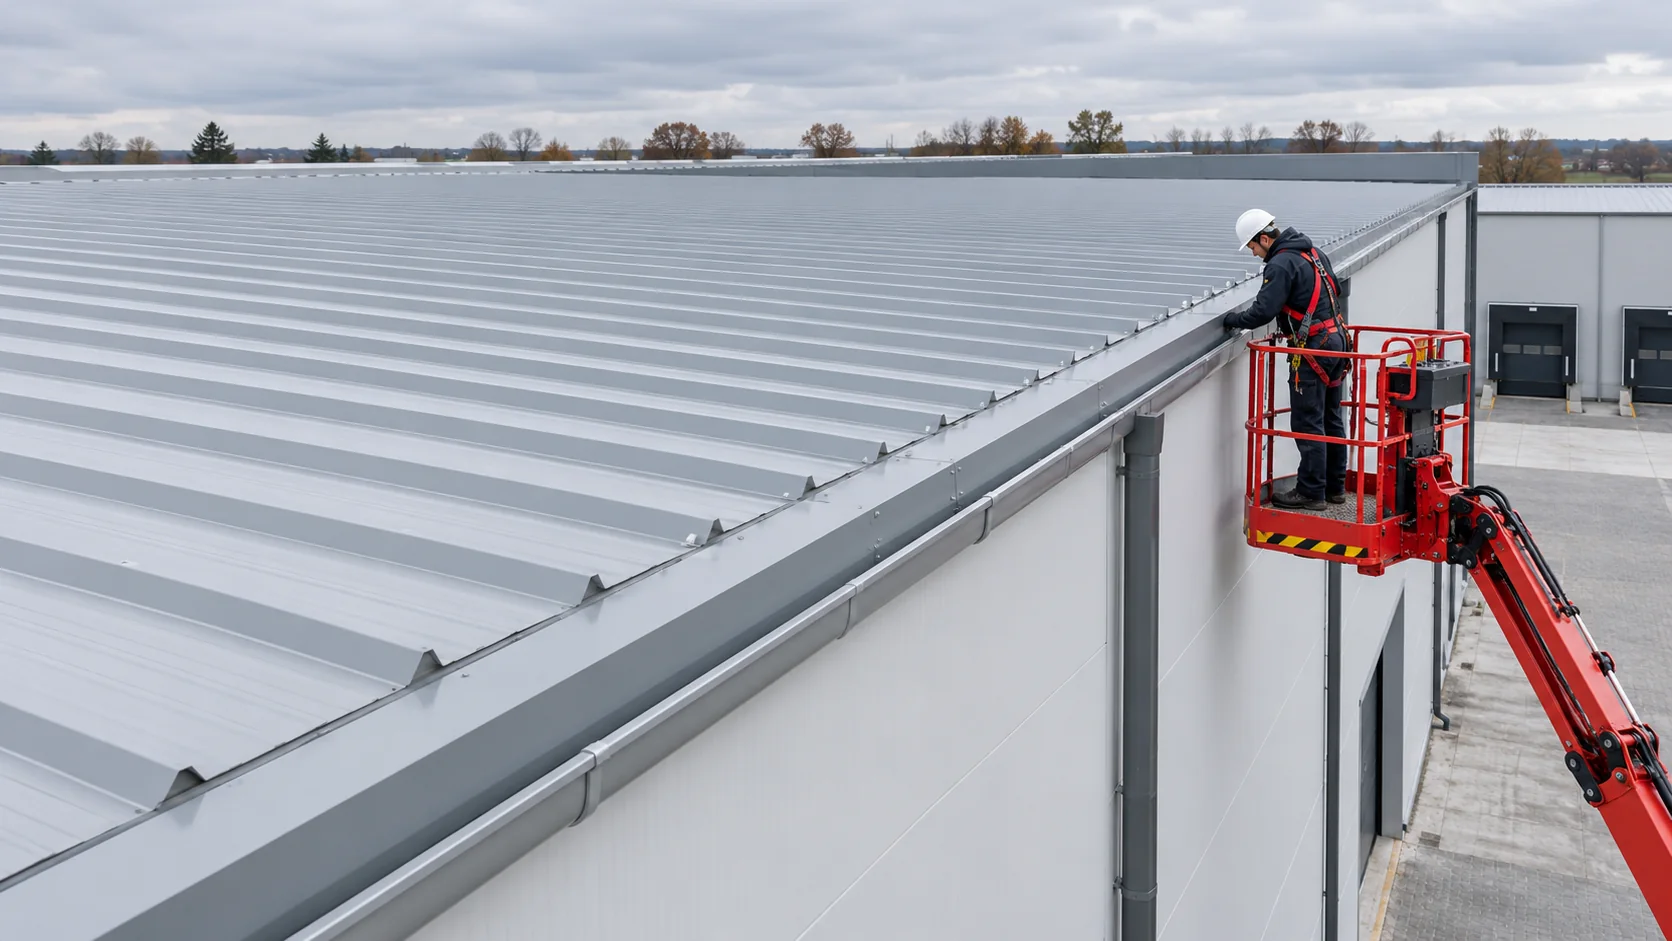
Before the roof panels arrive, check the purlin positions, bearing widths, alignment and roof pitch. Confirm the support spacing against the design and the load tables for the panel being supplied. Both the core and the metal facing thicknesses must match the specified version. Correct any misaligned steelwork before laying the first panel. Plan unloading, lifting, fixing and flashing installation around the panel system, the lengths ordered and site conditions. Agree which joints need inspecting while they are still visible and how the building operator will reach the roof for maintenance after handover.
In this guide
Check that the supporting structure is ready
Confirm the positions of the eaves, ridge and every opening. Openings may need trimming members, while rooftop equipment may require its own supports. Alterations can be costly once panel lengths have been ordered. Before installation, the site manager should check the frame against the drawings and confirm that the measures for safe work at height are in place.
Plan unloading and the order of the packs
Place the packs so the crew can reach each panel in laying order without repeatedly moving other panels. Follow the product instructions for storage, pack supports and protection from rain. Provide drainage and ventilation. Moisture trapped inside a tightly wrapped wet pack has little opportunity to escape.
Choose the lifting method for the panel weight, length and core, following the lifting device instructions. Set out the lifting route and the exclusion zone. A large panel is difficult to control in wind. Work within the permitted conditions and check that the method suits each panel size in the delivery.
Align the first panel and check the laying direction
The first panel sets the line for the rest of the roof. Check its position against the eaves and roof edge before fixing it permanently. Follow the system instructions for laying direction and closing the side joint. Handle panels without dragging them across one another, which can damage the coating and joint edges.
Allow for actual cover width and tolerances in the layout, and check alignment at intervals across the roof. This lets the crew correct drift before reaching the last panel. Where panels meet end to end along the slope, the joint needs the specified bearing, factory or site cutback and seals. The design of that end lap must account for the panel core as well as the metal facing.
Install the specified fasteners and seals
Select fixings for the supporting material, panel thickness and loads. The number and spacing of screws in the main roof area can differ from those at the perimeter. Give the installers the fixing layout from the design. Adjust the tool so screws seat correctly without crushing the sealing washer or denting the facing.
Fit tapes, gaskets and sealants at the locations specified by the manufacturer. If a joint does not close to the correct shape, correct the fit before sealing it. Pay particular attention to the eaves, ridge and penetrations. Inspect these junctions before the flashings cover them, while corrections are still accessible.

Protect the coating during finishing work
Remove metal swarf as cutting and drilling progress. Use tools permitted by the panel instructions to avoid overheating the coating or scattering hot particles across it. Remove the protective film within the specified period. Inspect the worked areas closely, even if the roof looks clean from a distance.
Agree on roof access, fall protection and permissible loads before anyone walks on the panels. Where a person can step depends on the panel and the location. Brief the trades fitting equipment after the roofers leave. A tool left behind, a metal shaving or a poorly formed penetration can damage a roof that has already passed inspection.
Inspect the roof and hand over the maintenance documents
At handover, inspect the surfaces, fasteners, edges and continuity of the junctions. Check that water can drain, penetrations are finished and no core edges remain exposed. Agree on a watertightness test suited to the roof if one is required. Record defects, the repairs needed and whether outstanding flashings have been installed.
Give the operator the as-built drawings, panel identification and inspection schedule. Explain access to gutters and equipment, cleaning requirements and how to report damage. A later photovoltaic installation or a new roof vent calls for another check of the structure and the affected junctions. Keep these documents available for the people maintaining the roof.
Frequently asked questions
Can a roof panel be installed in the same way as a wall panel?
Roof panels have their own geometry, drainage paths and joint details. Work from the roof design and the installation instructions for the specific roof panel.
When should joints be checked for watertightness?
Inspect joints during installation, particularly before flashings conceal them, and again at handover. Once a leak appears, tracing a hidden defect can require removing a much larger section of the finished roof.
7 branches. Materials closer to your project.

Free quote
Materials for your project

You may also find useful…
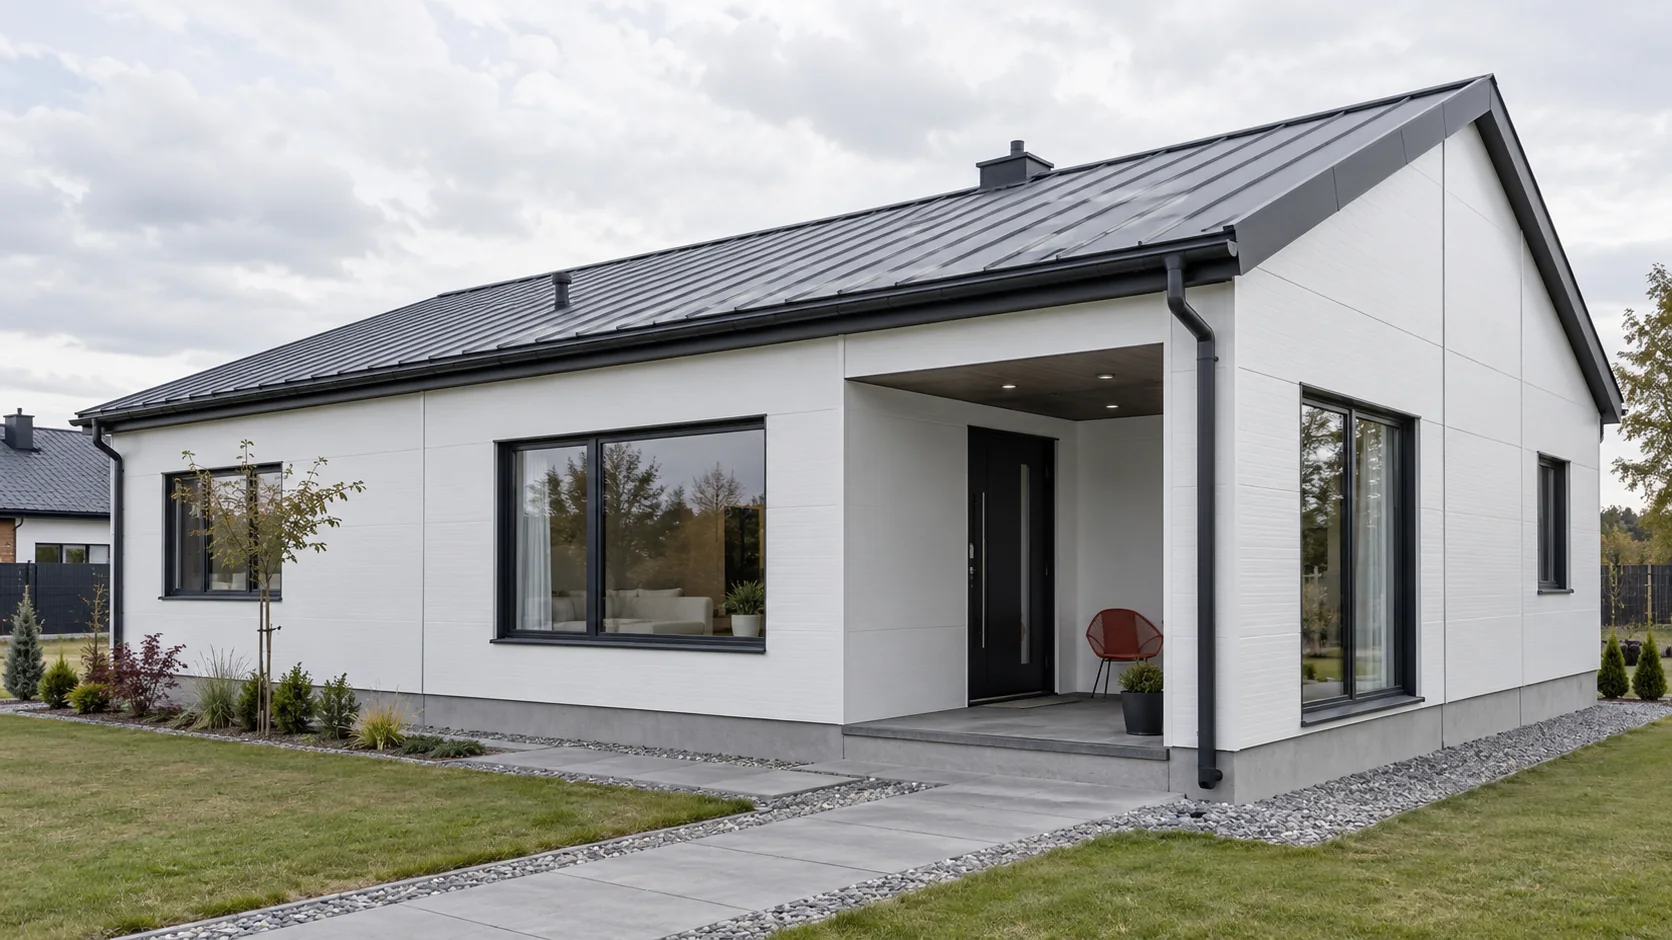
To estimate the cost of a sandwich panel house, establish what the quotation covers. It might cover panel delivery, an enclosed shell…
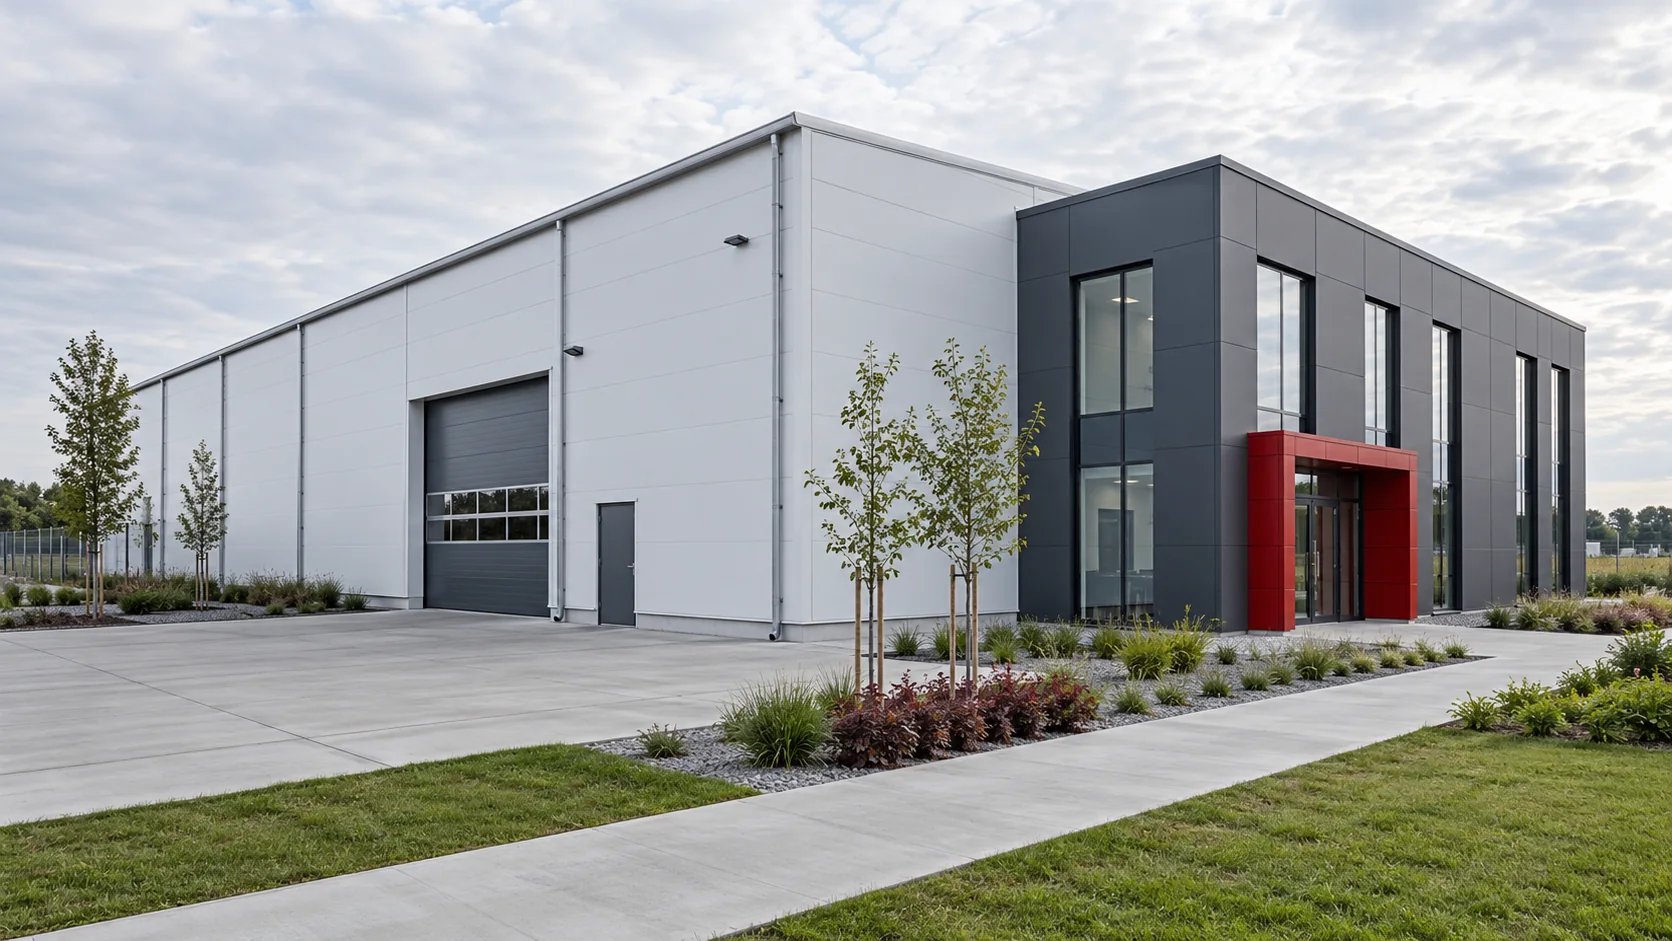
Sandwich panels can form the envelope of many types of building, but their specification depends on the job they must do. A…
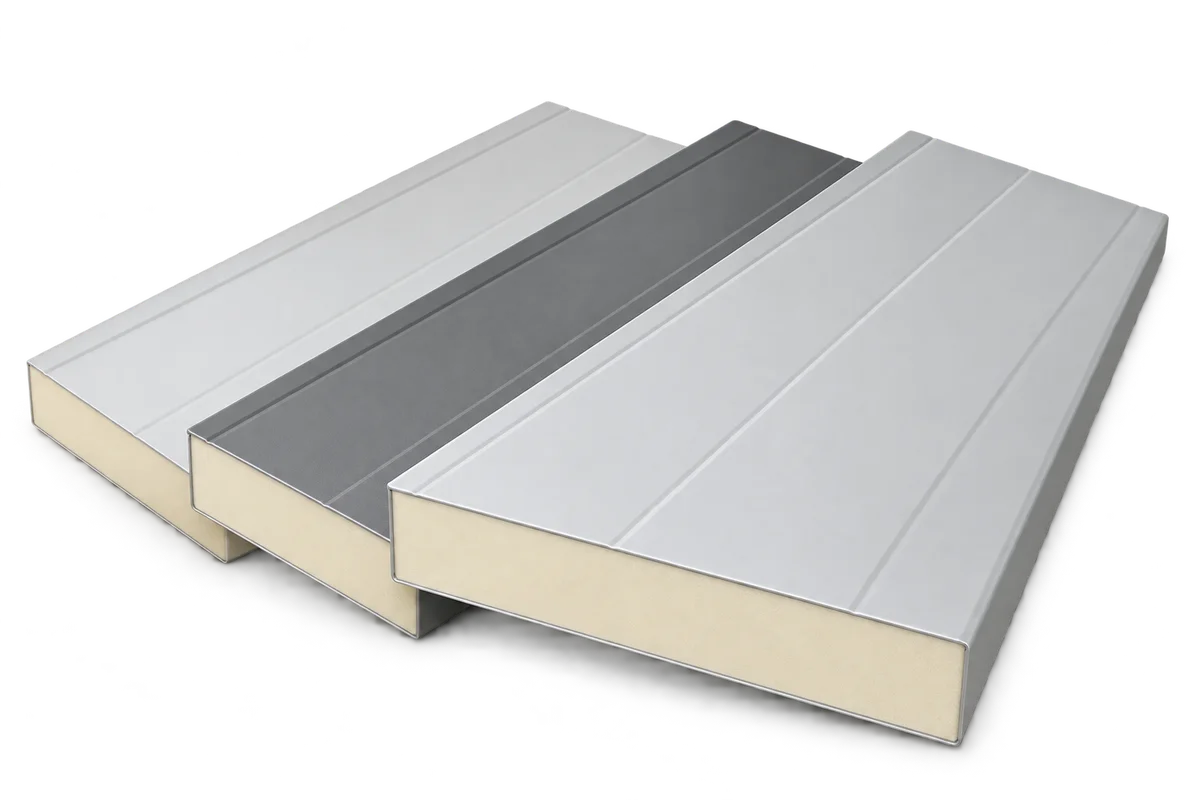
Sandwich panels can simplify wall and roof construction because they combine the enclosure with insulation and finished facings. Their advantages are particularly…
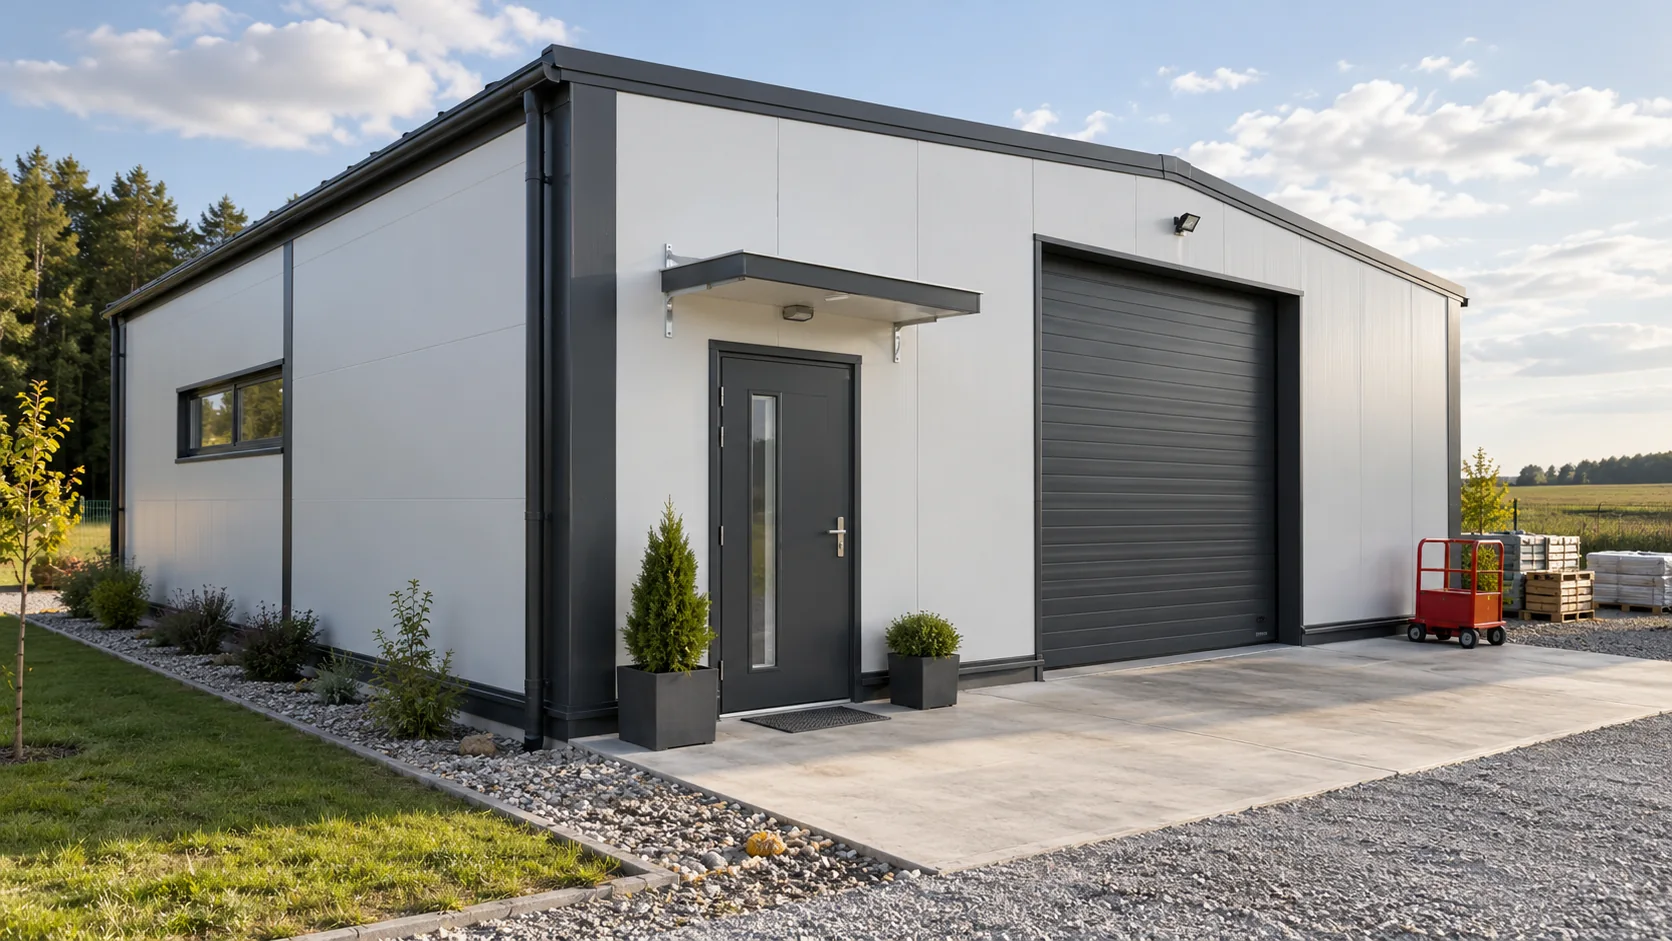
In Poland, sellers often use “płyta obornicka” as a general term for a sandwich panel. A typical panel has two facings bonded…
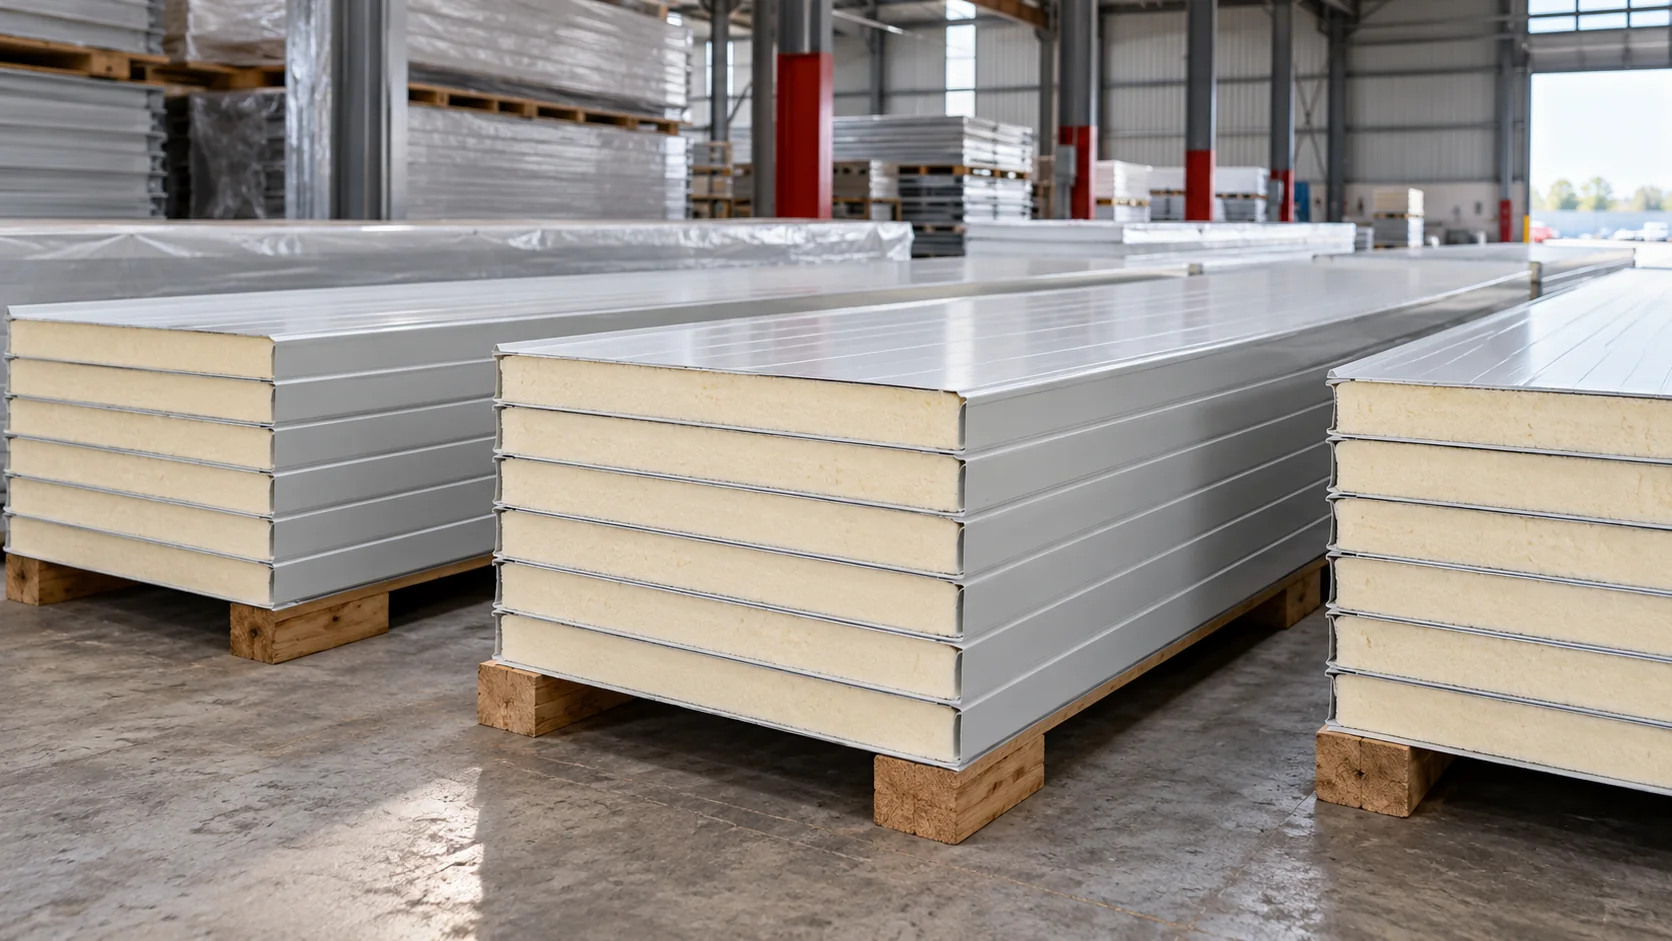
Start with the area the panels will actually cover, not the price in a stockist’s advert. Panel lengths, waste, batch condition and…
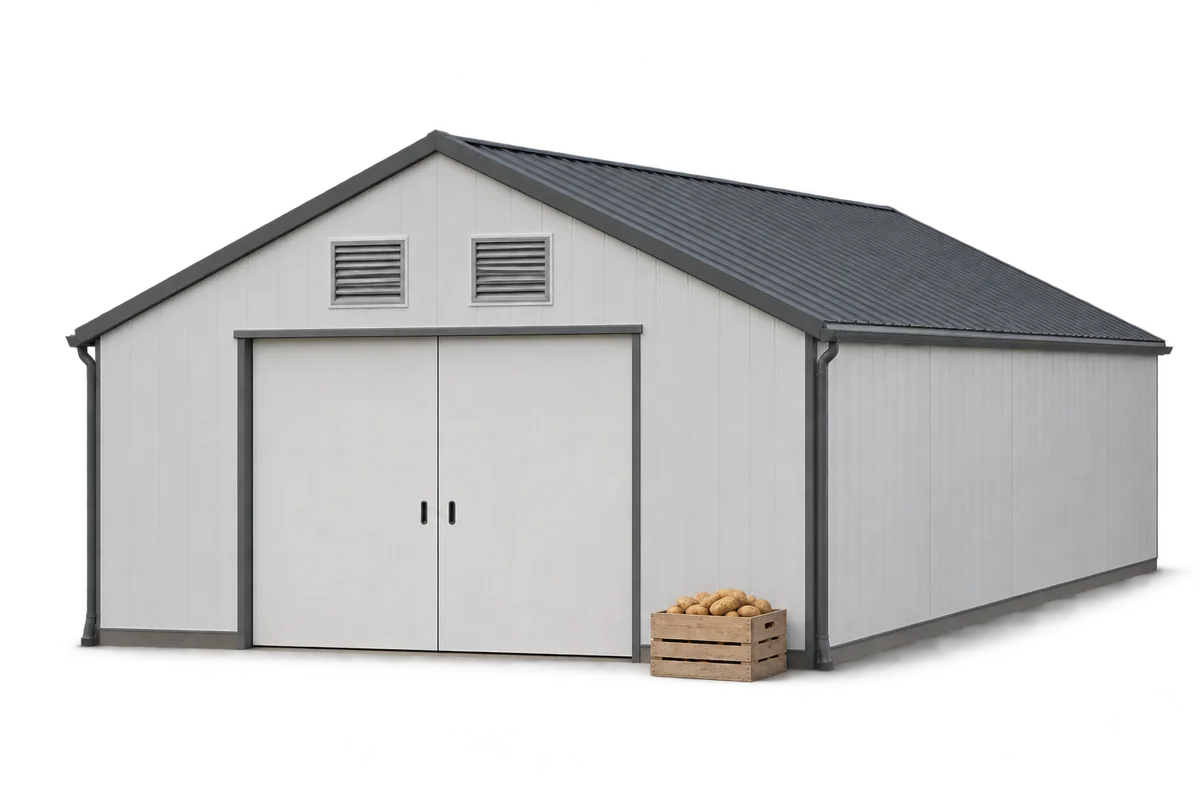
A potato-store refurbishment should begin with a plan for checking the store before loading, rather than with insulation thickness. New insulation and…
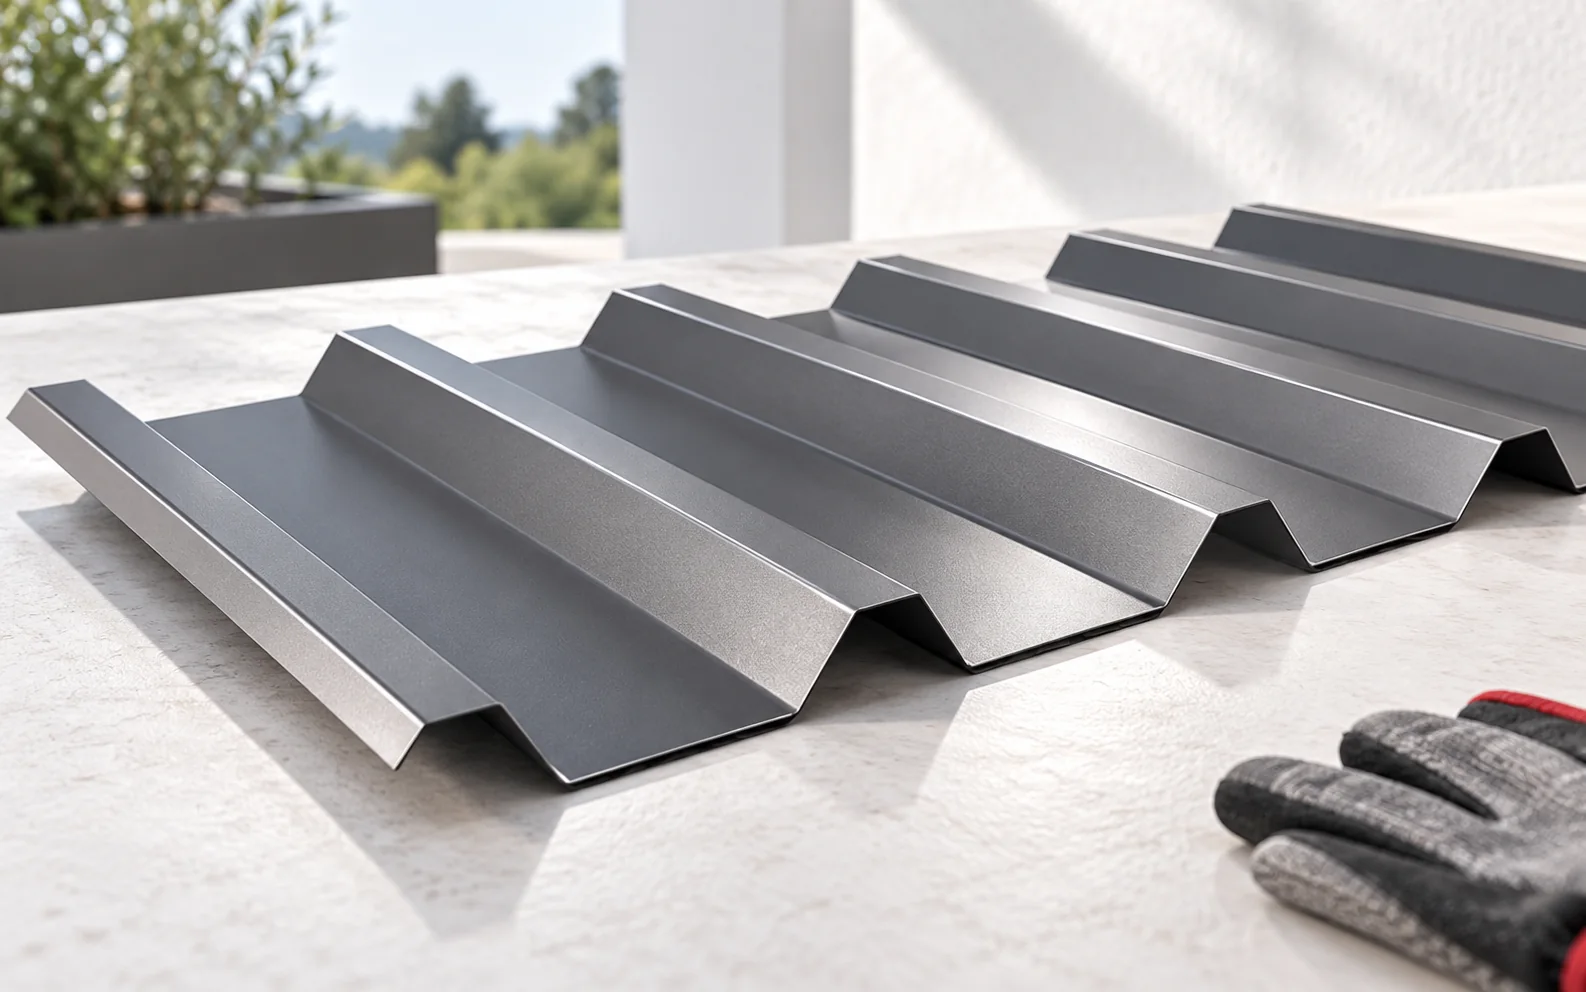
A roof over a terrace should shelter it from rain and sun without depriving the house of light. Before choosing the covering,…
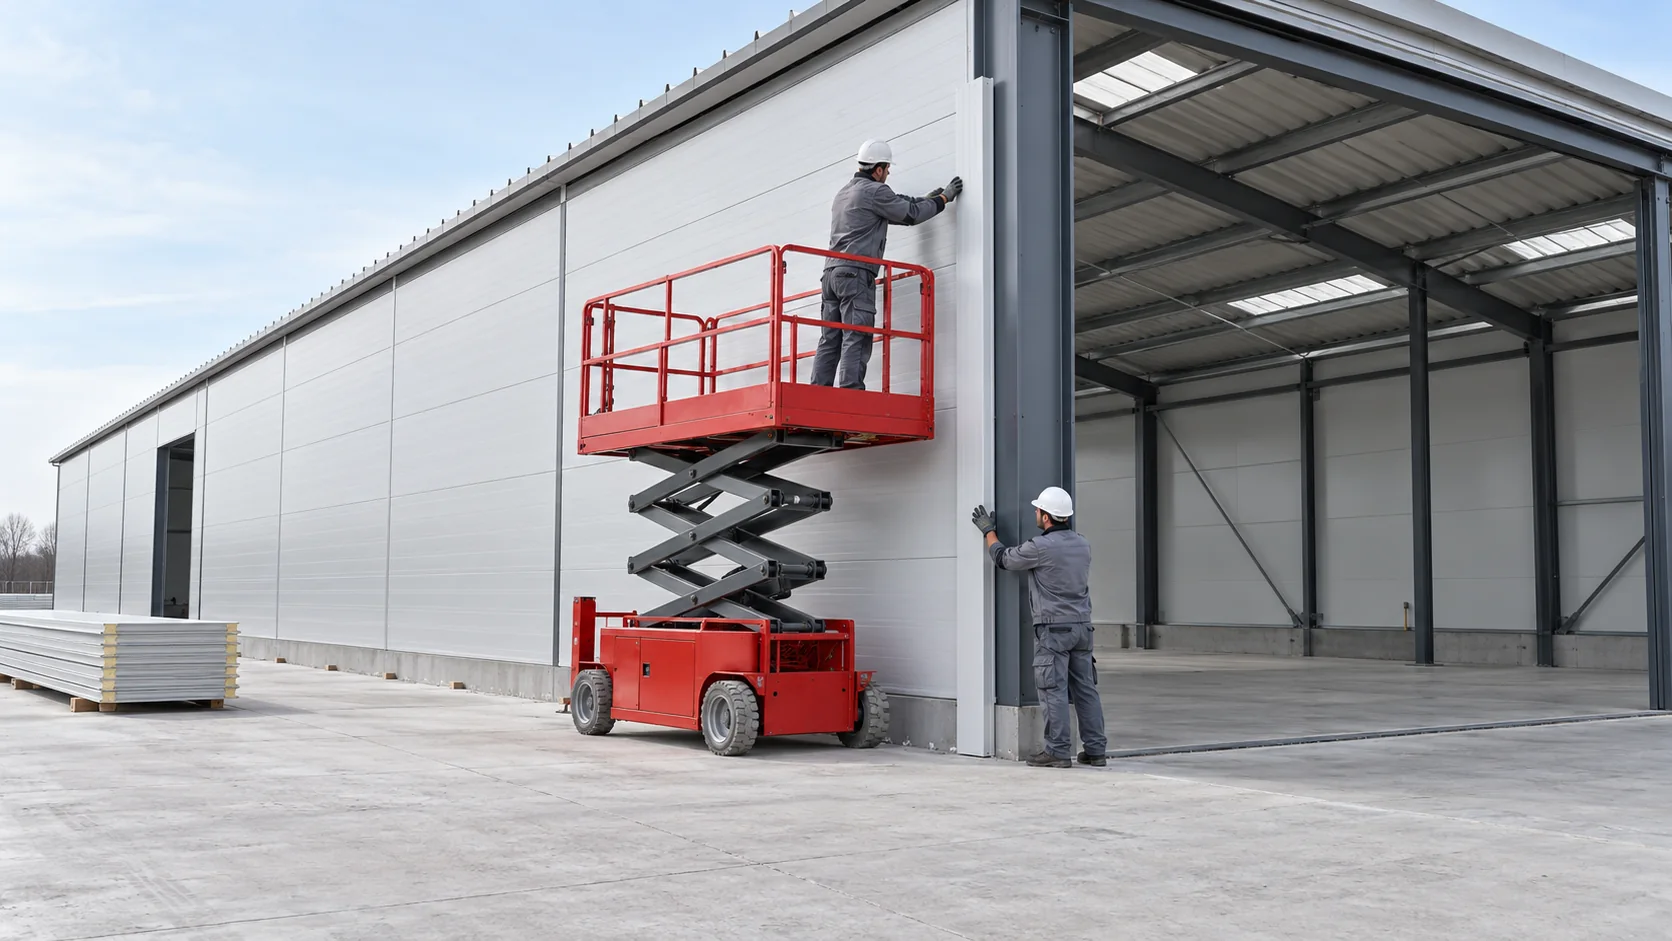
A rate per square metre for installing sandwich panels means little until you know which jobs it covers. One contractor may quote…