

Insulation and energy renovation
Can a 1990s house be insulated internally while keeping the existing façade?
Internal wall insulation may be an option if the façade is in good condition or exterior work has to wait. Before fitting boards, establish how the masonry was built, where the existing insulation runs and how the walls meet the floors. Houses built in the 1990s can have solid walls, cavity walls or external insulation. Even within one house the construction may vary after successive renovations. Use drawings, inspections and local openings to identify the layers, including at former doorways, recessed balconies and extensions. This gives you a basis for estimating the work and its likely effect on comfort.
In this article
Identify the wall construction on site
Older insulation may have gaps or differ in thickness from what the owner remembers. Give those uncertainties a place in the calculation. If inspection leaves questions open, compare several plausible conditions. This shows whether internal insulation is likely to make an appreciable difference in the room.
Locate the source of discomfort
In a cold bedroom the gable wall is one possible cause. Also check the window, the roof above and the heating controls. Record when the room feels cold and precisely where. Surface temperature readings and checks for draughts can help narrow down which parts need work. Insulating every wall may be unnecessary.
Look for damp at the plinth, balcony junctions and window sills. Repair leaks before lining the room. If inadequate ventilation allows water vapour to build up, insulation alone will not remove it. Plan repairs around both the construction and the way the house is occupied.
Assess the existing and proposed insulation together
Adding insulation on the inside changes the temperature of the masonry between the two insulation layers. Assess how the masonry can dry and how airtight the room-side junctions will be. Before adding foil-faced PIR as a second vapour-resistant layer, assess heat and moisture movement through the actual wall construction.
Consider a wall with a reliably established U-value of 0.50 W/(m²·K). Its total resistance is 2.00 m²K/W. Adding 50 mm of insulation at an assumed λ of 0.022 W/(m·K) gives a theoretical U-value of about 0.23 W/(m²·K). This simplified example omits fixings and thermal bridges. The actual retrofit needs its own calculation.
Coordinate insulation with the room refurbishment
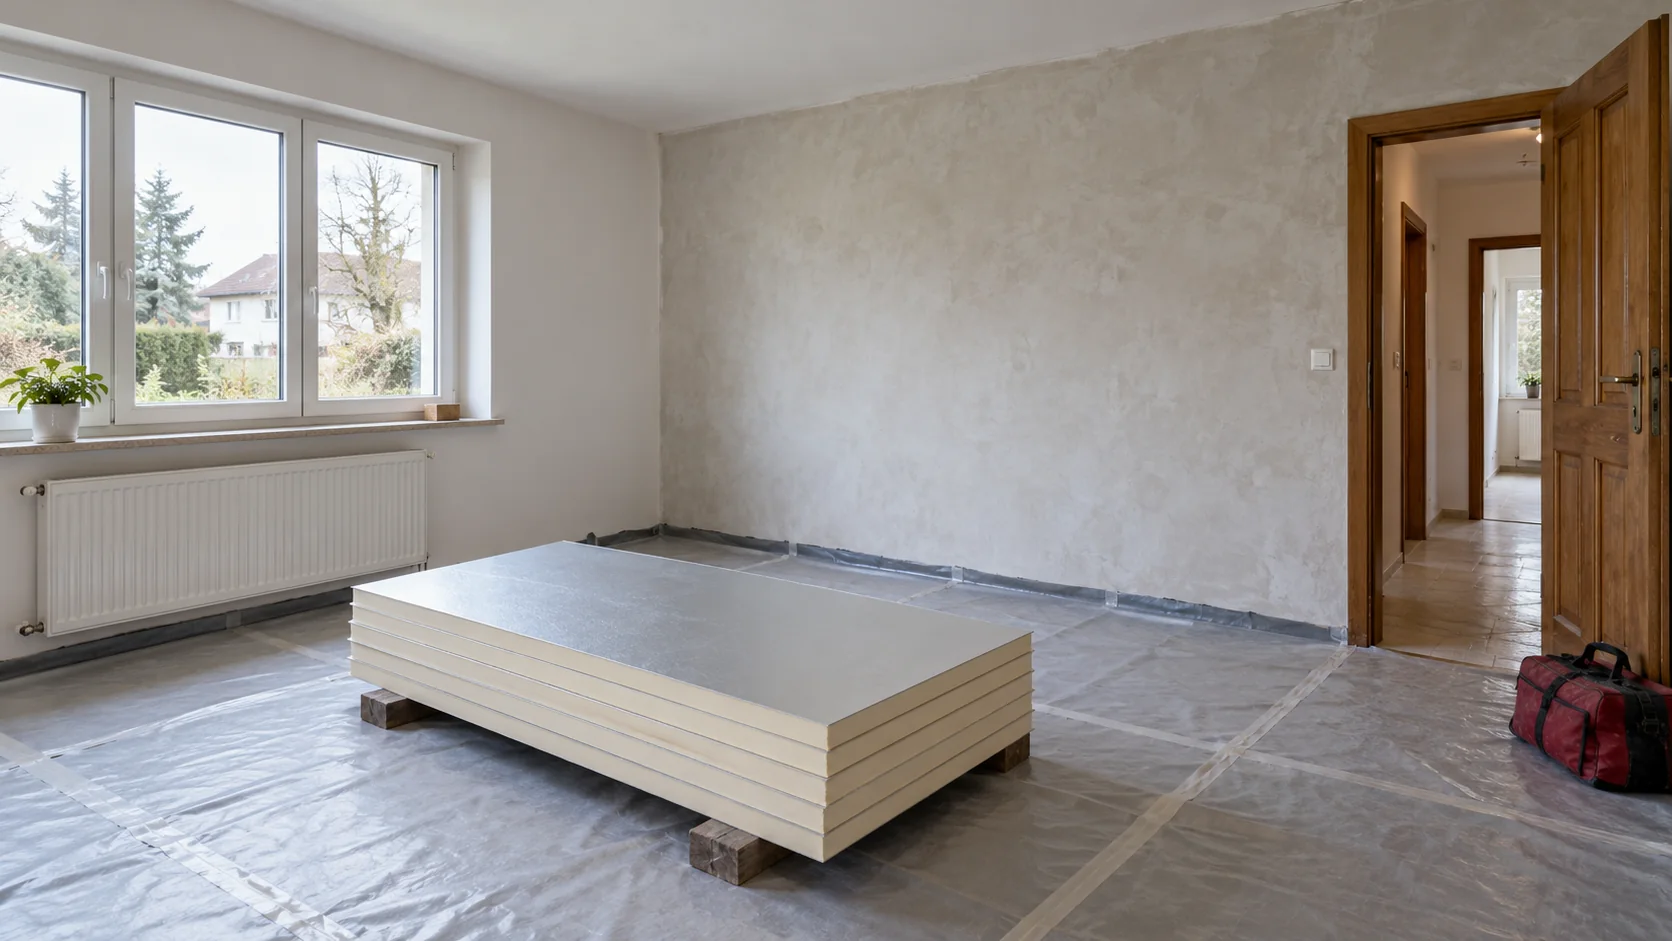
Replacing flooring, services or fitted furniture is a convenient time to install internal insulation. The edges of the wall are accessible, the radiator can be moved and the reveals prepared. Keeping furniture in the room throughout limits access and makes it harder to form and inspect the junctions.
Allow for the full lining thickness. An insulated plasterboard combines some installation steps, but still needs space for substrate levelling, adhesive and finishing. A fitted wardrobe may need resizing and the sill adapting. Include these items in the estimate before settling on an insulation thickness.
Before closing the wall, locate old cables and patches where services were altered. Photograph the exposed surface using fixed points in the room as references. The record will help future installers locate routes without damaging the new lining.

Detail the insulation at floor and ceiling junctions
Ring beams and balcony slabs can form significant thermal bridges in houses of this period. Insulating the flat wall area does not in itself resolve them. Check junctions with ceilings, floors and intersecting walls. Determine any additional insulation needed and how far it must extend from the geometry of each junction.
At windows, check sash clearance, reveal temperature and the seal to the frame. A finishing strip alone does not provide the insulation the detail requires. Even with a good U-value at the centre of the wall, a narrow, poorly insulated reveal can remain the coldest part of the room.
Assess the result and plan later improvements
After the work, adjust the heating controls and monitor humidity. Keep the layer specification, photographs and calculations. If external insulation is added later, the designer will need these details to account for the internal layer already in place.
Assess energy use alongside outdoor conditions, indoor temperatures and heating hours. A single-room retrofit is unlikely to explain the whole change in the household heating bill. A warmer wall surface and a more comfortable room can be meaningful gains even where a percentage saving cannot be established.
Questions and answers
Can the old external insulation stay in place?
Sometimes, after checking its condition and the wall as a whole. Internal insulation changes temperatures in the masonry and the way it dries. Inspect the layers even if the façade looks sound.
Can insulating a single room save energy?
It can improve comfort and reduce heat loss through the treated wall. The effect on the whole house depends on that wall’s share of total heat loss and the losses elsewhere. Detail the edges of the insulated area as part of the work.
7 branches. Materials closer to your project.

Free quote
Materials for your project
You may also find useful…
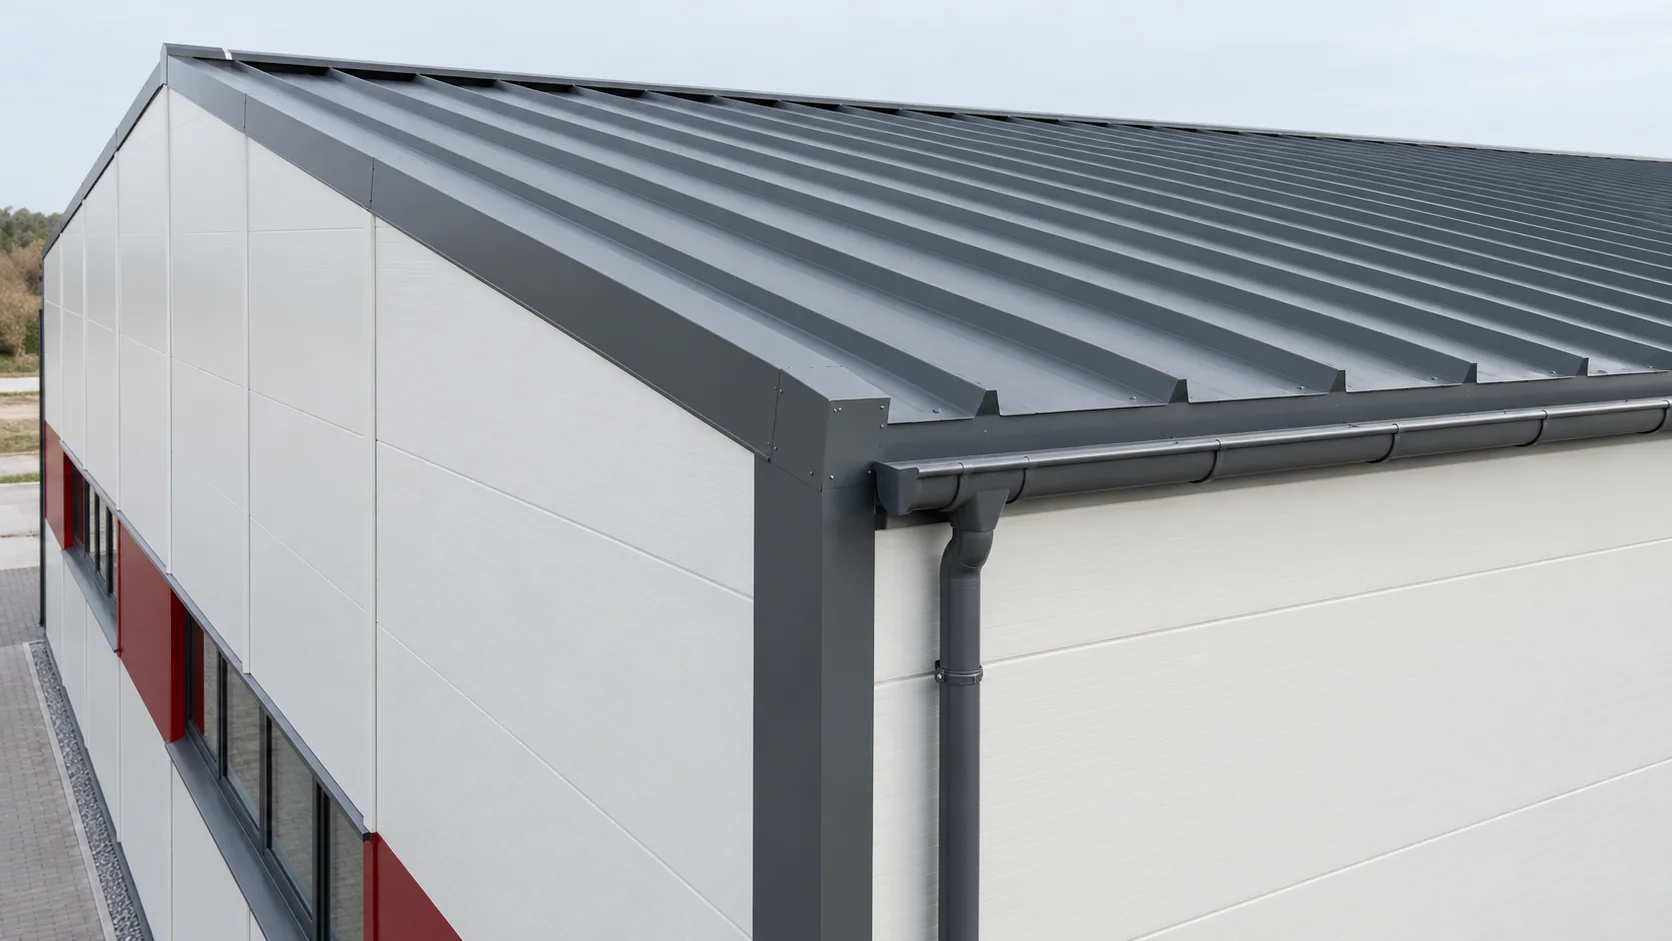
Select sandwich roof panels and wall panels together so that dimensions, costs and junction details agree. Each has a different job. On…
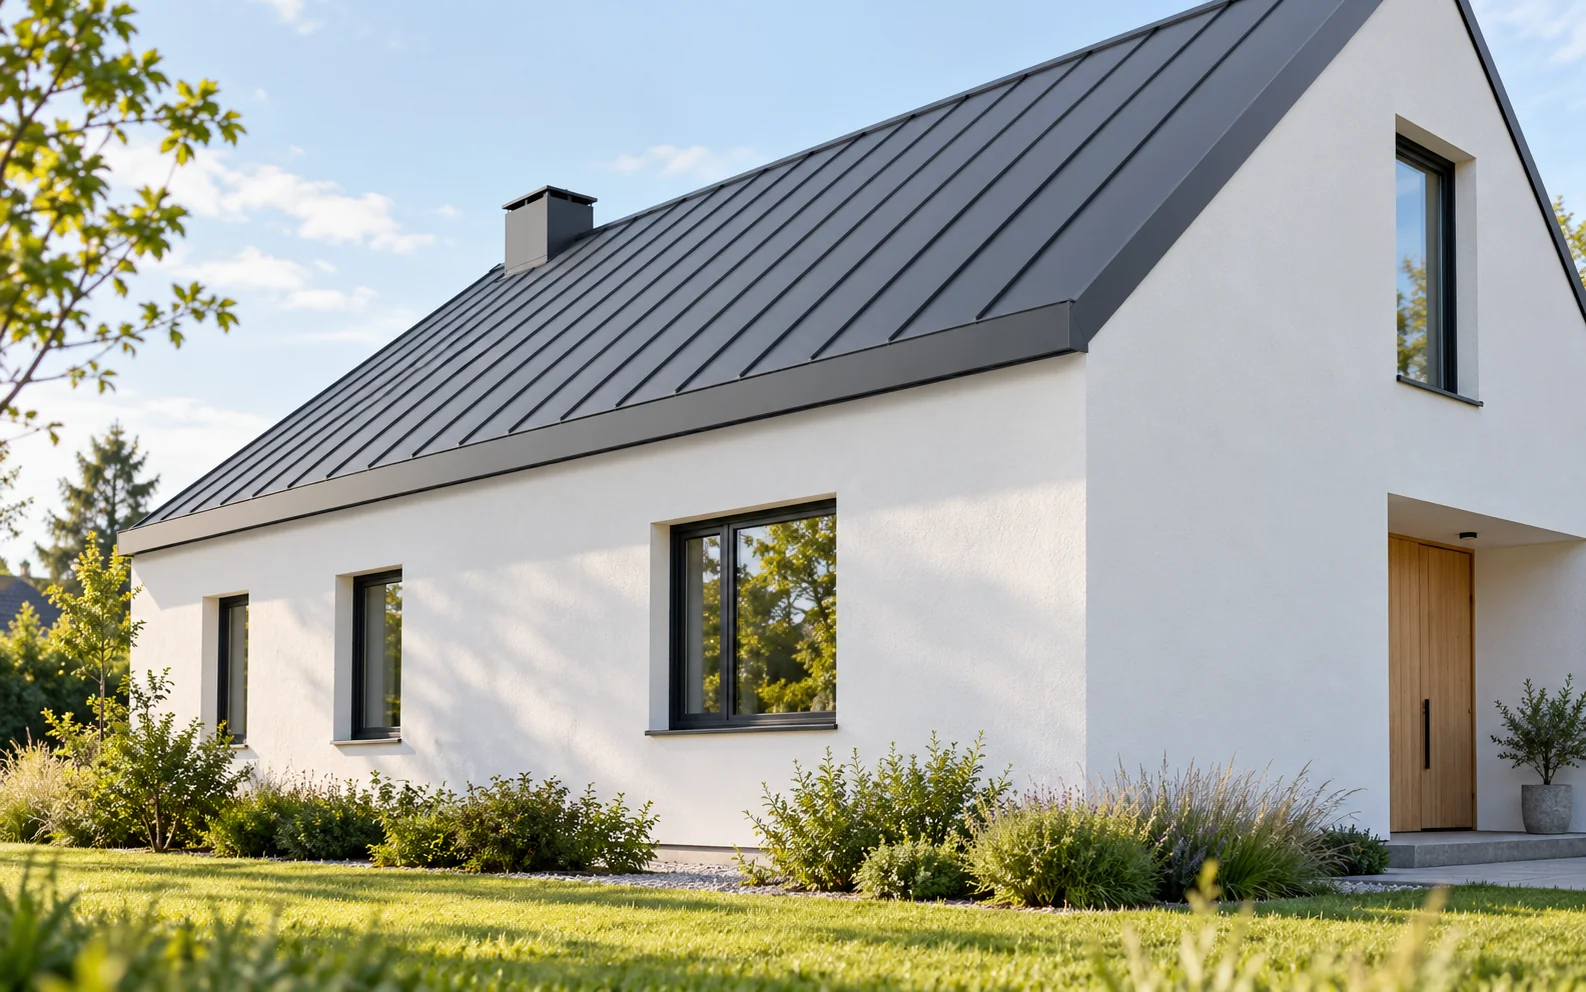
A concealed gutter system reduces the visibility of the drainage, but it must still collect water efficiently and remain serviceable. It is…
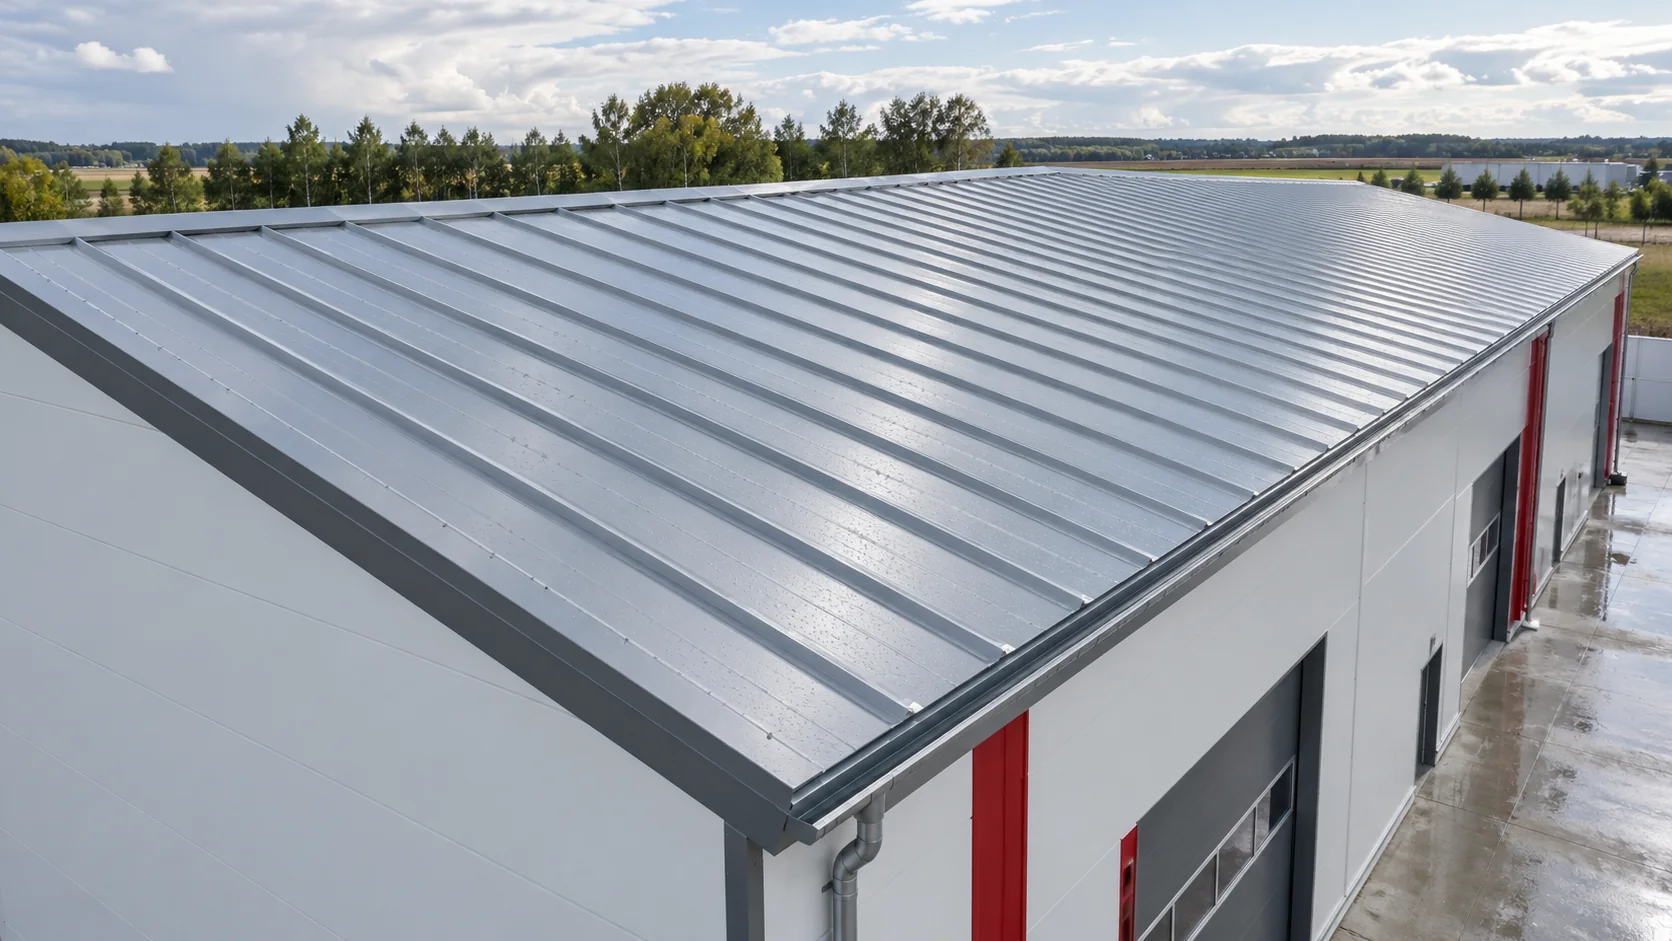
A sandwich panel roof budget should cover everything needed to make the roof weathertight and drain rainwater. Check whether the quotation includes…
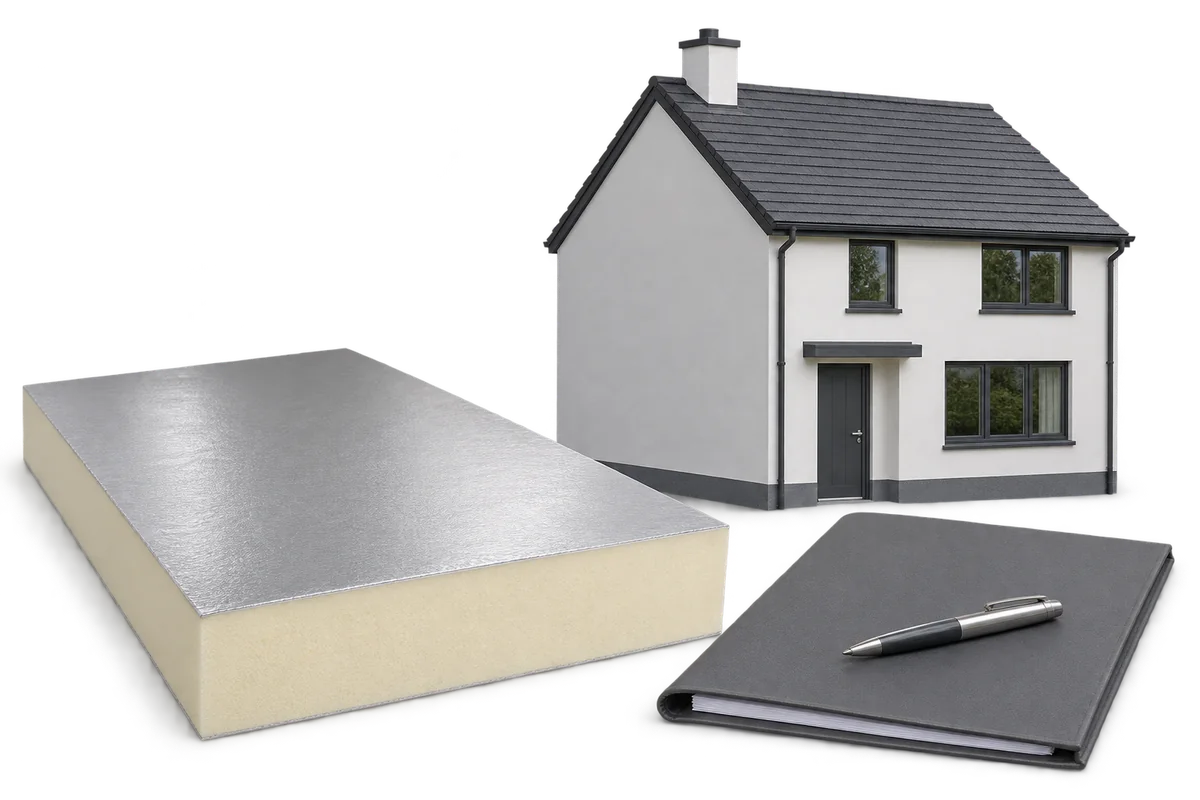
Funding for home insulation requires alignment between the building’s needs, scheme documents and the work actually completed. Buying PIR board does not…
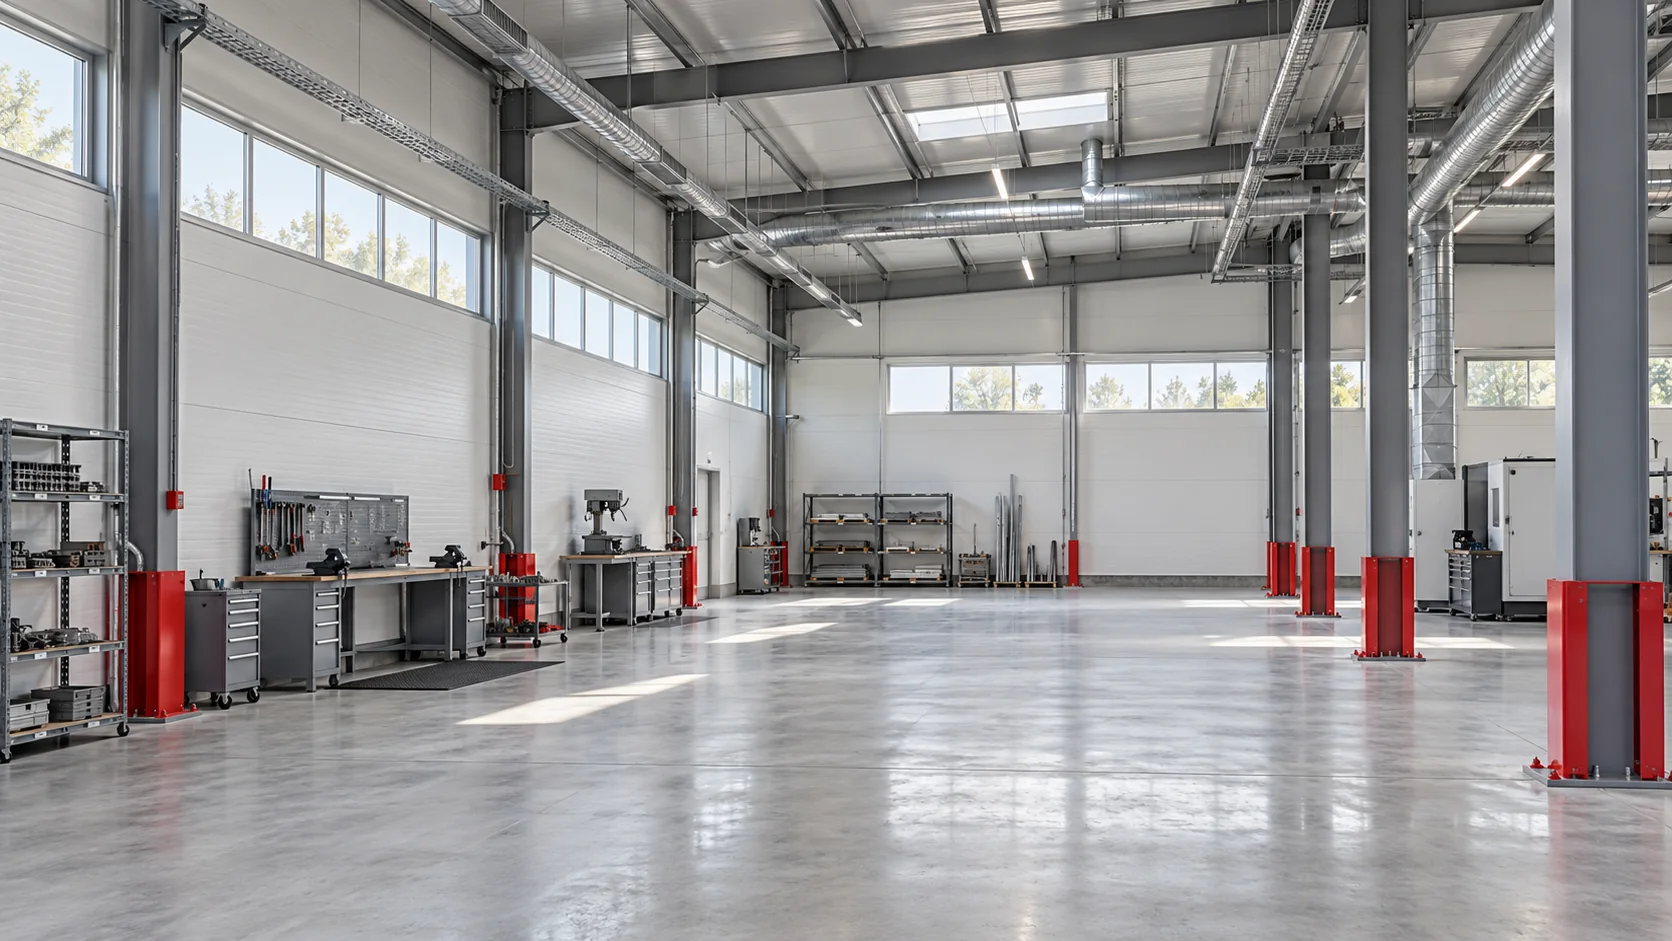
The cost of an industrial building includes the work needed to run the business inside it. Alongside the frame and cladding, allow…
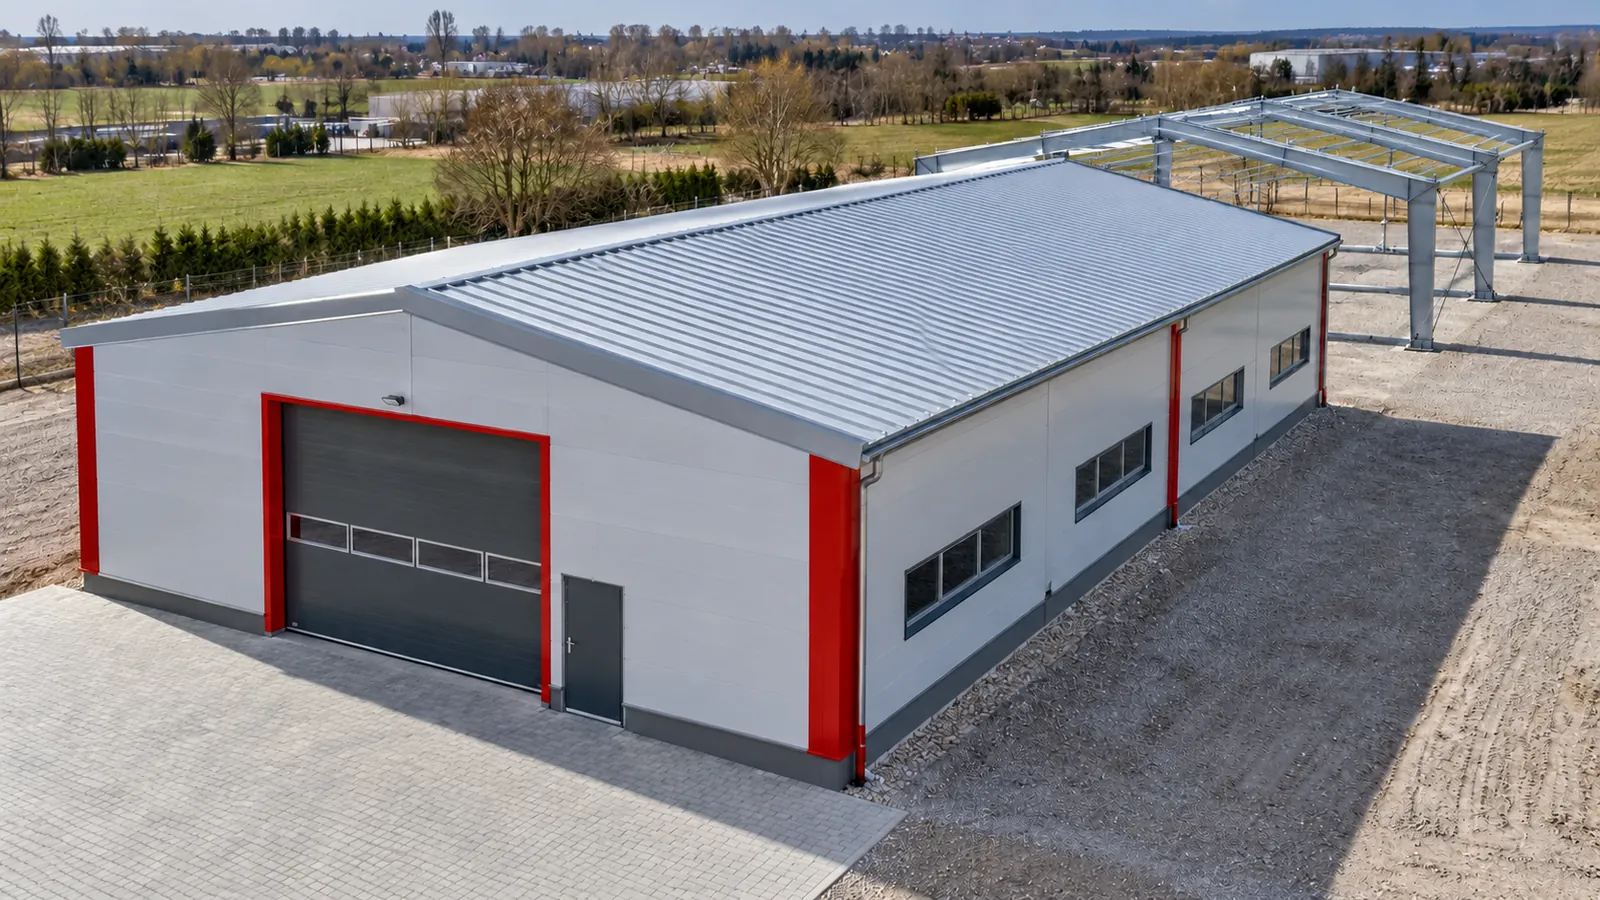
A company is growing, but it does not always need the entire target floor area straight away. A steel hall built in…
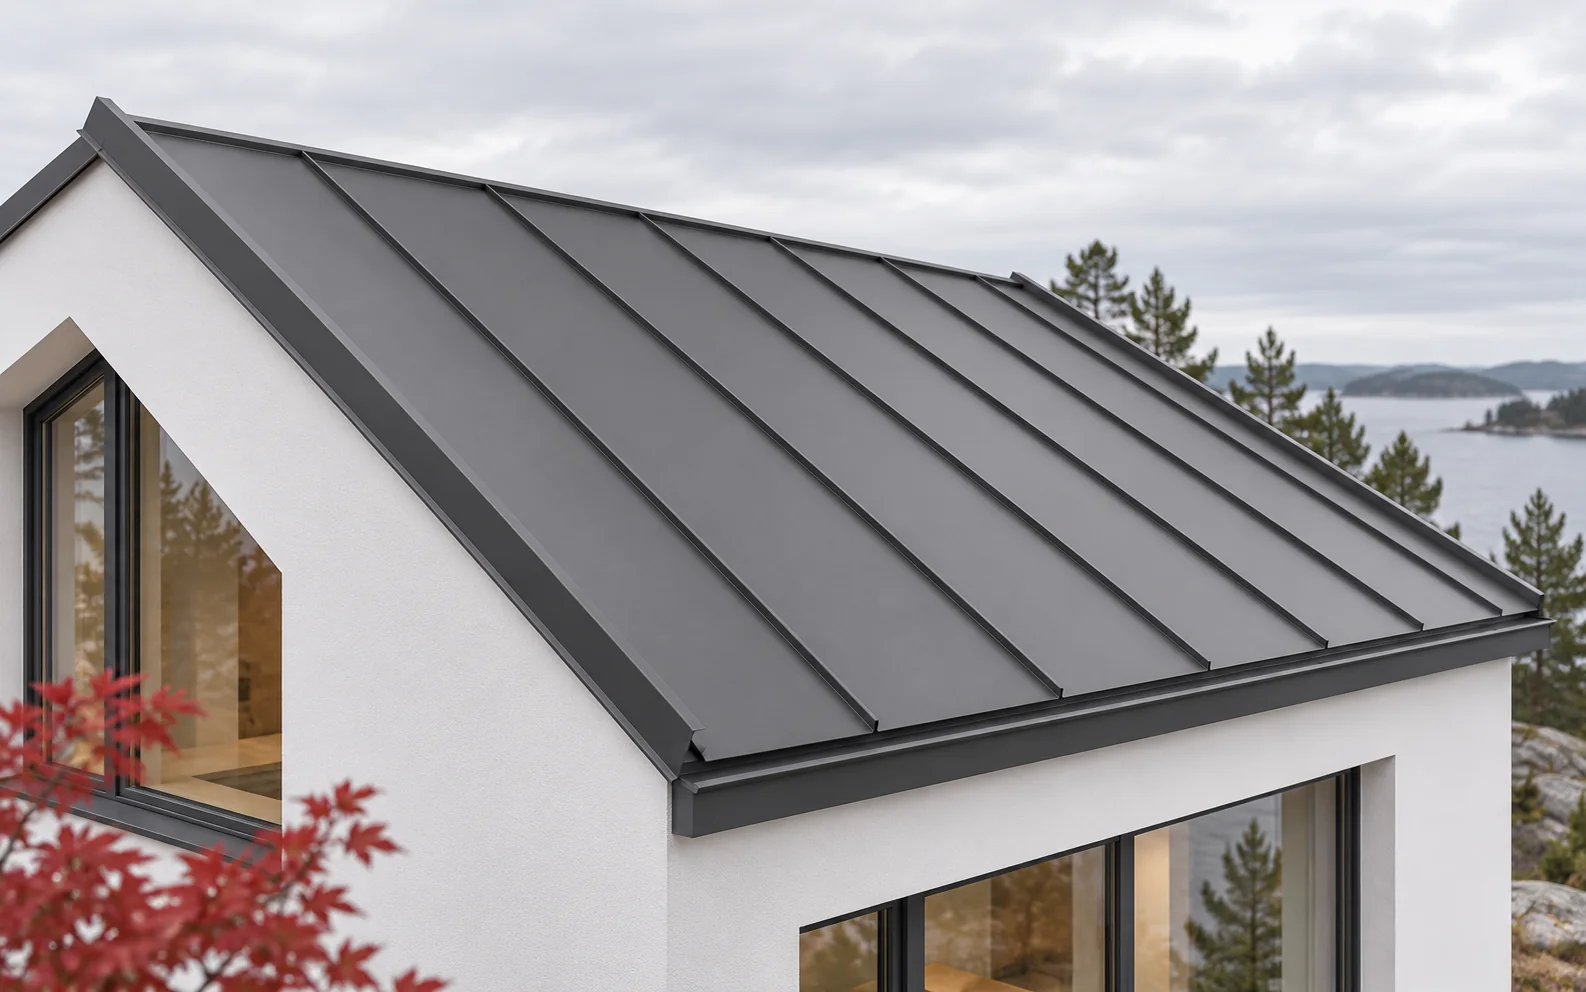
Standing seam panels give the roof a clean, longitudinal pattern, but they require a carefully prepared substrate and correctly executed details. A…
A sensible roof budget does not have to mean choosing the most expensive material. Savings come from a simple design, a good…