

Renovation and maintenance
How to plan a roof replacement from measurement to handover?
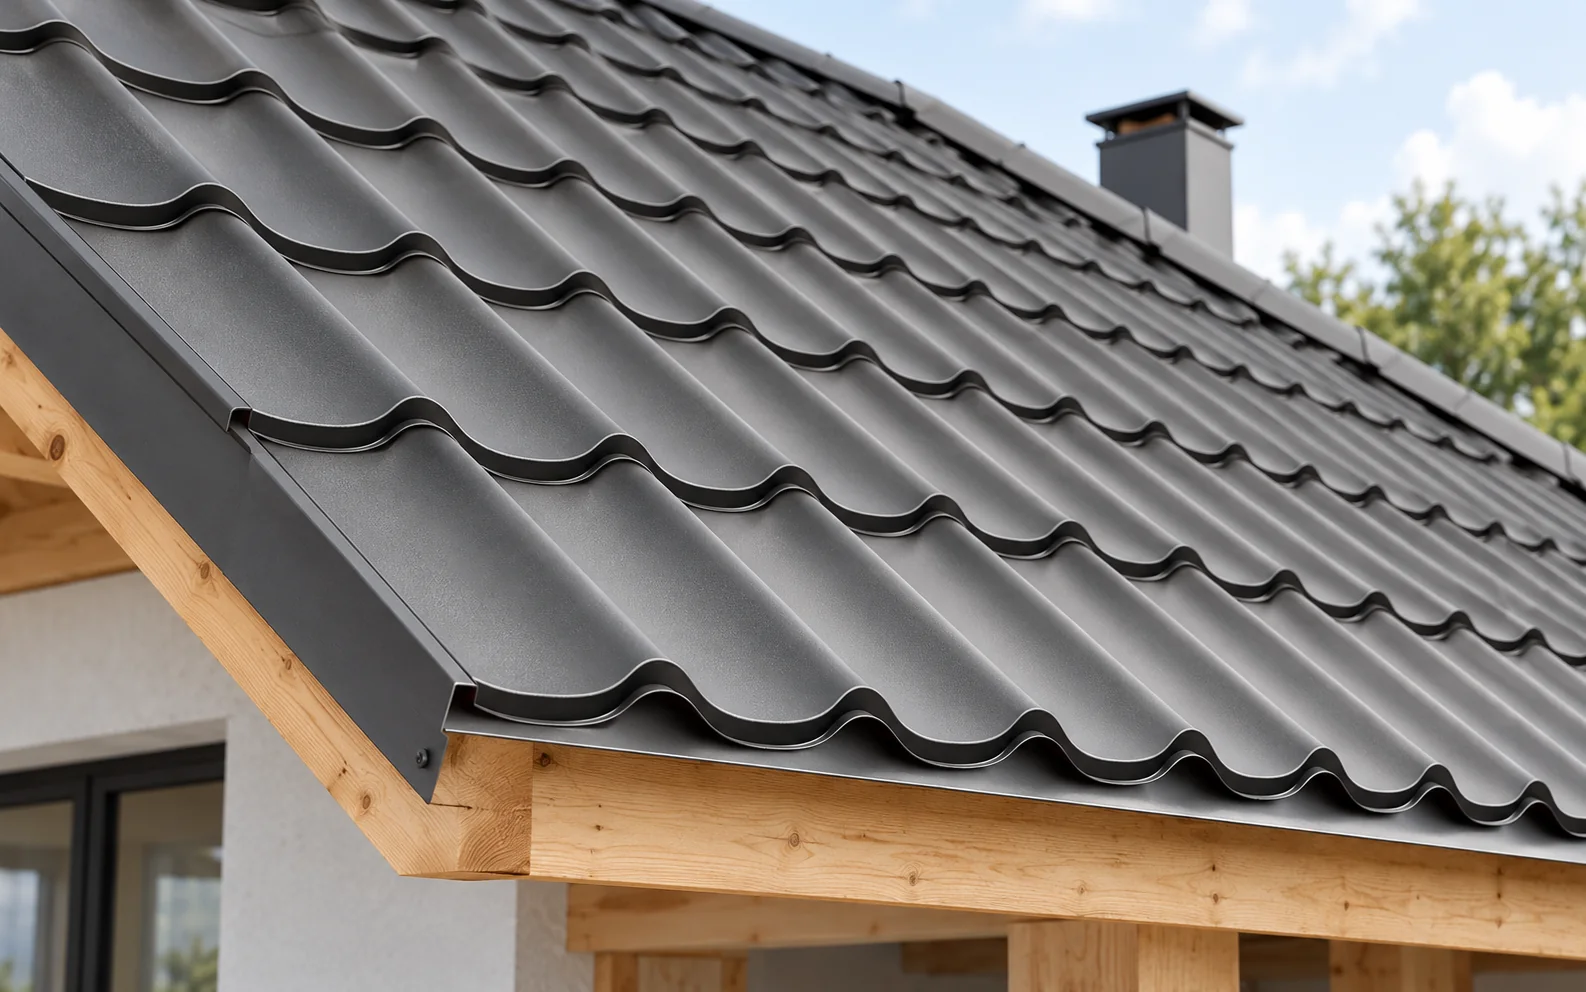
Replacing a roof from measurement to handover requires decisions on material, construction and details before dismantling begins. A survey of the finished building, a complete quote and a sequence of works matched to the weather are the foundation. Buying the sheet metal alone does not mean you are ready for the renovation, because the layers that will be covered must be checked. Establish whether you are replacing only the covering, or also the battens, membrane, insulation and gutters, and inspect the condition of the loft and the places where leaks occurred previously. A planned change in how the interior is used may require more extensive work, and the scope must also be assessed in formal terms: a change in geometry or construction, or a special status of the building, may affect the procedures required.
In this article
Stage one: define the actual scope of the renovation
Establish whether you are replacing only the covering, or also the battens, membrane, insulation and gutters. Inspect the condition of the loft and the places where leaks occurred previously. A planned change in how the interior is used may require more extensive work. A roof over a warehouse is prepared differently from one over a bedroom.
The scope must also be assessed in formal terms. A change in geometry or construction, or a special status of the building, may affect the procedures required. Do not treat every replacement as an identical case. Establishing the requirements before the contract helps avoid downtime after the material arrives.
Stage two: measure the roof slopes
It is worth comparing the dimensions from the old design with the actual building. Lengths, widths, diagonals and the position of the chimney and windows are checked. Irregularities must be taken into account in the laying plan. An order based only on the floor area or the dimensions of the house is not sufficient.
For cut-to-length sheet metal, the lengths of the individual sheets are important. For modules, the arrangement of the rows and the use of elements at the edges matter. The schedule should take account of the effective width. Ignoring the overlaps can lead to shortages, and reordering them will delay closing the roof.
Stage three: compare complete quotes
In every quote, record the same scope. Separate the main material, flashings, fixings, the layers under the covering and labour. Include dismantling, waste, transport and unloading. The price per metre of sheet should not obscure the items without which the roof will not be complete.
Check the full designation of the coating and the nominal steel thickness. Establish whether the price refers to the total or the effective area and whether it includes tax. Comparing two amounts without this information is unreliable. It is also worth recording the rules for settling repairs revealed once the structure is exposed.
Stage four: prepare the delivery and the building
Coordinate the material delivery date with the availability of the crew. Establish the unloading point, the method of storage and transport onto the roof slope. Long sheets require appropriate handling. Modules make it easier to organise smaller batches, but they also need protection from moisture and surface damage.
Before dismantling, work safety measures and protection of the building against precipitation must be in place. Plan a safe route for residents and a place for waste. If the old covering contains asbestos, its removal is organised separately with a specialist contractor. It is not mixed with ordinary rubble.

Stage five: check the exposed layers
After removing the old material, assess the condition of the supports and connections. This is the best moment for repairs that will not be visible later. Do not cover damp or weakened substrate merely to keep to the original schedule. New sheet metal needs a properly prepared base.
Install and document the underlay, the eaves and the service penetrations. Ensure the water drainage path and ventilation. Thermal insulation must work together with protection against moisture. Changing only the covering material will not correct a faulty arrangement of the entire building envelope.
Stage six: lay the covering and complete the details
Installation is carried out in accordance with the instructions for the specific product. This applies to the sequence of sheets, support, overlaps and fasteners. Do not transfer one pattern between different profiles T18, T35 and tile-effect metal roofing. Even similar elements may require a different setting at the eaves.
Give particular attention to the chimney, roof valleys, ridge and windows. Flashings are to direct water, not merely to conceal gaps. Swarf and offcuts are removed as work proceeds. They should not be left until the end of all work on site, because they can damage the new surface.
Stage seven: accept the roof and the documents
Before dismantling the scaffolding, check the available details and terminations. Record the agreed corrections and the date for carrying them out. Acceptance should cover the gutters, fixings, cleanliness of the roof slope and clearing of the property. The mere sight of a straight roof from the street does not confirm that all layers have been correctly installed.
Obtain the product specification, warranty documents and photographs of the work that is covered up. Establish the recommendations for inspections and the route for reporting problems. Keep the full designation of the colour and coating. For a later repair, such data will save time and reduce the risk of ordering mismatched elements.
Tip before ordering
Attach to the contract a list of the covered works that are to be photographed: repairs to the roof structure, membrane connections, the area around the chimney and the eaves. Documentation does not cost much, and it helps to assess the roof years later.
What is worth remembering?
A good renovation has clear stages and a checkpoint before each important layer is covered. Measurement, a full quote and ready details limit improvisation. Acceptance should confirm not only the appearance but also the completeness of the installed assembly.
7 branches. Materials closer to your project.

Free quote
Materials for your project








You may also find useful…
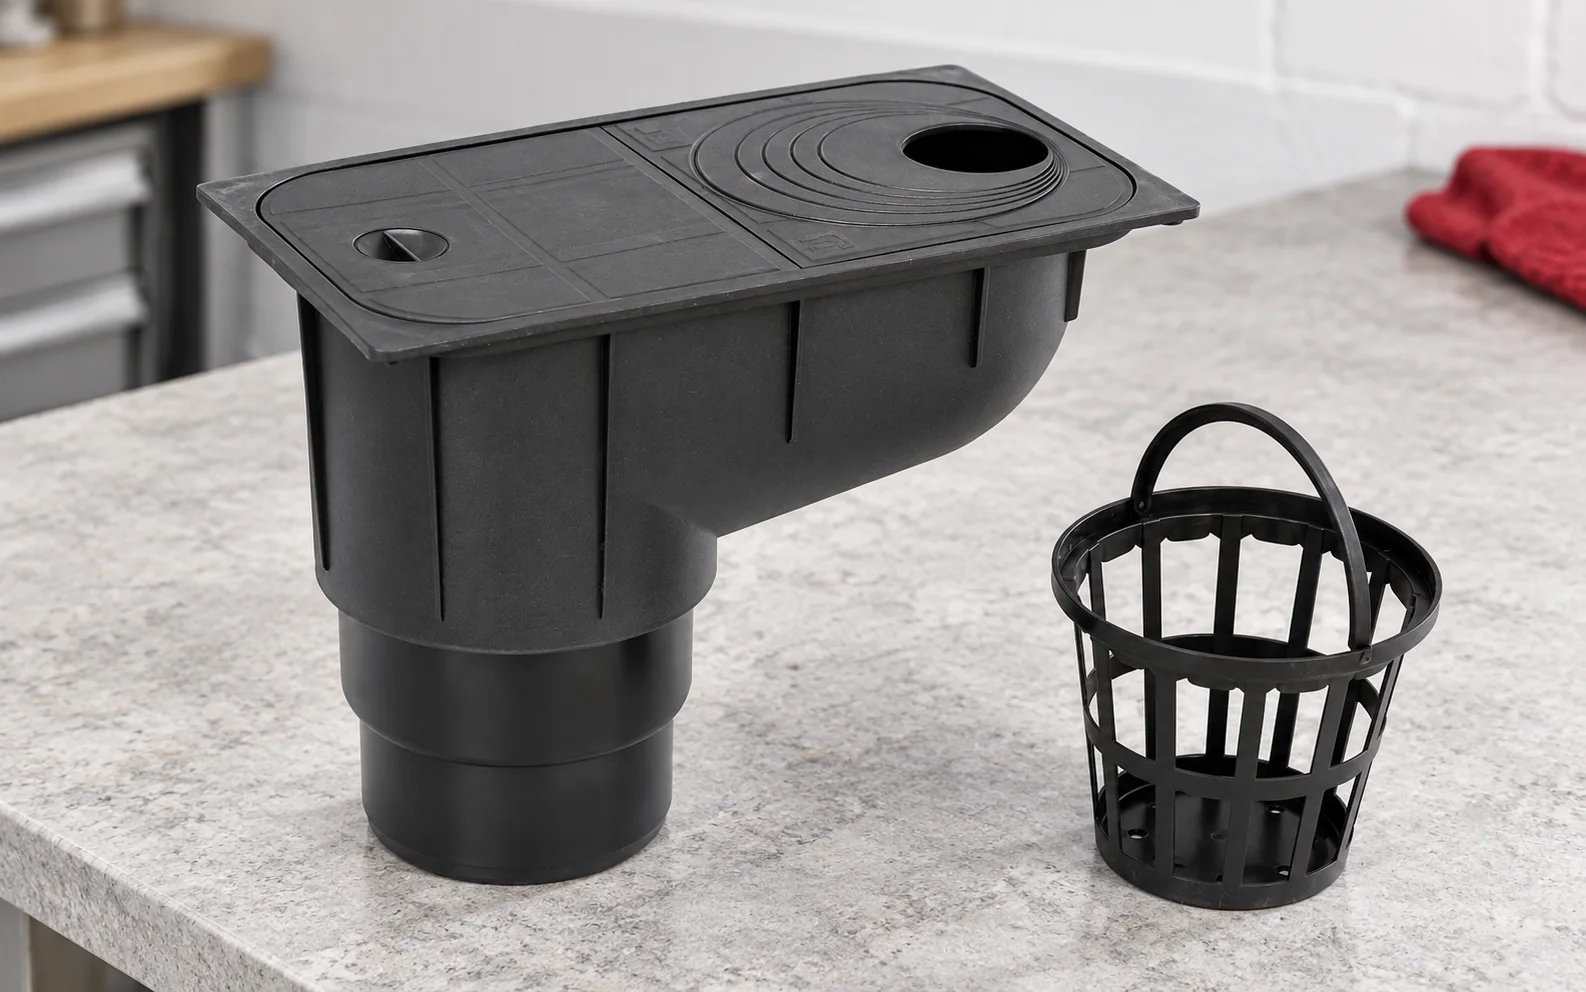
A rainwater gully (downpipe leaf catcher) is usually installed at the lower end of the downpipe so that its basket captures leaves…
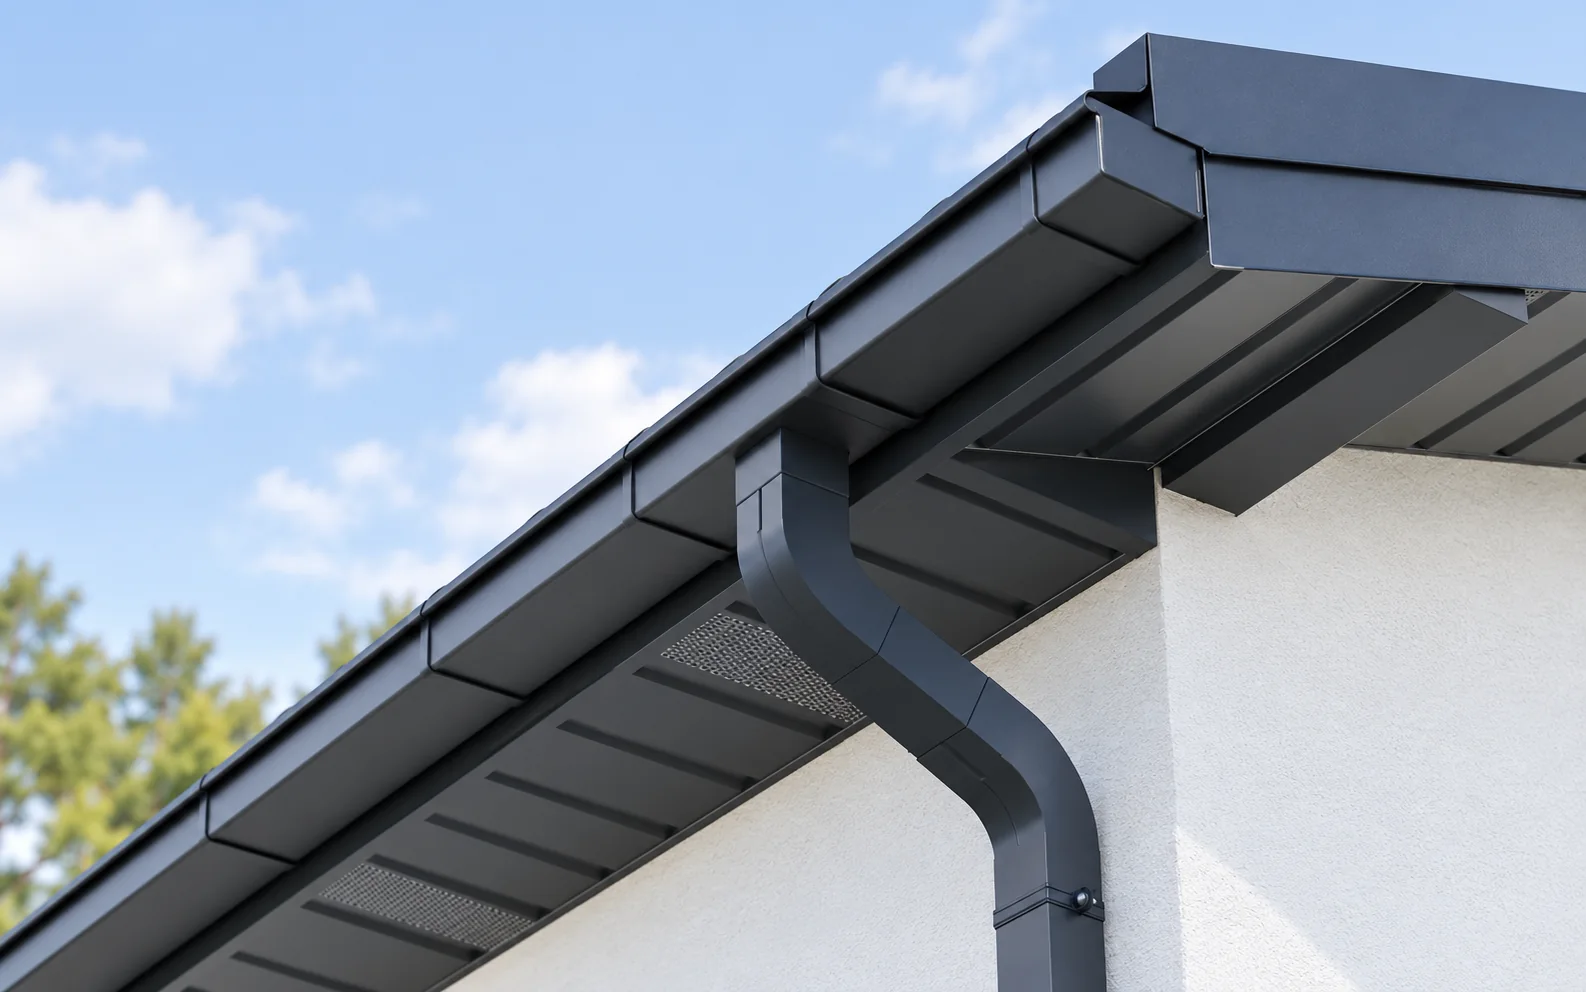
Square gutters give the eaves a clear, straight line and can suit metal roofing well. Their shape does not, however, guarantee greater…
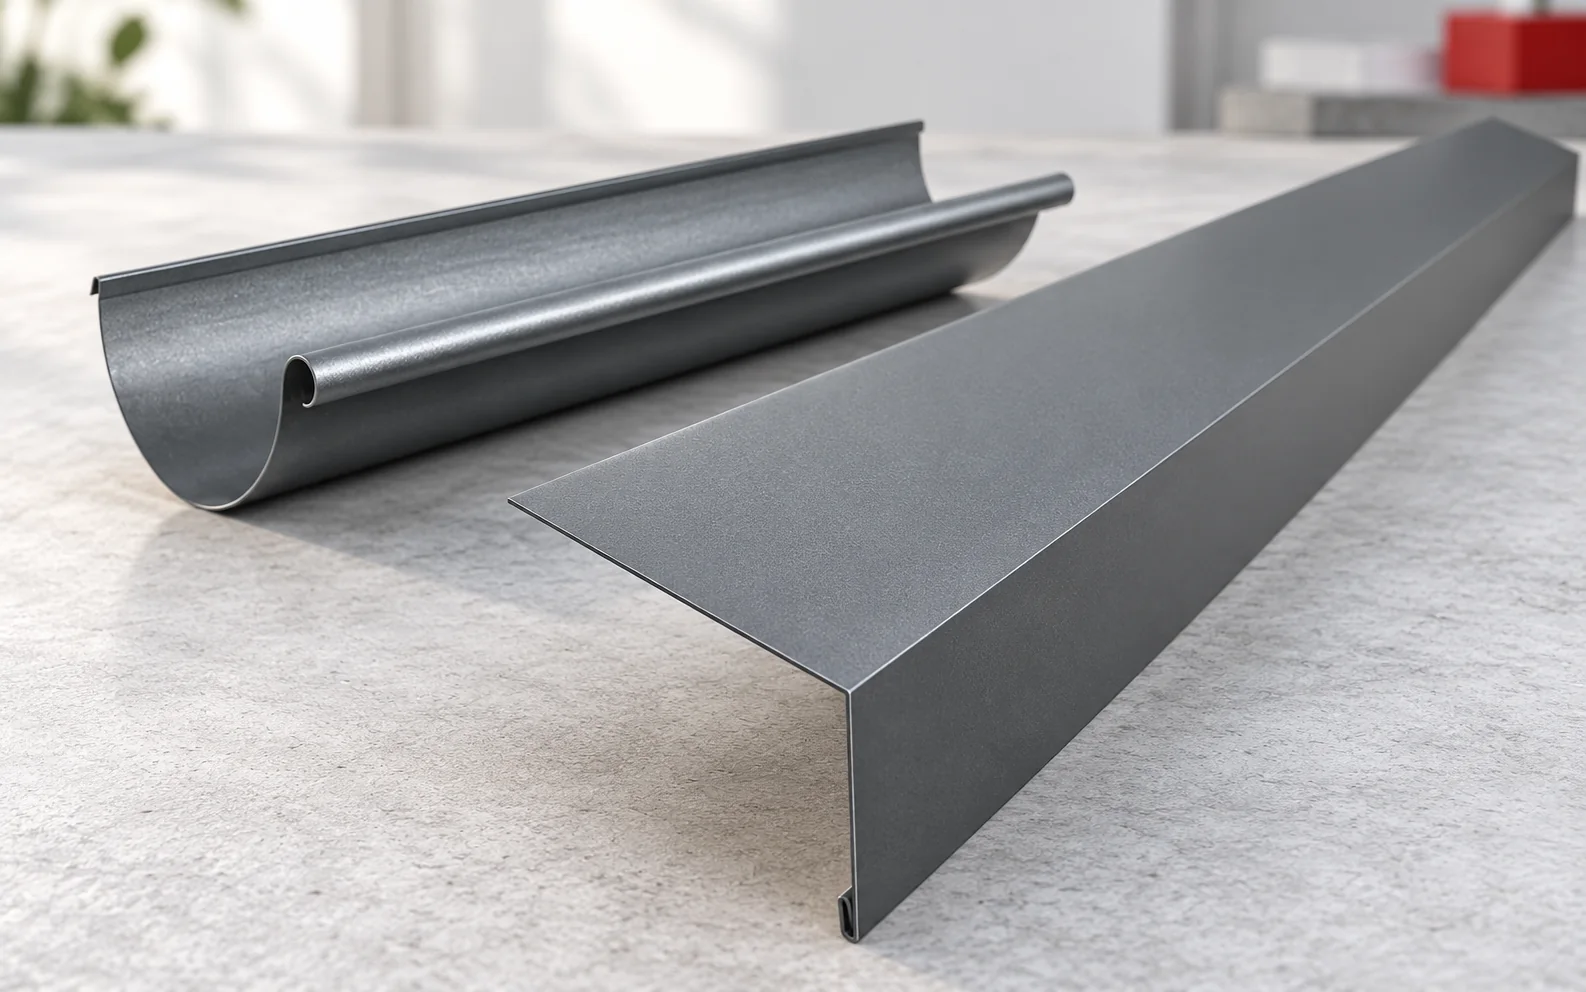
The gutter apron collects water in the eaves zone and shields the vulnerable end of the roof slope, so its shape must…
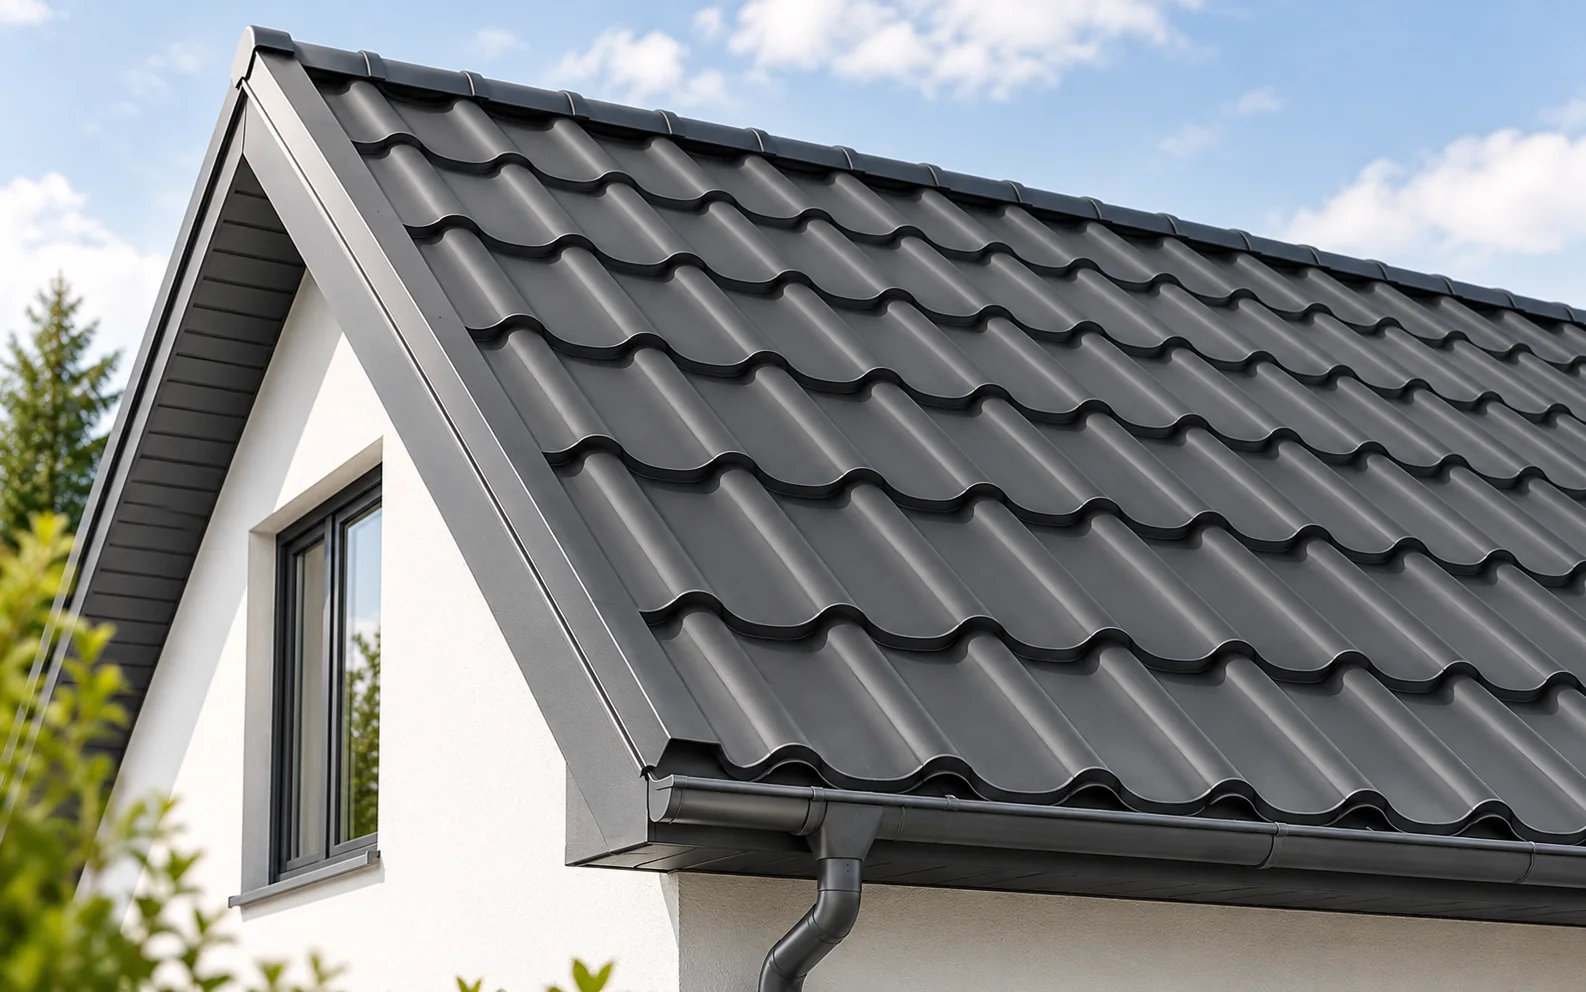
To budget for a roof in 2026, mark on the drawings where the quotation starts and ends. Installing a covering on an…
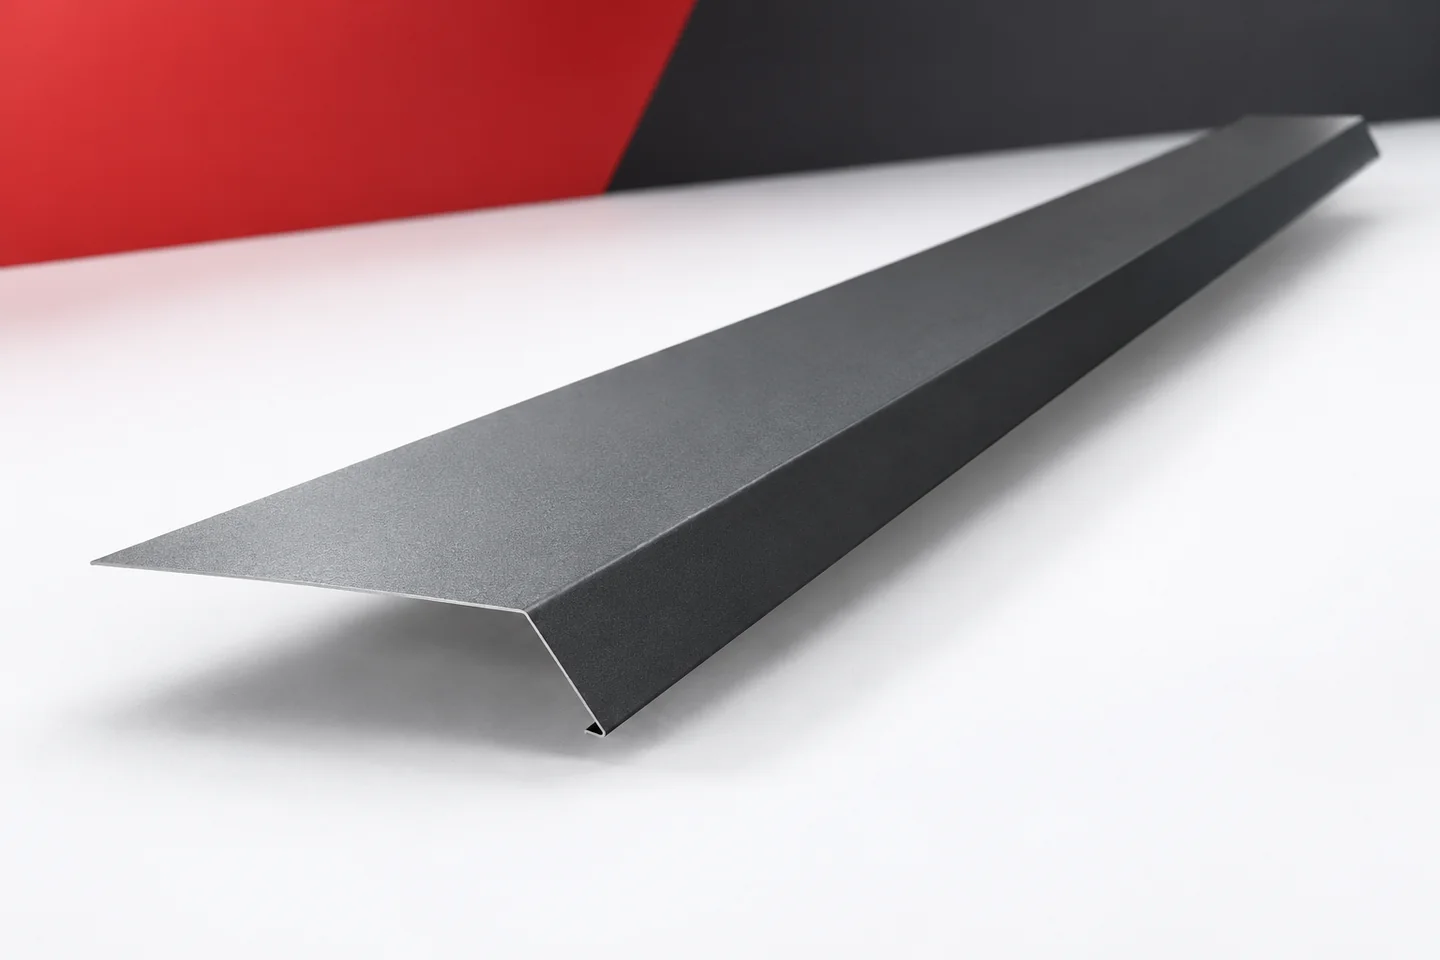
The eaves flashing is a small part of the roof, but it is responsible for an important stretch of the water's path.…
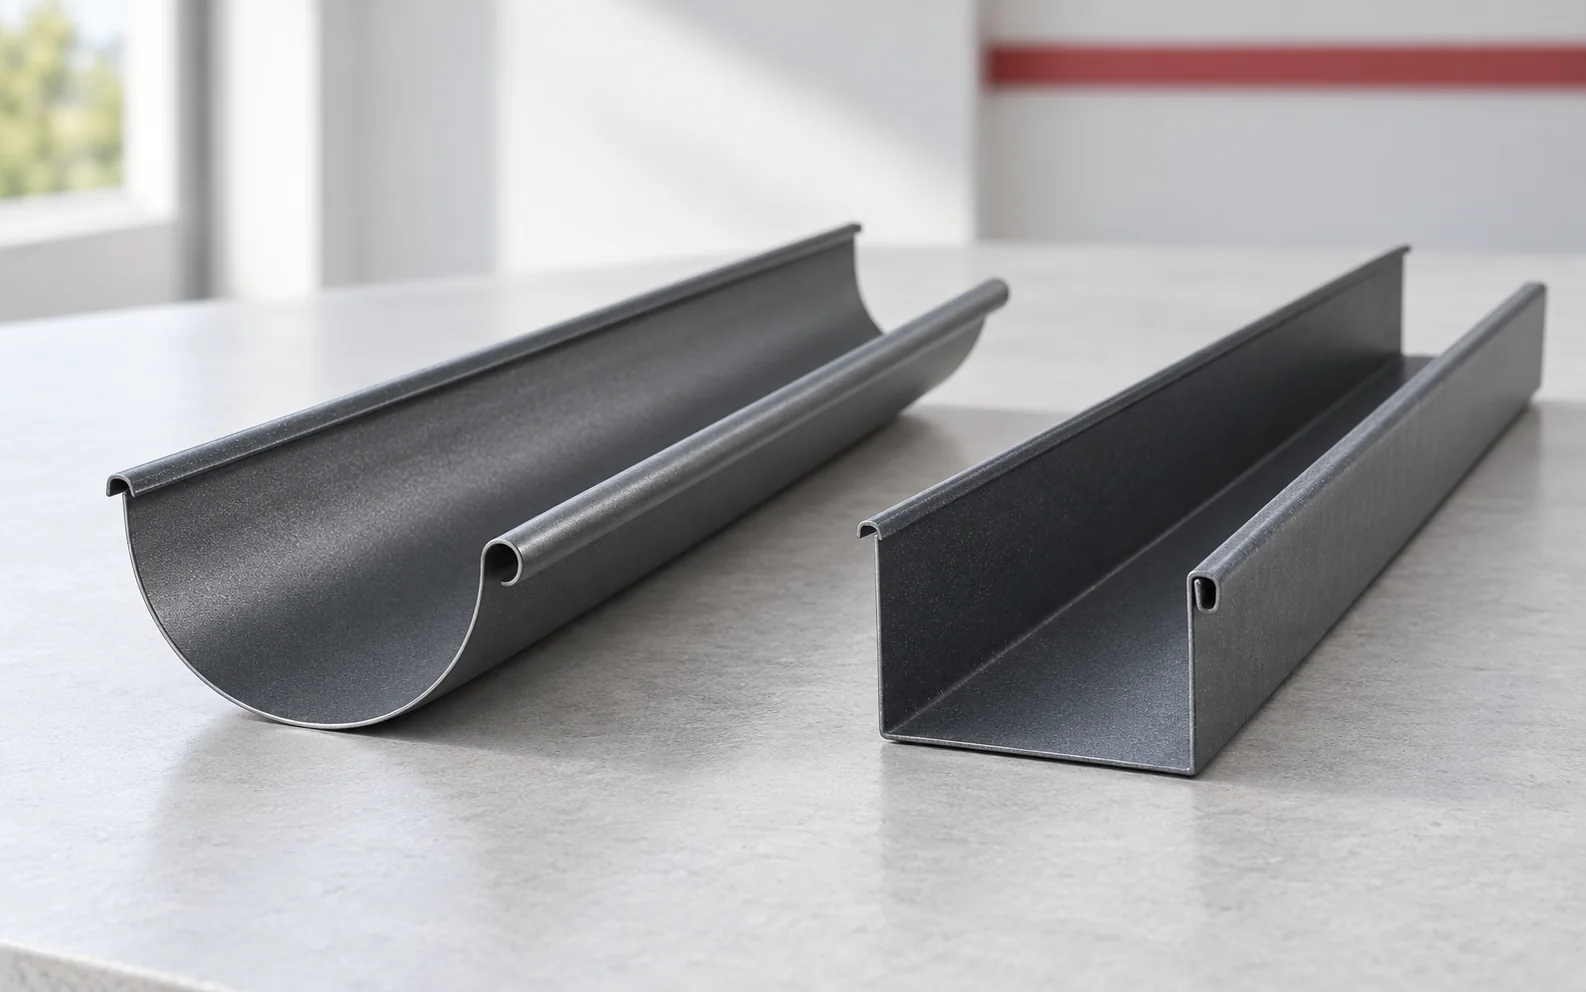
Square or half-round gutters? The choice of shape is not just a matter of the eaves' appearance, but above all of efficient…
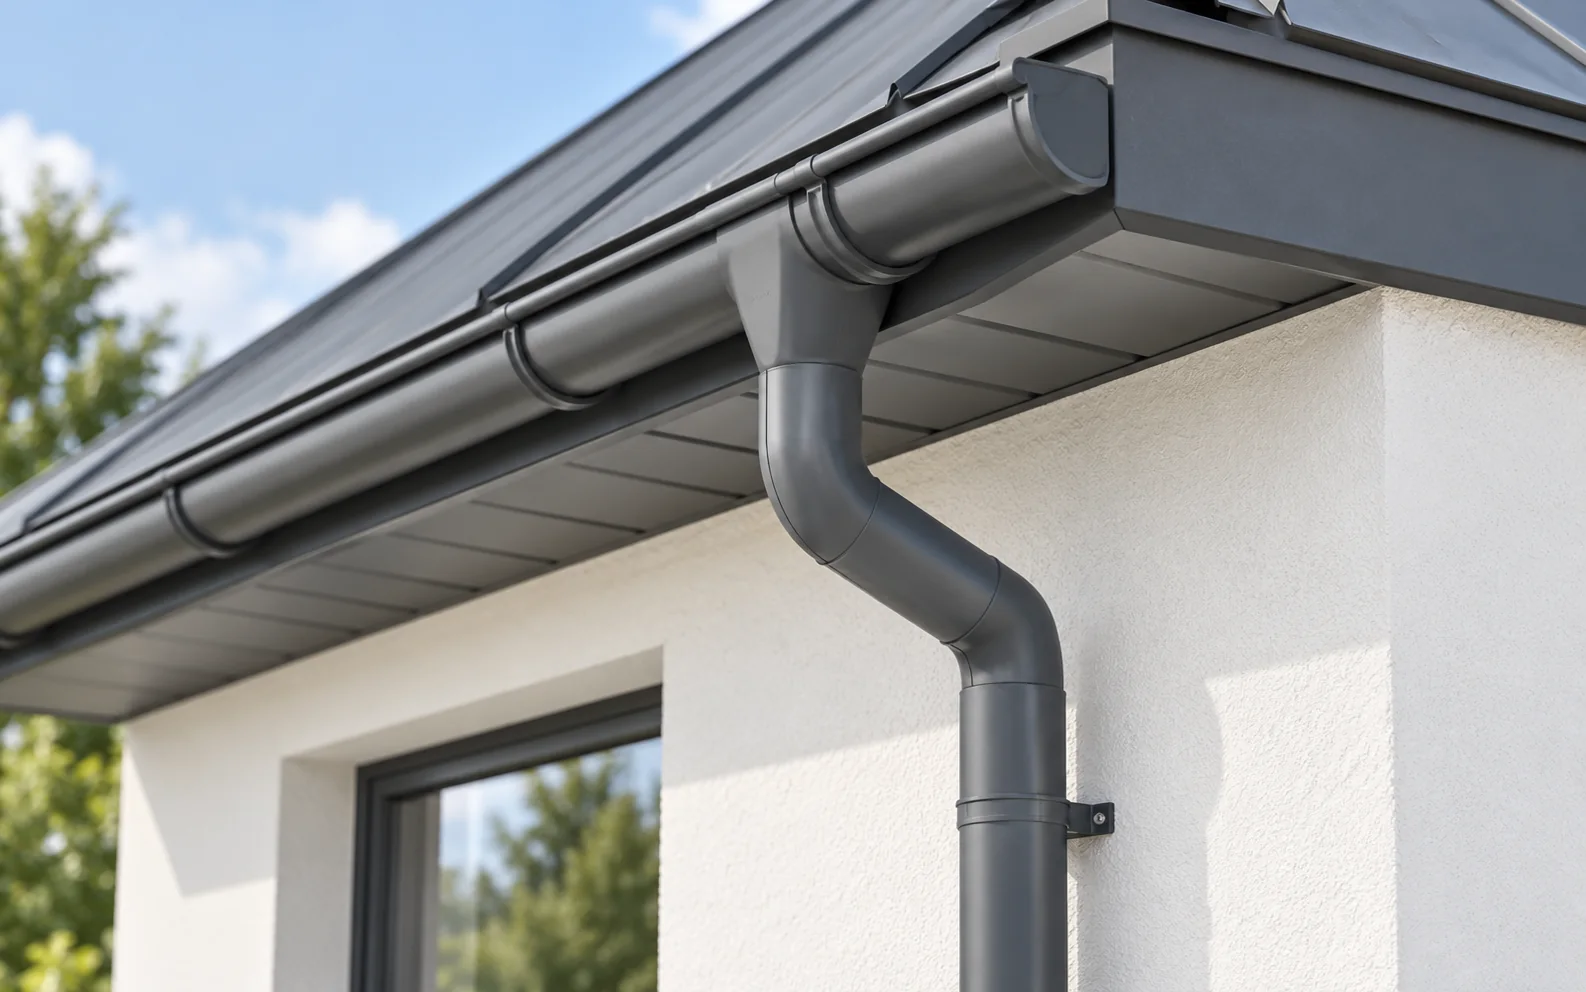
Gutters are selected primarily on the basis of the volume of water coming off the roof and the options for draining it…
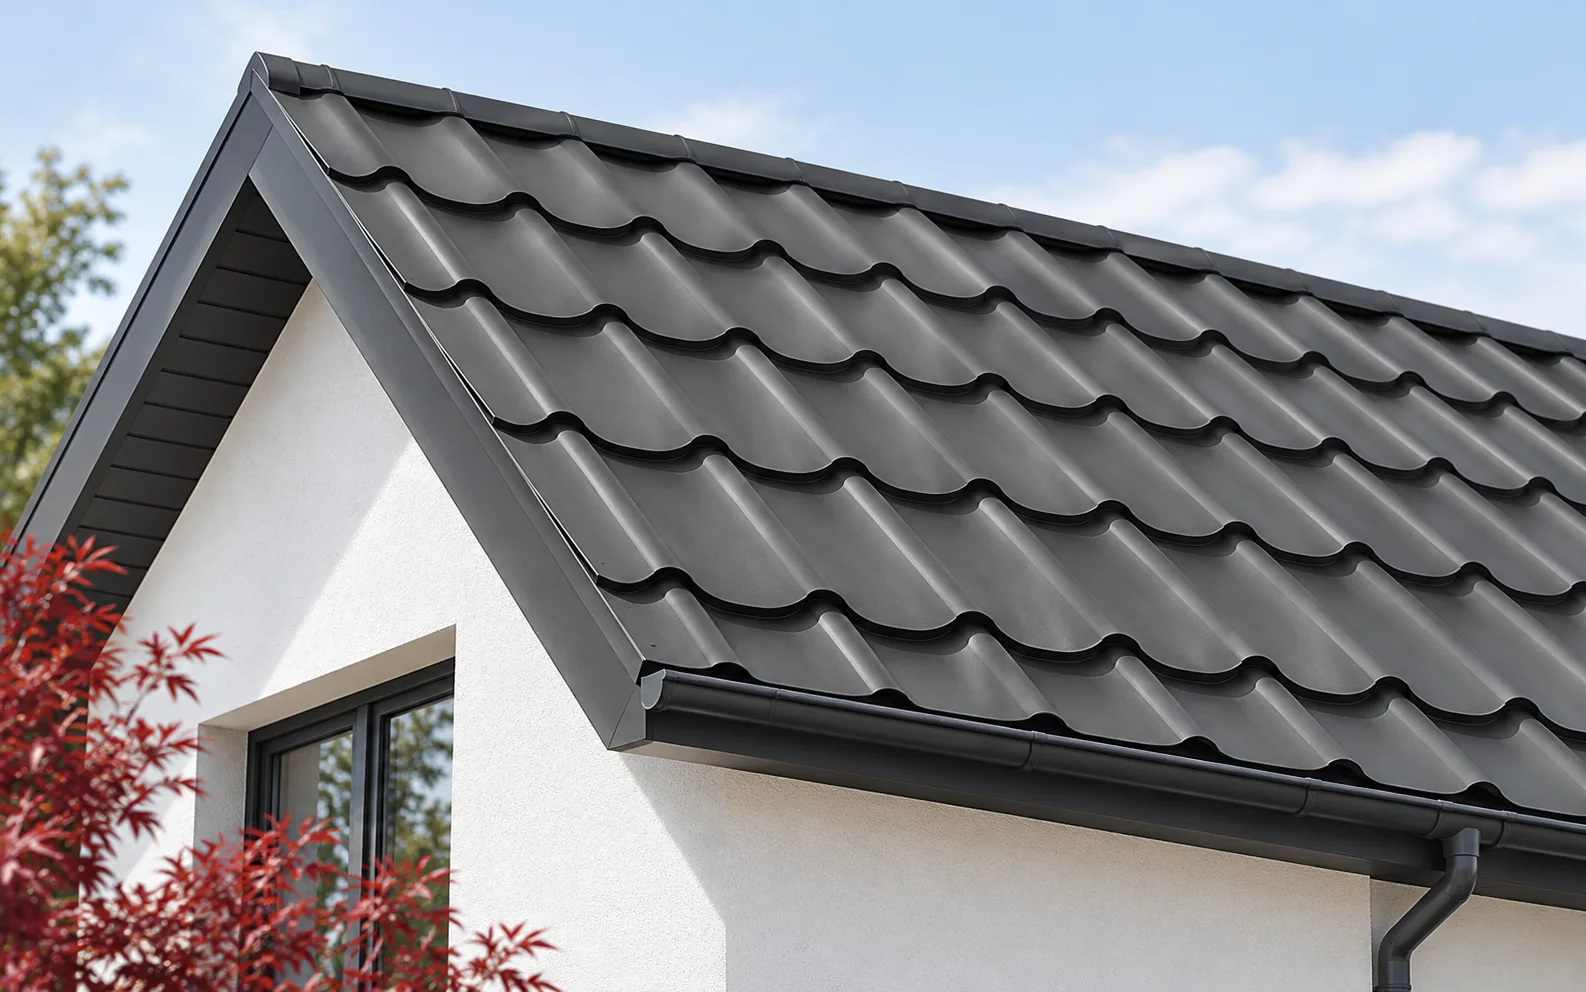
It is worth deciding the roof colour in parallel with the façade, joinery and rainwater system, because a large roof slope, matt…