

Installation and details
How is trapezoidal steel sheet correctly installed on a roof?
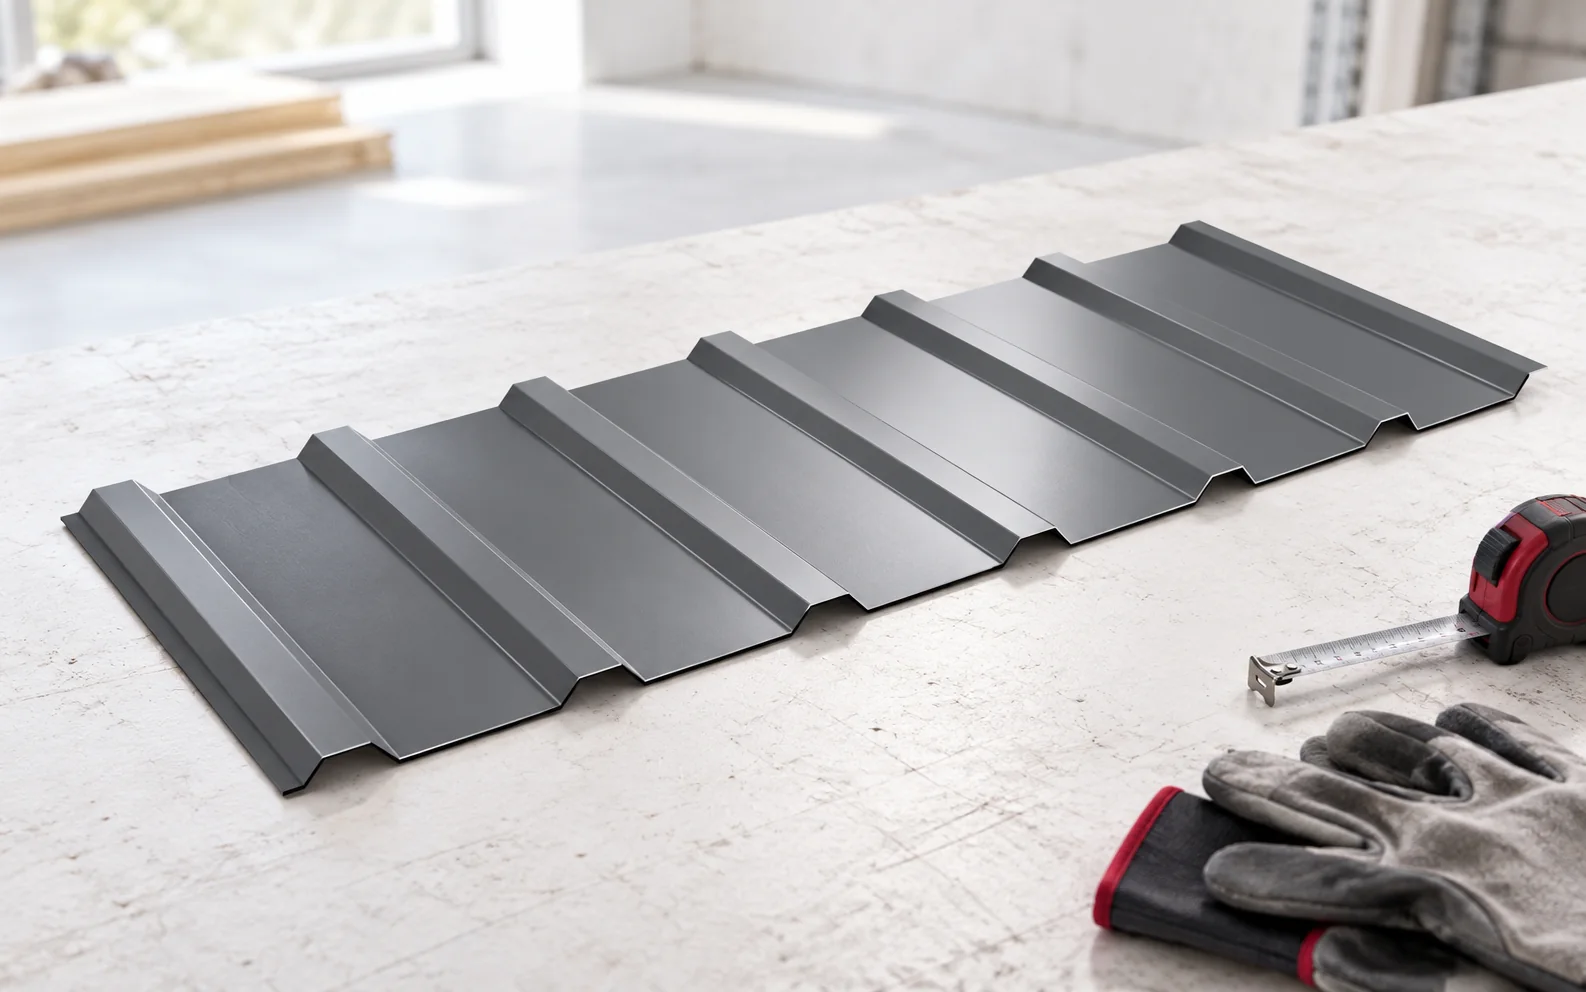
Correct installation of trapezoidal steel sheet on a roof depends on the material matching the design, on preparation of the supports and on compliance with the instructions for the specific profile. The sequence of work includes checking the delivery, safely passing the sheets onto the roof, positioning the first elements, fixing them with the correct seal compression, cutting with approved tools and installing the flashings. Profiles T18 and T35 do not share a single common instruction, so the designation, thickness, coating and sheet lengths must match the order. Documentation and acceptance complete the installation.
In this article
Stage one: confirming the material and conditions
Before starting, check the profile designation, thickness, coating and sheet lengths. Establish which side is intended to face outwards and the requirements for the roof slope angle. The data on delivery should match the order. Similar colour and rib height are not enough to confirm that the material complies with the design.
Read the instructions for the specific product together with the contractor. The conditions for the laps, the arrangement of fixings and the cutting method are important. Rules should not be carried over from another trapezoidal profile simply because both bear the designation T18 or T35. Differences in geometry and thickness can change the requirements for the entire system.
Stage two: delivery and safe preparation of works
Plan the unloading area and the method of passing sheets onto the roof. Long elements require suitable support during handling. A bend created at this stage may remain visible after installation. Protection against falls must also be provided, and a working zone around the building marked out.
The material is stored in accordance with the supplier’s recommendations, with protection against moisture being trapped between the sheets. The storage conditions and the time for which the protective film is left on are important. The factory pack should not be treated as a storage container that can remain outdoors indefinitely. Weather restrictions also apply to the installation itself.
Stage three: checking the supports and layers under the covering
Check the geometry of the roof slope, the spacing of the supports and their plane. Battens or purlins must correspond to the design and to the load-bearing capacity of the specific sheet. Unevenness and gaps must be repaired before covering. Pulling the sheet tight with screws onto an unsuitable substrate can cause deformation and overloading of the connections.
Check the membrane, ventilation and preparation of the eaves. Flashings and connections at penetrations should have a planned sequence. If there is an anti-condensation layer under the trapezoidal sheet, its requirements regarding drying out and edges must be taken into account. Felt does not replace an underlay or insulation in just any configuration.
Stage four: positioning the first sheets
The first sheets determine the direction of the subsequent covering. They must be aligned with the geometry of the roof slope and the eaves line. A small error at the beginning can grow with subsequent elements. The contractor should check the alignment before finally fixing a larger area, in accordance with the installation method adopted.
The side lap must correspond to the profile and to the direction specified in the instructions. The sheet must not be arbitrarily reversed in order to fit a cut piece. If there are joints along the length of the roof slope, their position and support must be prepared in advance. A transverse lap must not arise accidentally between supports.

Stage five: fixing and forming the laps
The screws are selected for the substrate, the thickness of the assembly and the working environment. Their location and number follow from the documentation and the loads. Different requirements may apply in edge and central zones. The fixing plan should not be replaced by a single averaged number of screws per square metre.
The correct compression of the seal is important. Overtightening can damage it and deform the sheet, while undertightening can leave a leak. Lap sealants are used where the system provides for them. The type of tape and its position must allow the connection to function correctly.
Stage six: cutting, flashings and details
Tools approved for coated sheet must be used for cutting. Abrasive cutting with an angle grinder can damage the edge and surface protection. Swarf must be removed promptly, before it begins to corrode. Local touch-ups are carried out in accordance with the recommendations, without any promise of restoring the factory coating.
Flashings at the ridge, eaves, walls and penetrations must conduct water and maintain the required air flow. They should not be accidentally sealed with foam. Every detail must work together with the profile and the layer assembly. Particular control is required at locations where several drainage directions meet over a small area.
Stage seven: acceptance and documentation
After completion, the surface, fixings, laps and completeness of the flashings are checked. Waste and swarf must be removed from the roof slope, and residues from the works from the drainage. The inspection requires safe access. The owner can use photographs and a report instead of walking on the new covering themselves.
Keep the material designation, purchase documents and photographs of the layers before they are covered. Establish the rules for inspections and cleaning. The first check after heavy rainfall can help to detect a problem with a detail or drainage. Correct installation ends with the roof being handed over for use, not merely with the last sheet being screwed down.
Tip before ordering
Before delivery, agree three checkpoints with the team: acceptance of the supporting structure, inspection of the first sheets and acceptance of the details before they are covered. Catching an error at the right stage usually limits the scope of later correction.
What is worth remembering?
A roof made of trapezoidal sheet requires a well-thought-out sequence of works and knowledge of the specific system. Correct supports, laps and fixings are more important than the speed of covering alone. Installation documentation and an orderly acceptance help to maintain the covering in good condition over the years.
7 branches. Materials closer to your project.

Free quote
Materials for your project

You may also find useful…
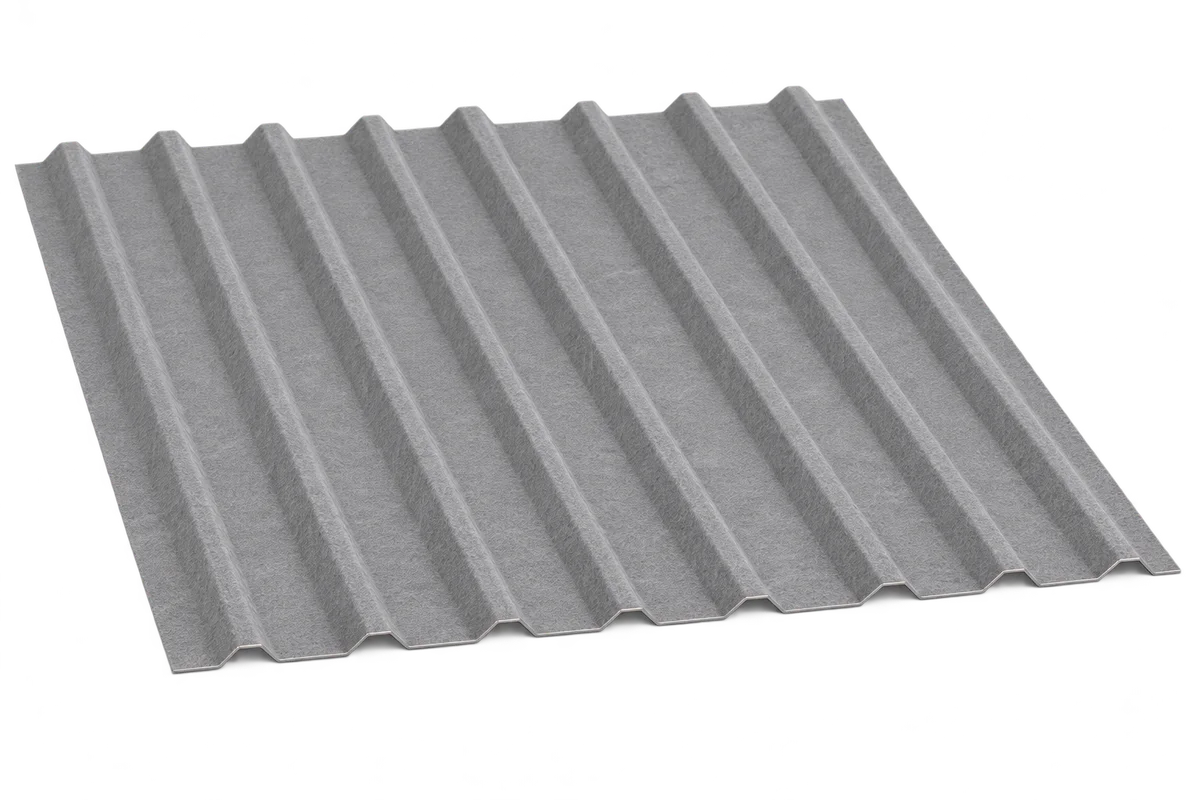
Trapezoidal steel roofing with anti-condensation fleece can retain some condensate beneath the sheet and later release moisture to the air when drying…
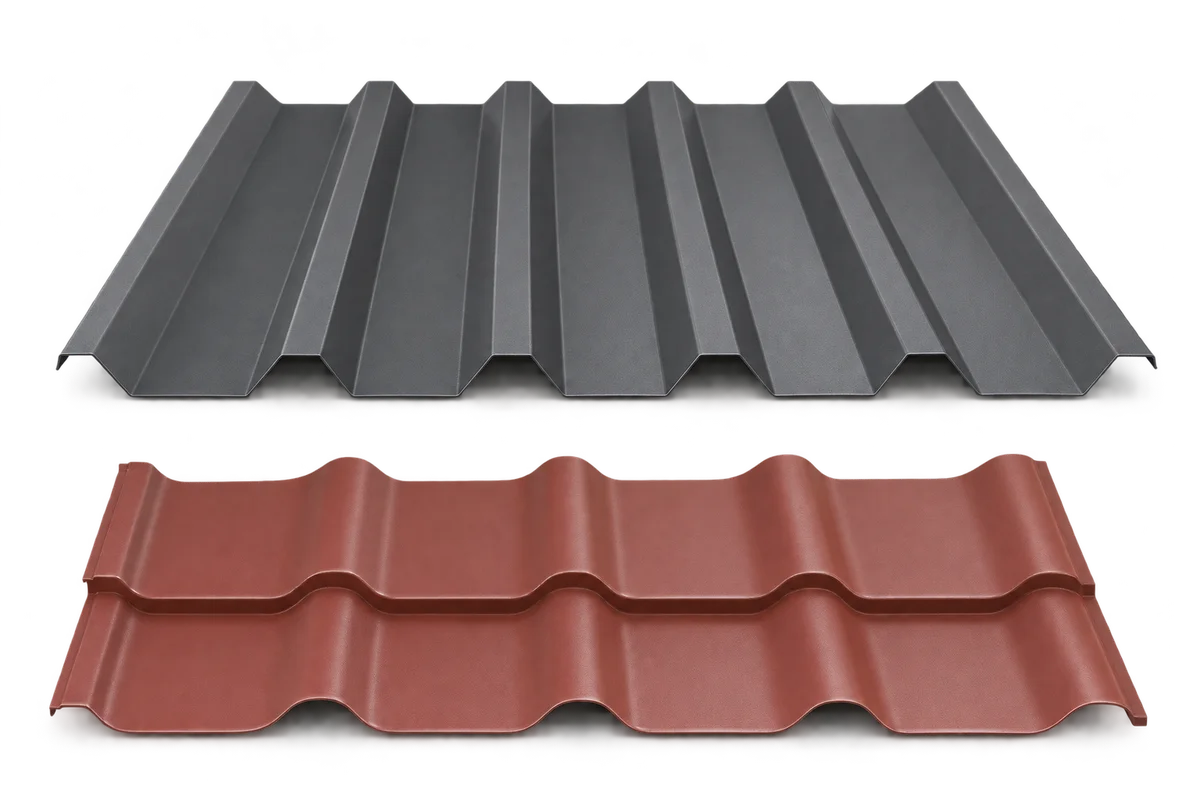
Trapezoidal steel sheets and tile-profile sheets are both lightweight roof coverings, but they differ in shape, support requirements and appearance. Start with…
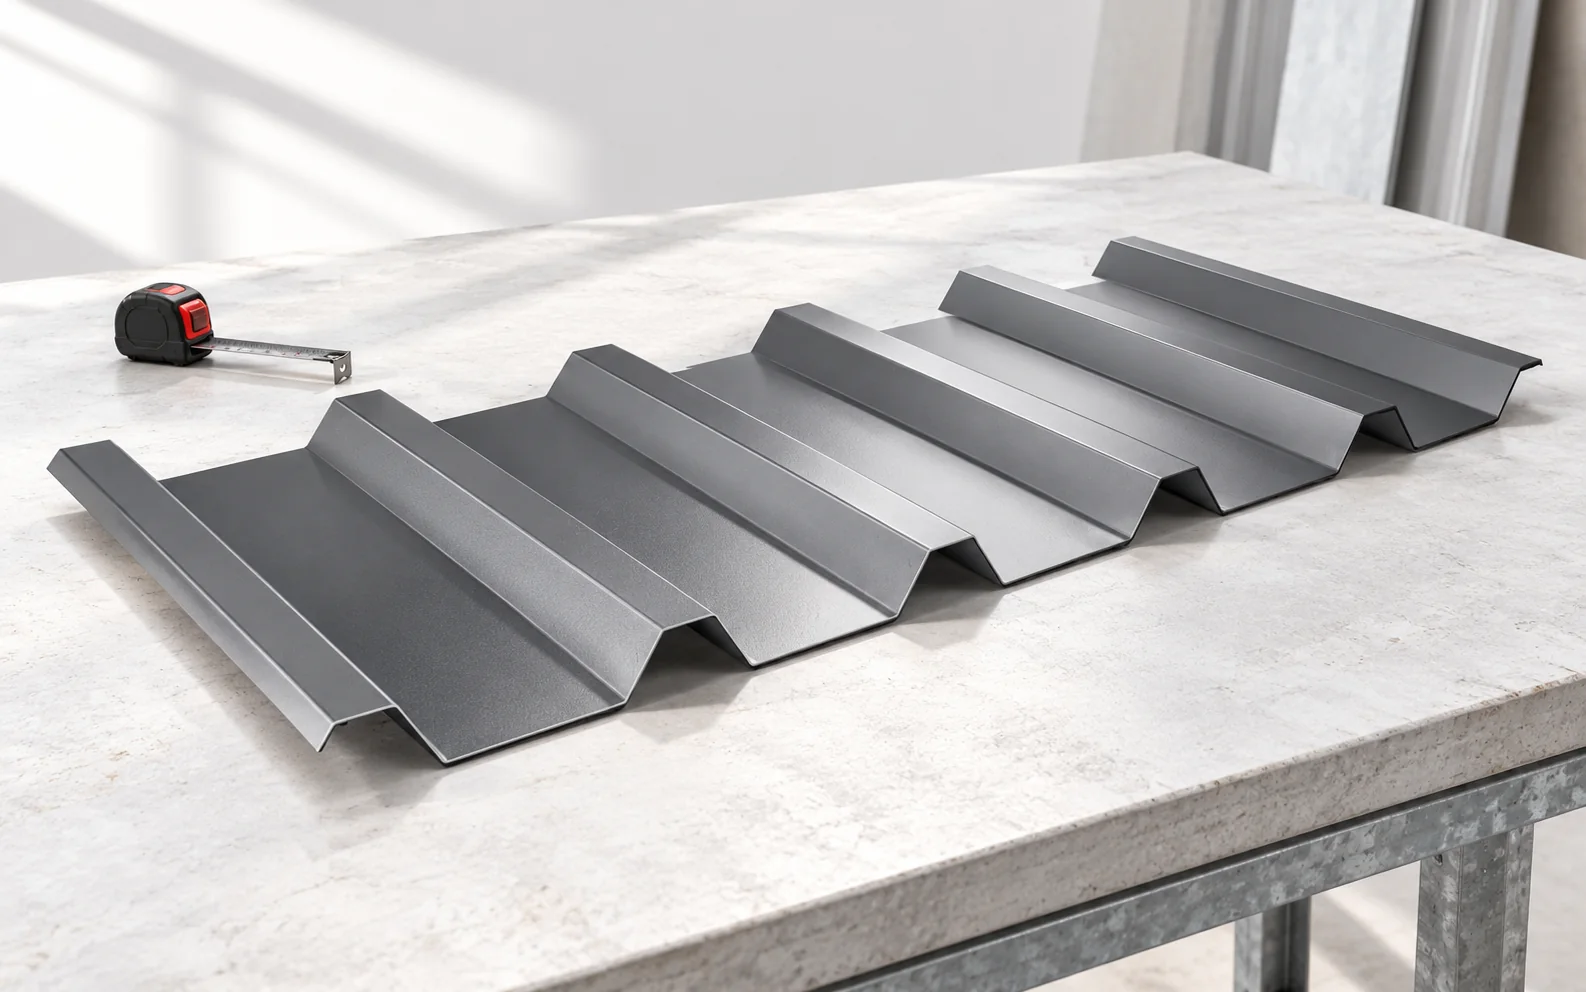
Tile-effect metal roofing and trapezoidal steel sheet can both protect a roof well, but they suit different expectations and roof layouts. The…
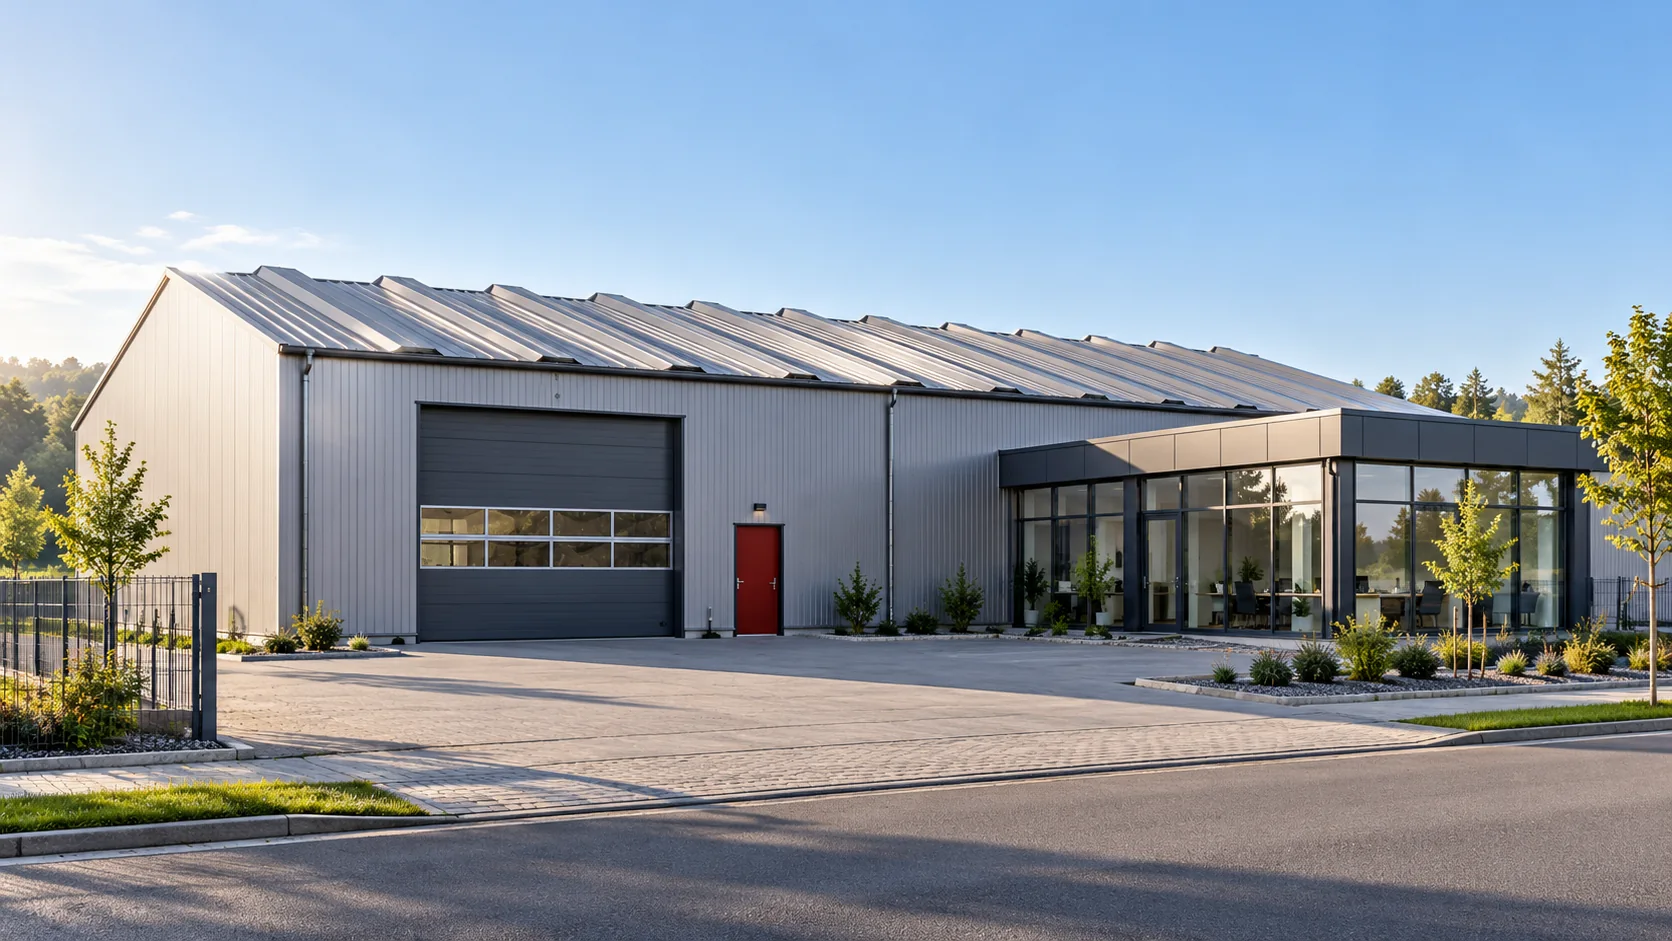
A carport, a warehouse and a heated workshop may all have the same trapezoidal steel roof profile. Conditions below the sheets can…
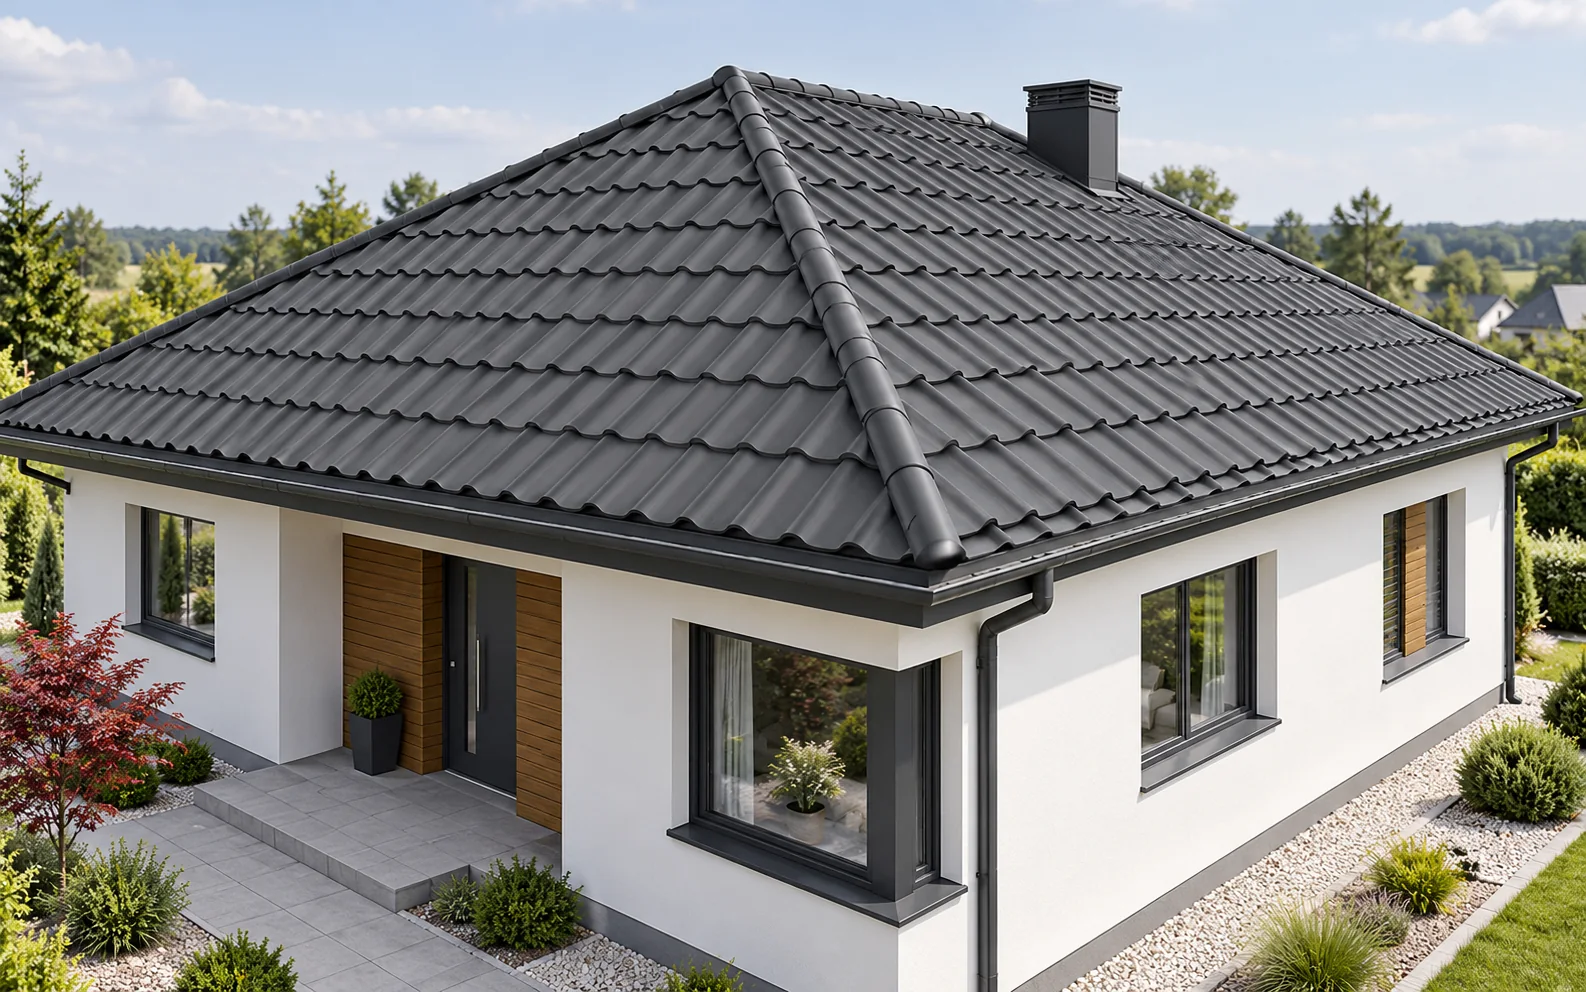
A hipped roof has four slopes. Over a rectangular plan, two are usually trapezoidal and two triangular. This form gives a coherent…
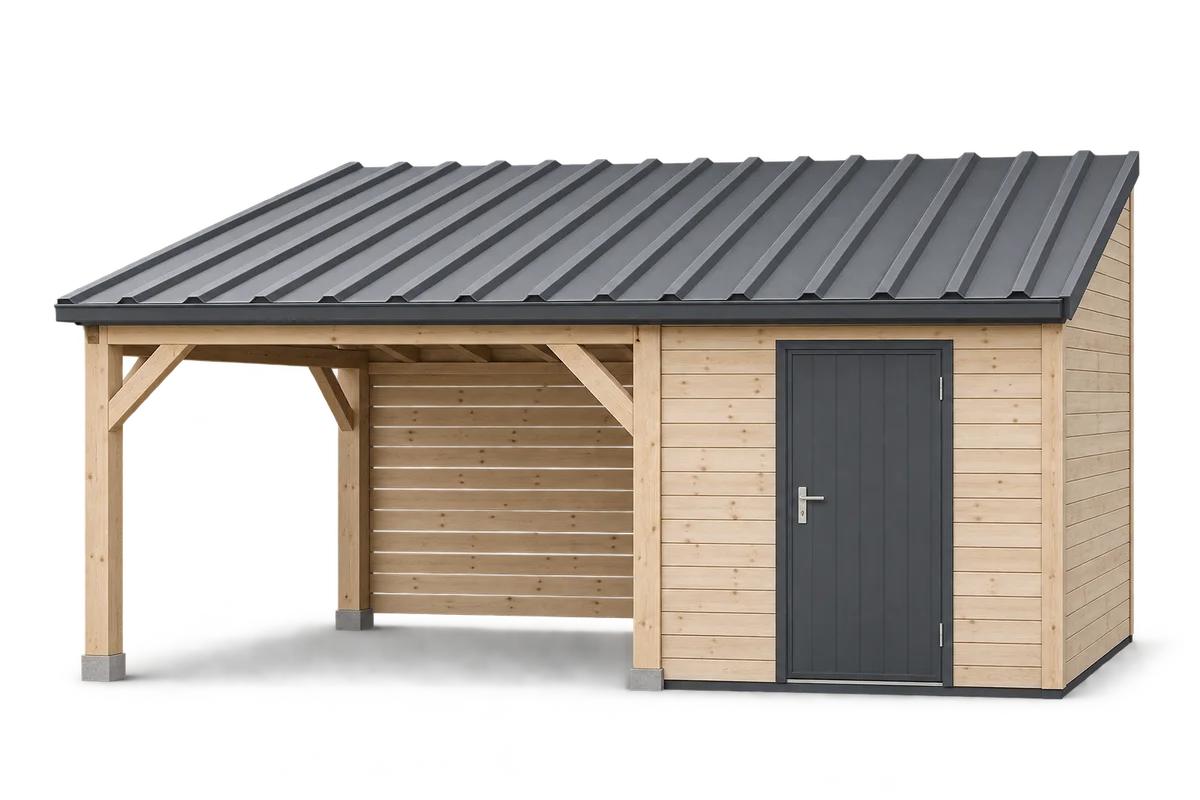
A carport with an enclosed storage area keeps tools close to the car and helps organise the service part of the plot.…
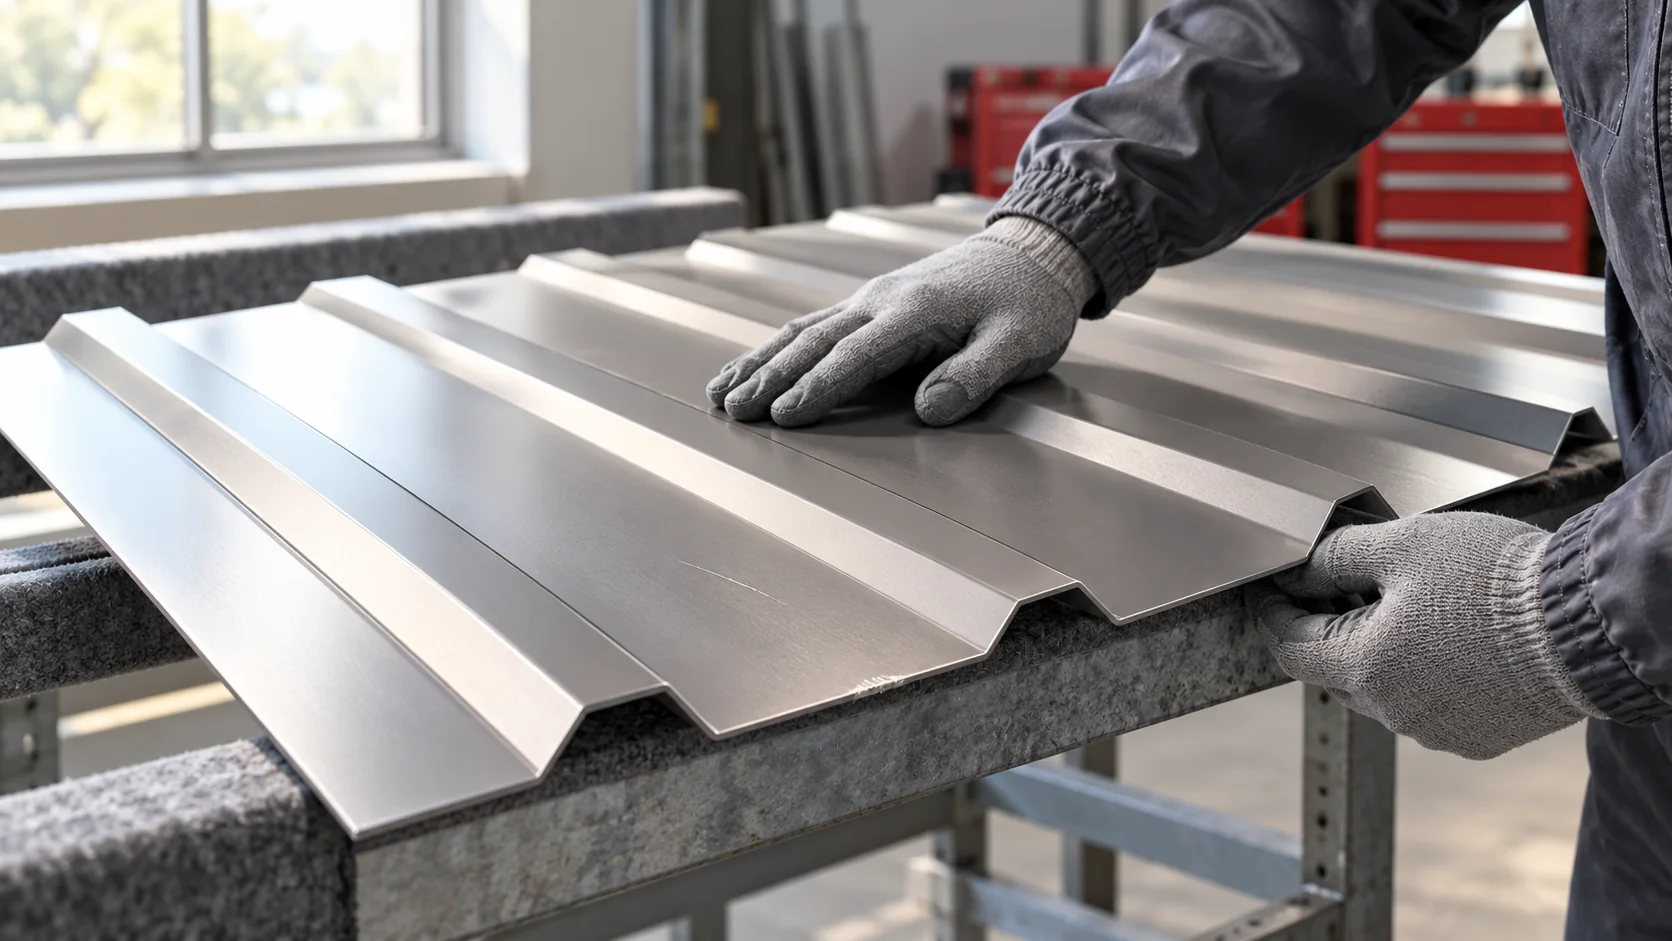
Second-quality trapezoidal steel sheets can be discounted for very different reasons. Before comparing prices, find out why the particular sheets were downgraded.…
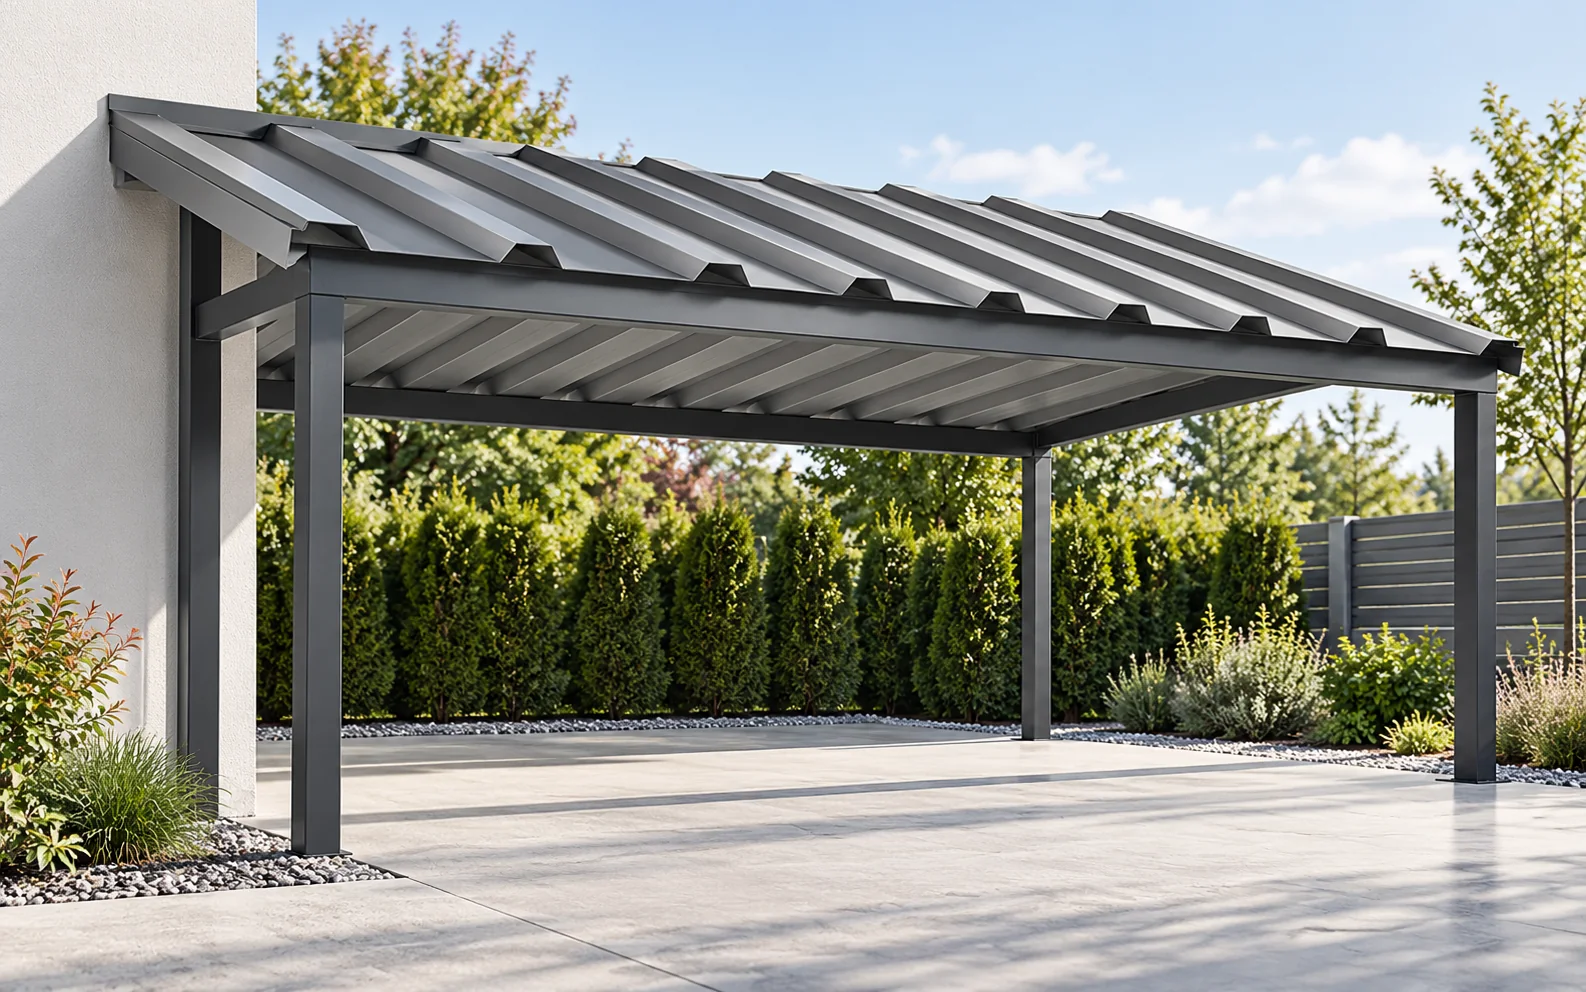
For a carport roof, T18 or T35 can be considered, but the choice is determined by the support spacing, pitch and loads.…