

PIR insulation
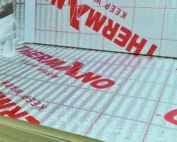
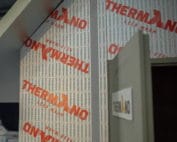
Thermano GK-A and GK-H2: space-saving internal insulation
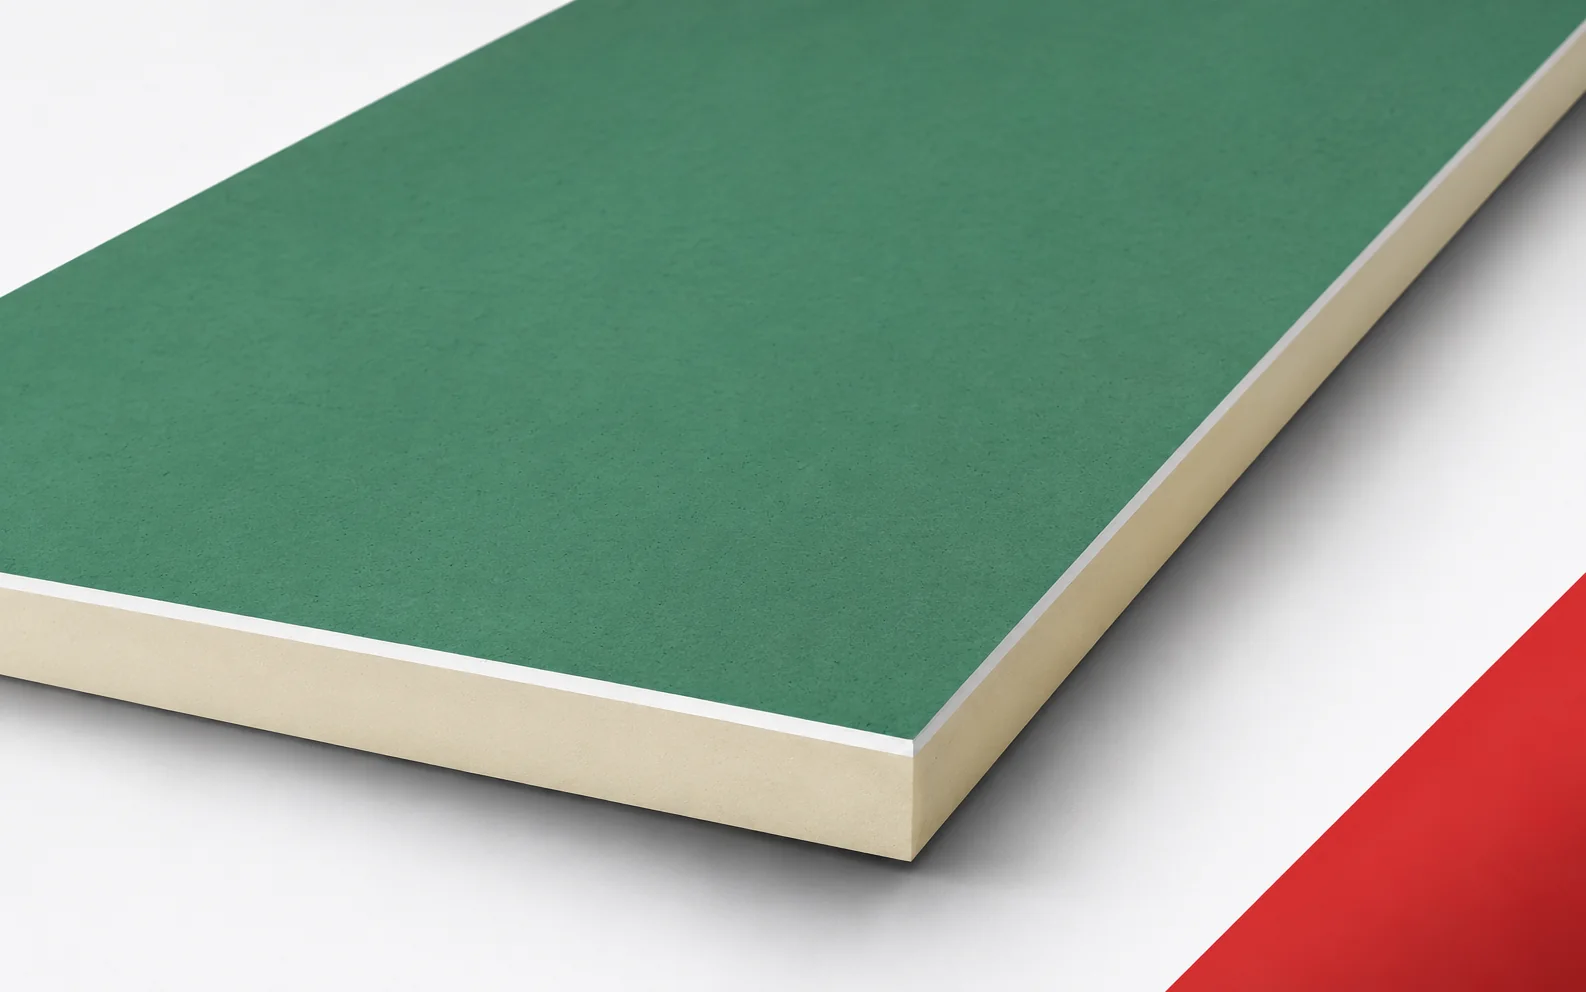
When insulating from the inside, every centimetre of room surface counts. Thermano GK combines PIR insulation with a plasterboard facing. The space benefit must, however, be calculated for the complete build-up, including the fixing and levelling of the existing wall. Thermano GK-A and Thermano GK-H2 combine a PIR core in gas-tight facings with a 12.5 mm plasterboard. The GK-A variant has a white facing for typical dry rooms. PIR boards are best assessed against a specific spatial problem, so consider the choice between the white GK-A facing and the green GK-H2 facing in a room with a defined function. The GK-A or GK-H2 variant should be assigned to the function and conditions of use of the room, because the space saving must be assessed together with the detail geometry.
In this article
Board construction and the role of the insulation
A change in lambda alone is not enough, because the facing’s increased moisture resistance does not mean ready-made protection against water. The solution should allow the right composite to be selected without equating the board colour with a complete protection system. As a starting point for comparing variants, record the room’s function, the extent of contact with moisture and the planned finishing layers.
Thermal resistance versus available thickness
The thermal properties of Thermano GK are read for the specific finished product variant. The manufacturer provides thermal resistance values that depend on the total thickness.
When comparing polyurethane boards, take into account two composites with a different total thickness and a different thermal resistance. The R value must be read for the finished Thermano GK variant with its actual layer build-up, so that the comparison relates to the same thermal effect. The result must be read with caution, since information on total thickness alone does not say how much space the insulating core occupies. The calculation is intended to help relate the loss of room surface to the actual thermal benefit of a specific board. In the energy summary, show the thickness split between plasterboard and PIR and the resistance stated for the composite being ordered, so that it is clear what exactly has changed between the solutions.
When choosing Thermano GK it is easy to focus on how many centimetres the build-up will take. It is worth also checking the reveals and the wall-to-ceiling junction. Too great a difference between the thickness over the full surface and at narrow terminations can limit the point of the whole solution. The choice of GK-A or GK-H2 alone does not answer this question. The thermal effect is determined by the core, the geometry and the way the composite connects to its surroundings.
Continuity at joints and terminations
Thermano GK measures 1200 × 2600 mm and has a BASIC edge. When planning the wall layout, openings and junctions with adjacent partitions should be taken into account.
Check the layout of the 1200 × 2600 mm panels on a wall with a door and several electrical points, because continuous polyurethane insulation also requires correct terminations. The position of sockets and openings must be agreed before cutting the elements and closing the joints, because losses at the joints must be assessed together with the main insulation field. A good connection does not arise automatically, since later moving a socket may require cutting through an already closed facing layer. The element layout should allow the route of services to be agreed before cutting the elements prepared for bonding. On the detail drawing, show the position of the boxes, the width of the strips at the reveal and how the sides of the build-up are finished; this record will make it easier to check the work later.
Protecting the insulation against water and leakage
With Thermano GK, the moisture balance of a wall insulated from the inside changes. The H2 facing does not replace waterproofing in wet areas, and the double-sided PIR laminate requires continuous joints.
When assessing the durability of the thermal effect, include the wet zone in which the composite with the Thermano GK-H2 facing has been used. The wet zone must be protected against water regardless of the choice of the green H2 facing, if the insulation is to perform under the conditions assumed in the design. Polyurethane foam does not replace protective layers: moisture can reach through a joint or penetration regardless of the colour of the plaster used. The planned protections should allow the material’s resistance to be combined with proper sealing of the entire finished surface. Before covering, assess the extent of the waterproofing, the treatment of corners and the sealing of penetrations at the point of contact with water, because later repair may require opening up the finished partition.
Strength and fire properties
For Thermano GK-A and GK-H2, class B-s1,d0 is stated on the gypsum plasterboard side. This information should be read within the product’s classification conditions.
The thickness limitation does not exempt you from checking other requirements, so analyse the layer build-up at an installation penetration through the Thermano GK build-up. The Thermano GK classification must be read from the stated plasterboard side, even when the choice of board was determined mainly by its low lambda. A separate assessment is needed, because reversing the direction of fire exposure does not entitle you to repeat the same declaration. Only the complete set of data will allow the composite to be planned for protection and joints to be made in accordance with the assessed application. Alongside the thermal results, state the conditions of application, the joint solution and the independent requirements for the whole partition; this way the comparison will not omit the conditions of use.
When the solution is worthwhile
Before ordering Thermano GK, specify the GK-A or GK-H2 version, the overall thickness and the finish required. Plan how fixtures will be attached and where services will pass through the lining.
Calculate the thermal benefit of the polyurethane boards and define the installation work, including finishes around the board edges and fixings for future fixtures. To compare like with like, price the panels, the joint finishing and the planned fixings together. Similar board prices can conceal differences in preparation and finishing. The final quotation should cover a system appropriate to the use of the room and the complete installation. Ask for the facing type, the panel count, the joint treatment and the agreed fixing points for heavy items. These details will explain the basis for any extra charge.
7 branches. Materials closer to your project.

Free quote
Materials for your project

You may also find useful…
When replacing a roof, compare complete roof panels with two facings and a profile designed for roofing. The PIR or EPS core…
Suppose the roof design leaves little space below the parapet flashing. The client is considering thicker insulation but does not want to…
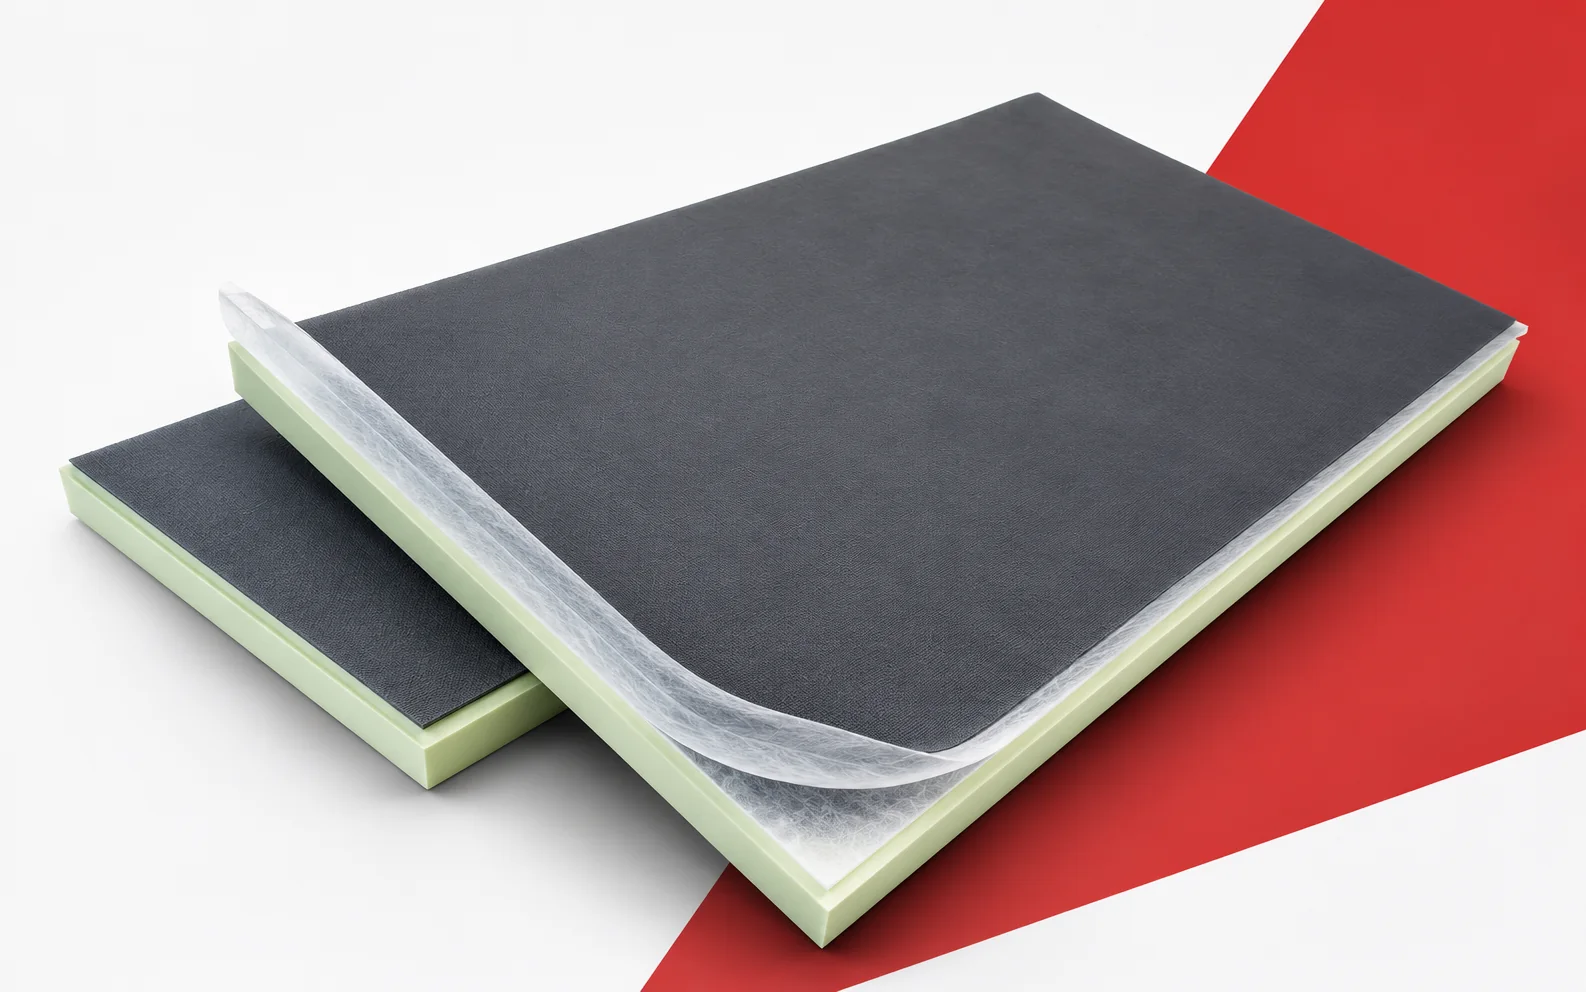
Utherm Sarking LE Plus allows part of the insulation function to be moved above the rafters while preserving attic space. This benefit…
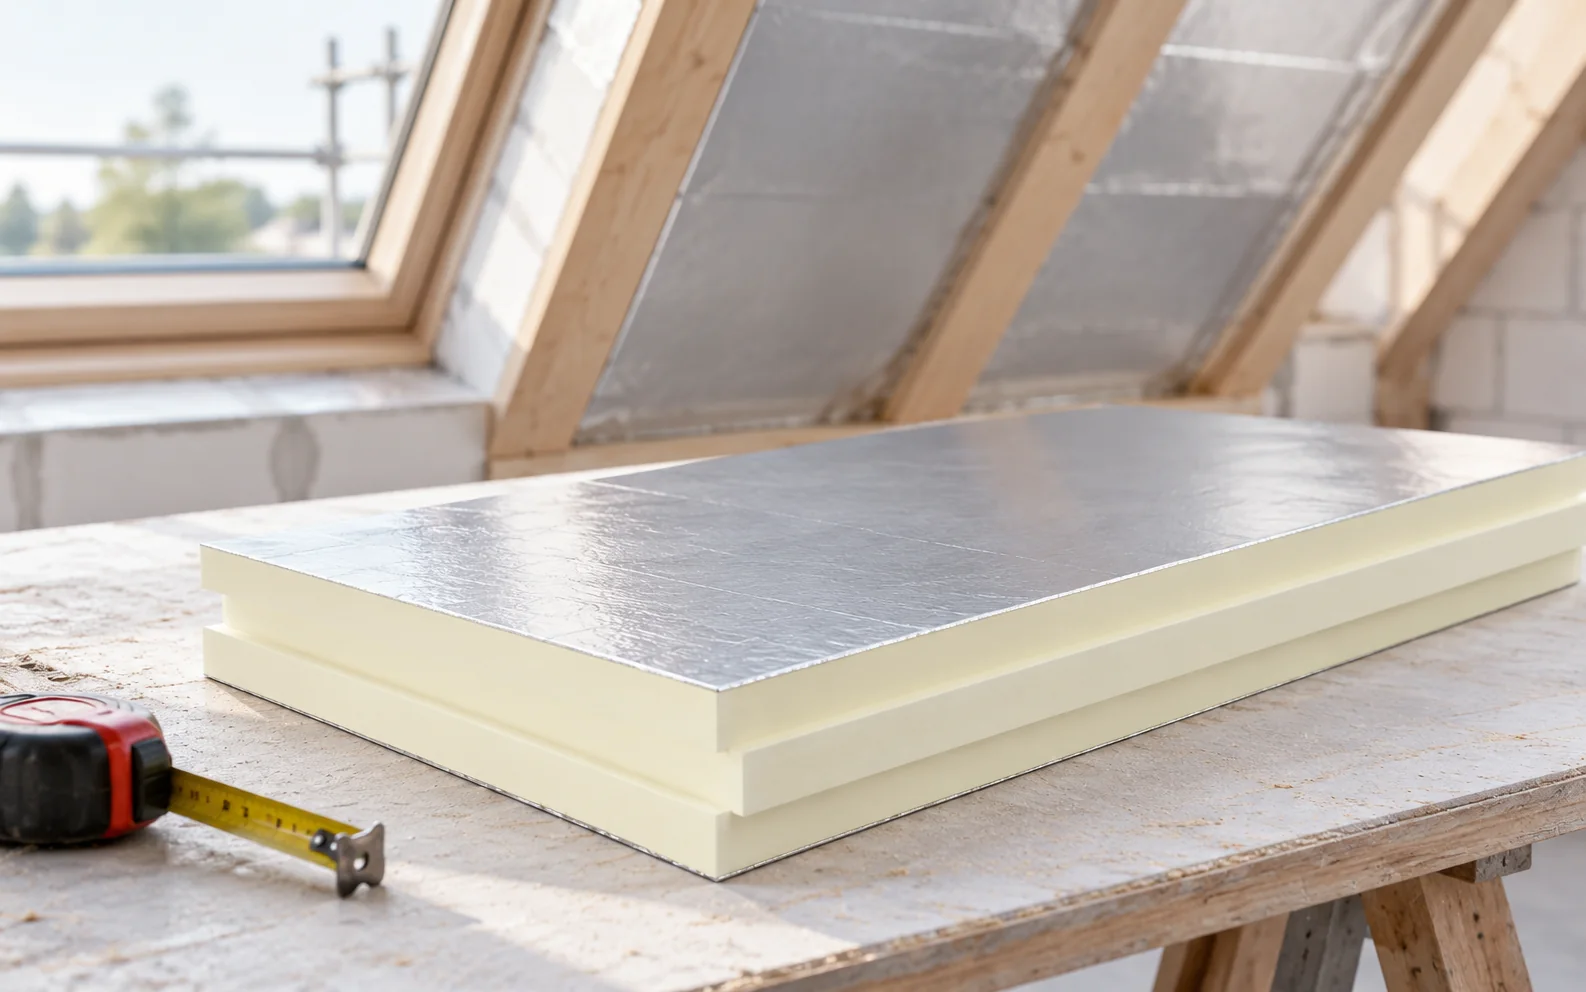
Answering the question of how to plan and carry out roof insulation step by step requires first of all establishing the boundary…
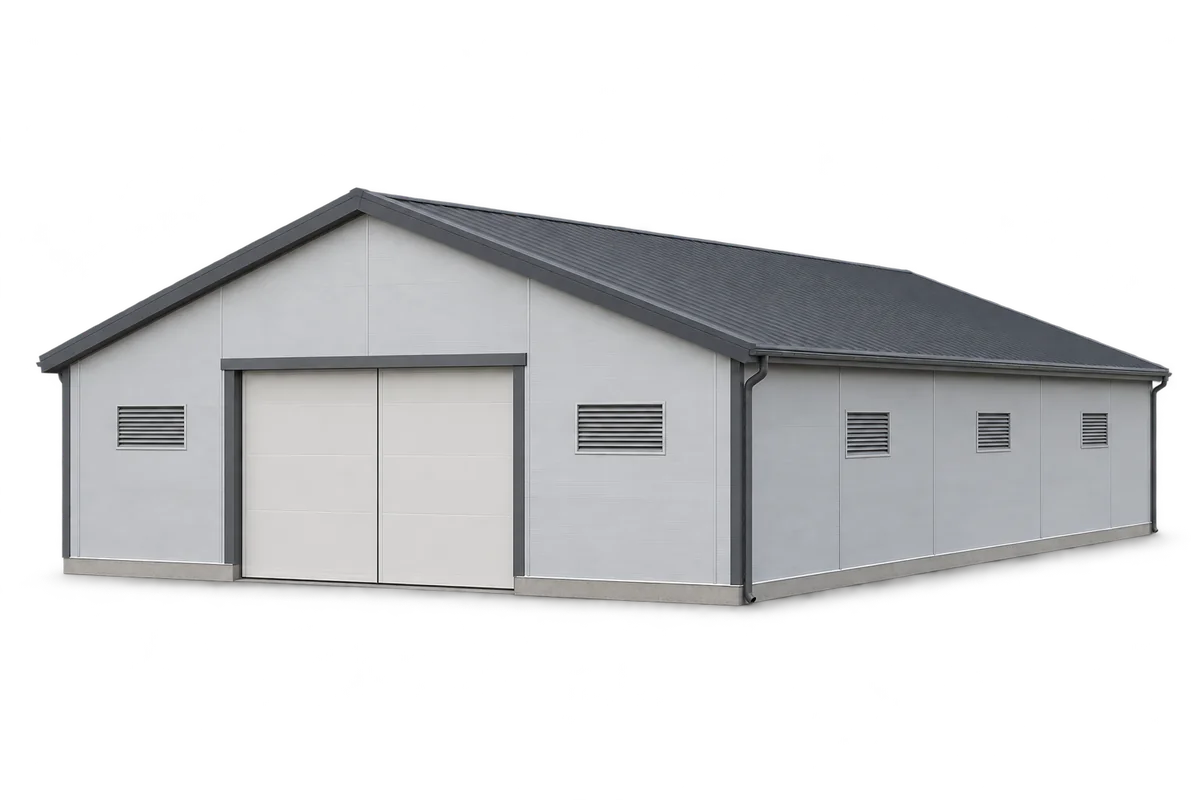
A well-designed pig house keeps conditions suitable for the animals, can be washed efficiently and is straightforward to operate. Insulated walls and…
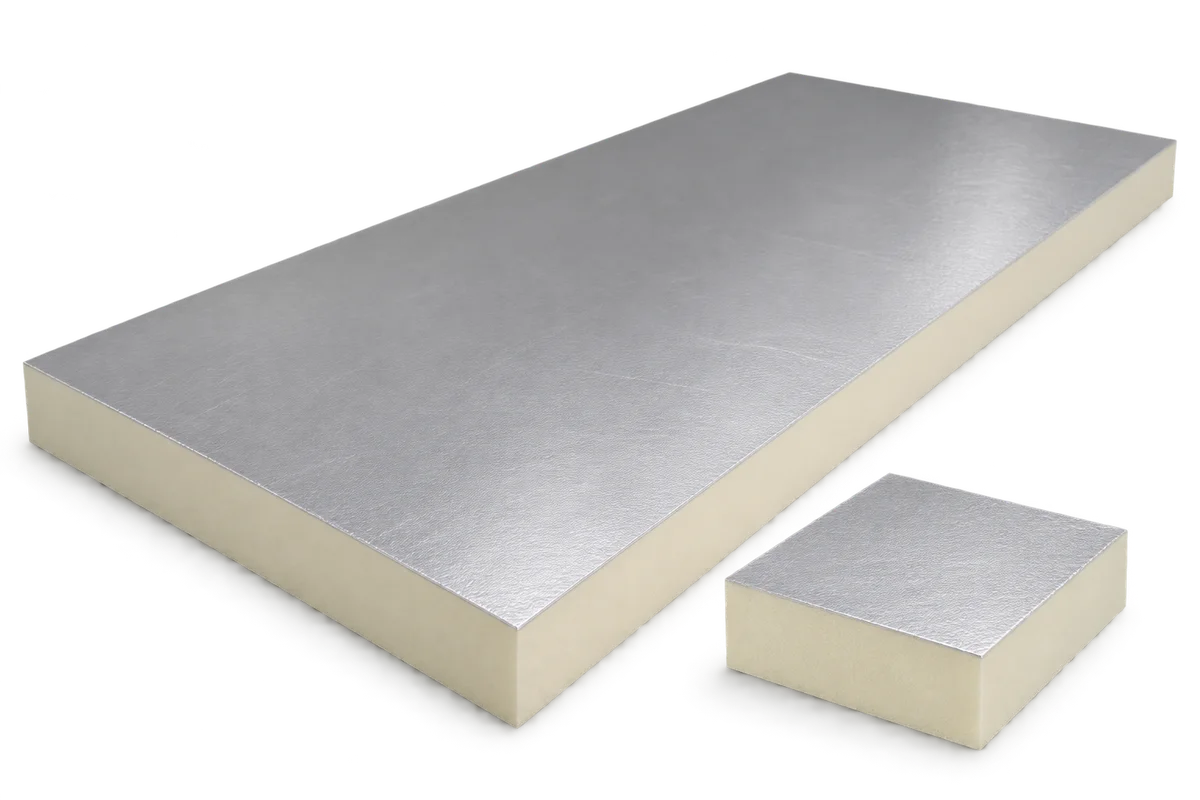
Rigid insulating foams have a place in both new construction and refurbishment. In PIR boards they help reduce insulation thickness. In sandwich…
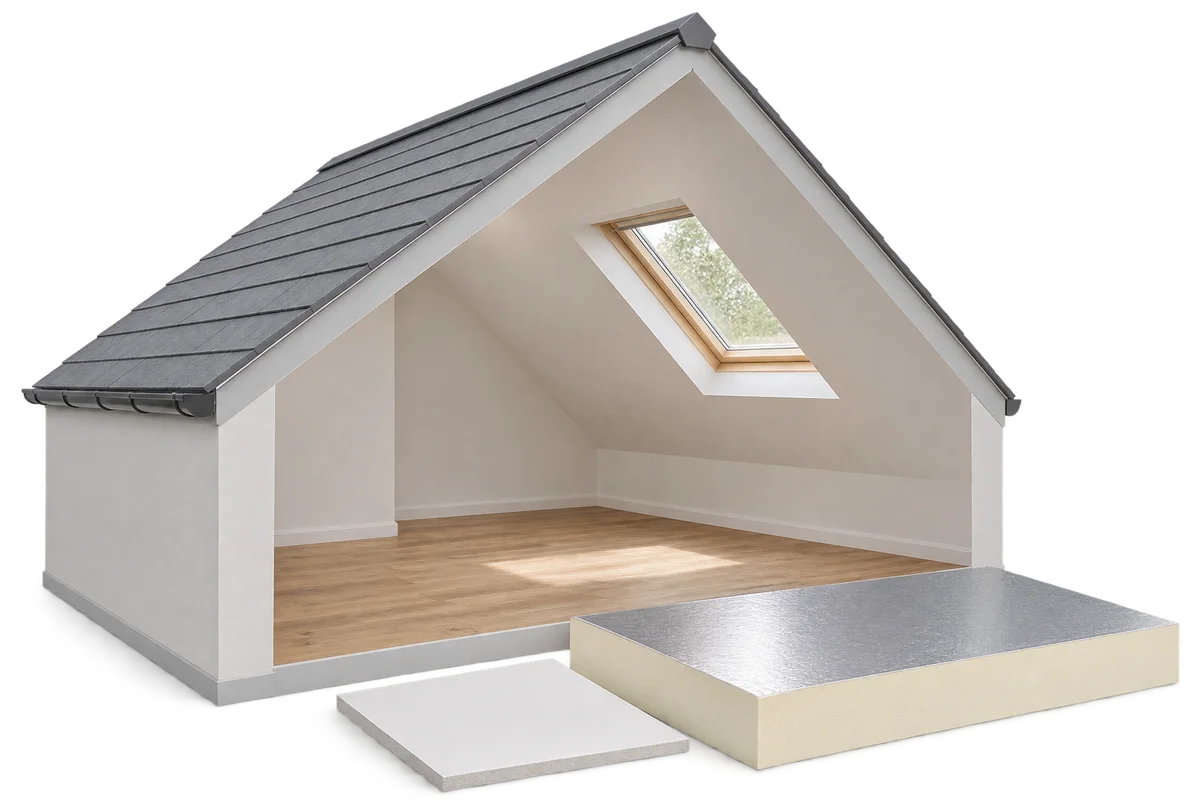
A loft fit-out starts well before the first plasterboard goes up. Inspect the roof, plan the insulation and establish how the layers…
The cost of insulating a home includes materials, preparation, installation and finishing the junctions. The price per square metre of board tells…